
Our Vintage RoadRunner Camper Project
This page includes the following sections
- Our RoadRunner Camper History
- Remodel: Exterior
- Remodel: Interior
- Pinterest Camper Project Idea Boards
I normally don't bother documenting projects--just get it done and move on to the next one. However, for this project there were several things I couldn't find elsewhere, just had to figure out on my own, or took forever to find, so I thought I'd share it here hopefully to help some other poor schmuck like me save some time and headaches.
This post will be updated as the project develops.
RoadRunner Camper History

Our RoadRunner
Purchase date: 9-19-15 from a gentleman who had gotten it free from a friend at work who just didn't want it anymore. The gentleman I bought it from decided it was too small for his family and grandchildren so got a larger one. He planned on stripping the trailer down to the frame and transforming it into a flatbed trailer for his four-wheelers until he looked inside and realized it was in pretty decent shape and that it would be a shame to just trash it. He figured someone might want to fix it up and enjoy it. His primary goal though was to get it out of his driveway as his other RV was taking up enough room as it was so he said, "Make me an offer. I'll give you a good deal." So I did and he did.
Specs:
- Year: 1965
- Make: RoadRunner
- Model: 17'
- Length: Camper section: 14', Bumper to Hitch: 17'
- Width: 7'
- Height:
- Weight: 3,700 lbs (?) IDK, but likely similar to: "I have a 17 ft 71 Roadrunner and our title has 3700 lbs empty weight."
Source: Lacey, http://rollinintheyears.com/blog/?p=428, in comments section - Sleeps: 6
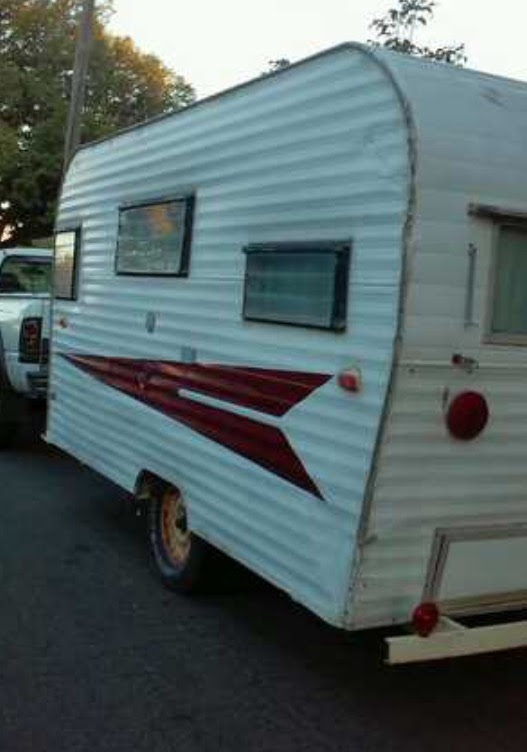
Years ago Kara and I had the opportunity to buy a small 10 foot vintage camper trailer for $500. At the time that was a LOT of money to us. We couldn't afford it but have many times wished we had found a way to get it anyway. For years I've kept my eyes open for a such a trailer we could use for camping and fixing up. We have both always enjoyed home improvement projects, vintage vehicles (e.g., the #ChalkBus), and have similar tastes in interior design. Well, recently, I finally found a deal we couldn't pass up on KSL Classifieds (a regional fav resource so buying and selling used goods). It was going for $600 OBO and I got it for $300! I'm still trying to determine the exact year (this one had no paperwork or title, not uncommon with some of these old trailers), and I haven't been able to locate the VIN yet, though it is likely stamped on the tongue/hitch area under rust and coats of paint. So for now all I know is that it's a 19?? RoadRunner Travel Trailer, likely late 60s.
There wasn't much online about RoadRunners or their history... or anything. So I went into dogged research mode. I have moved the history that used to be here to our RoadRunnerRevival.com site here:

THE PROJECT
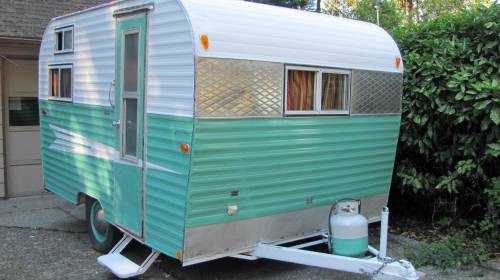
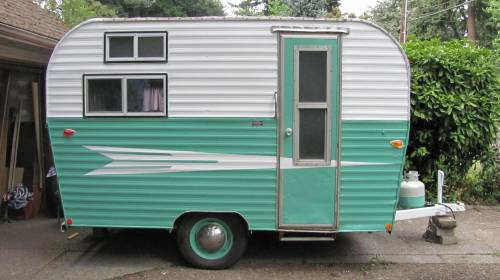
Remodel: Exterior
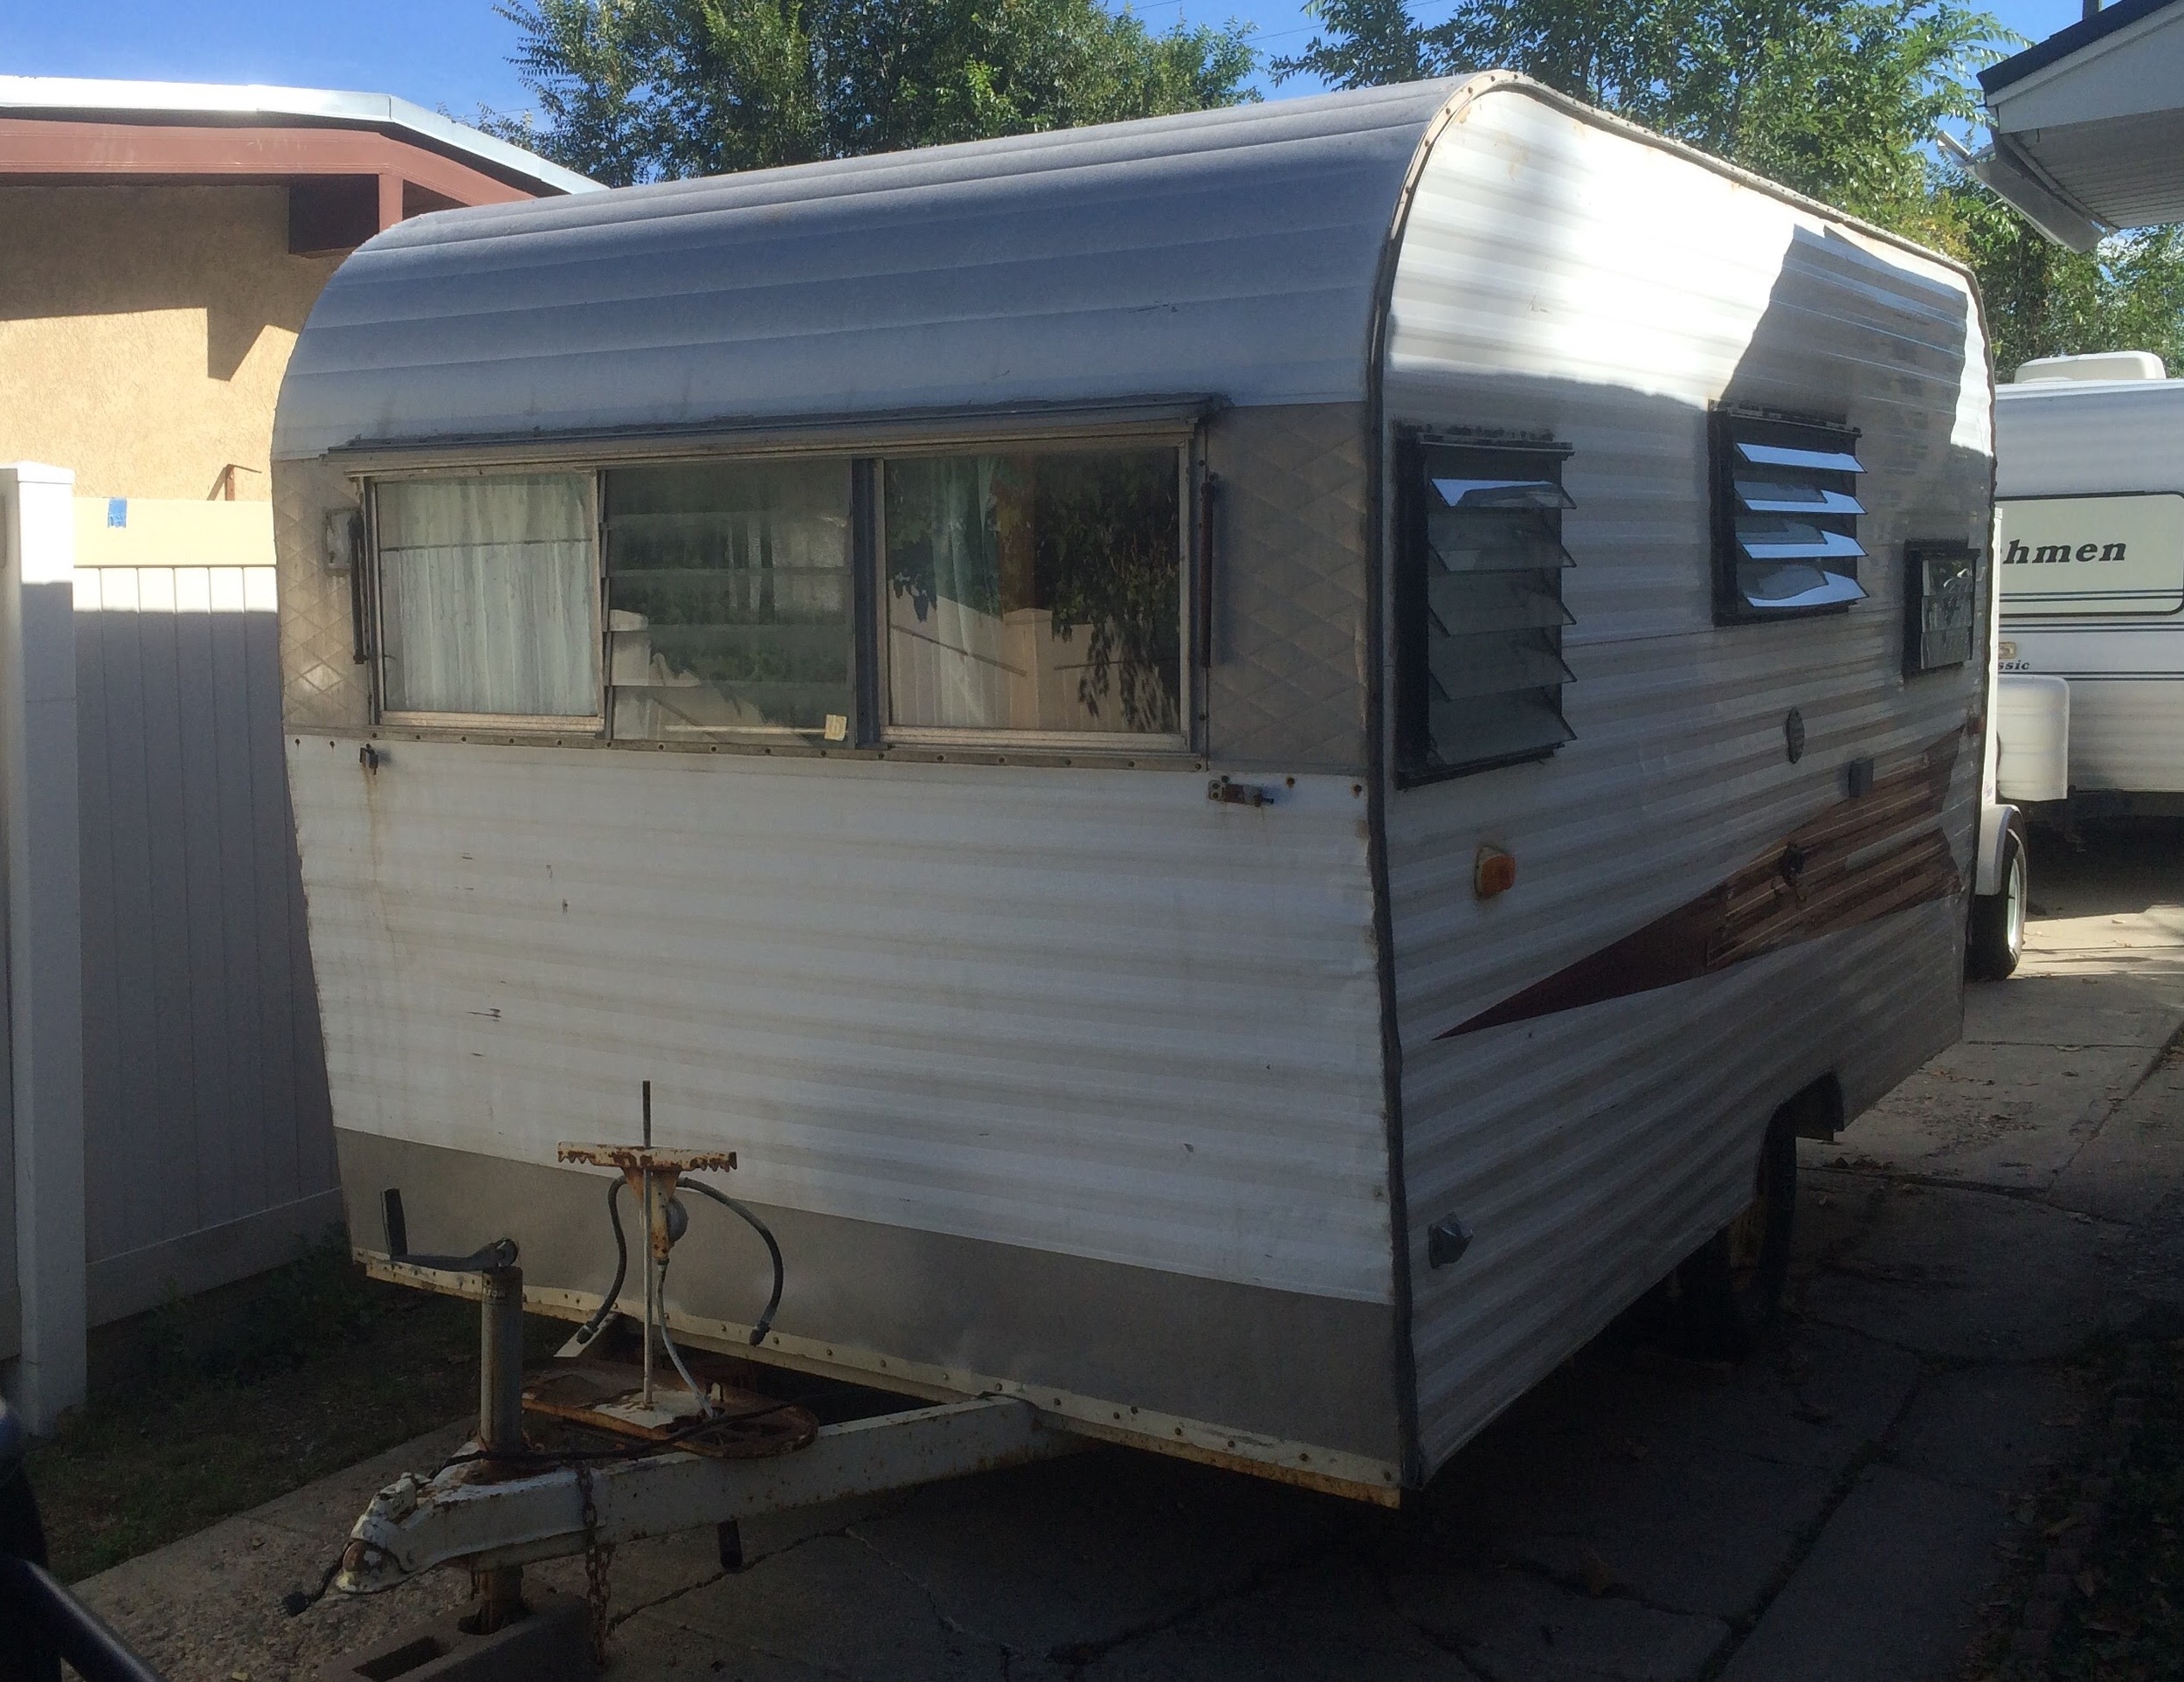
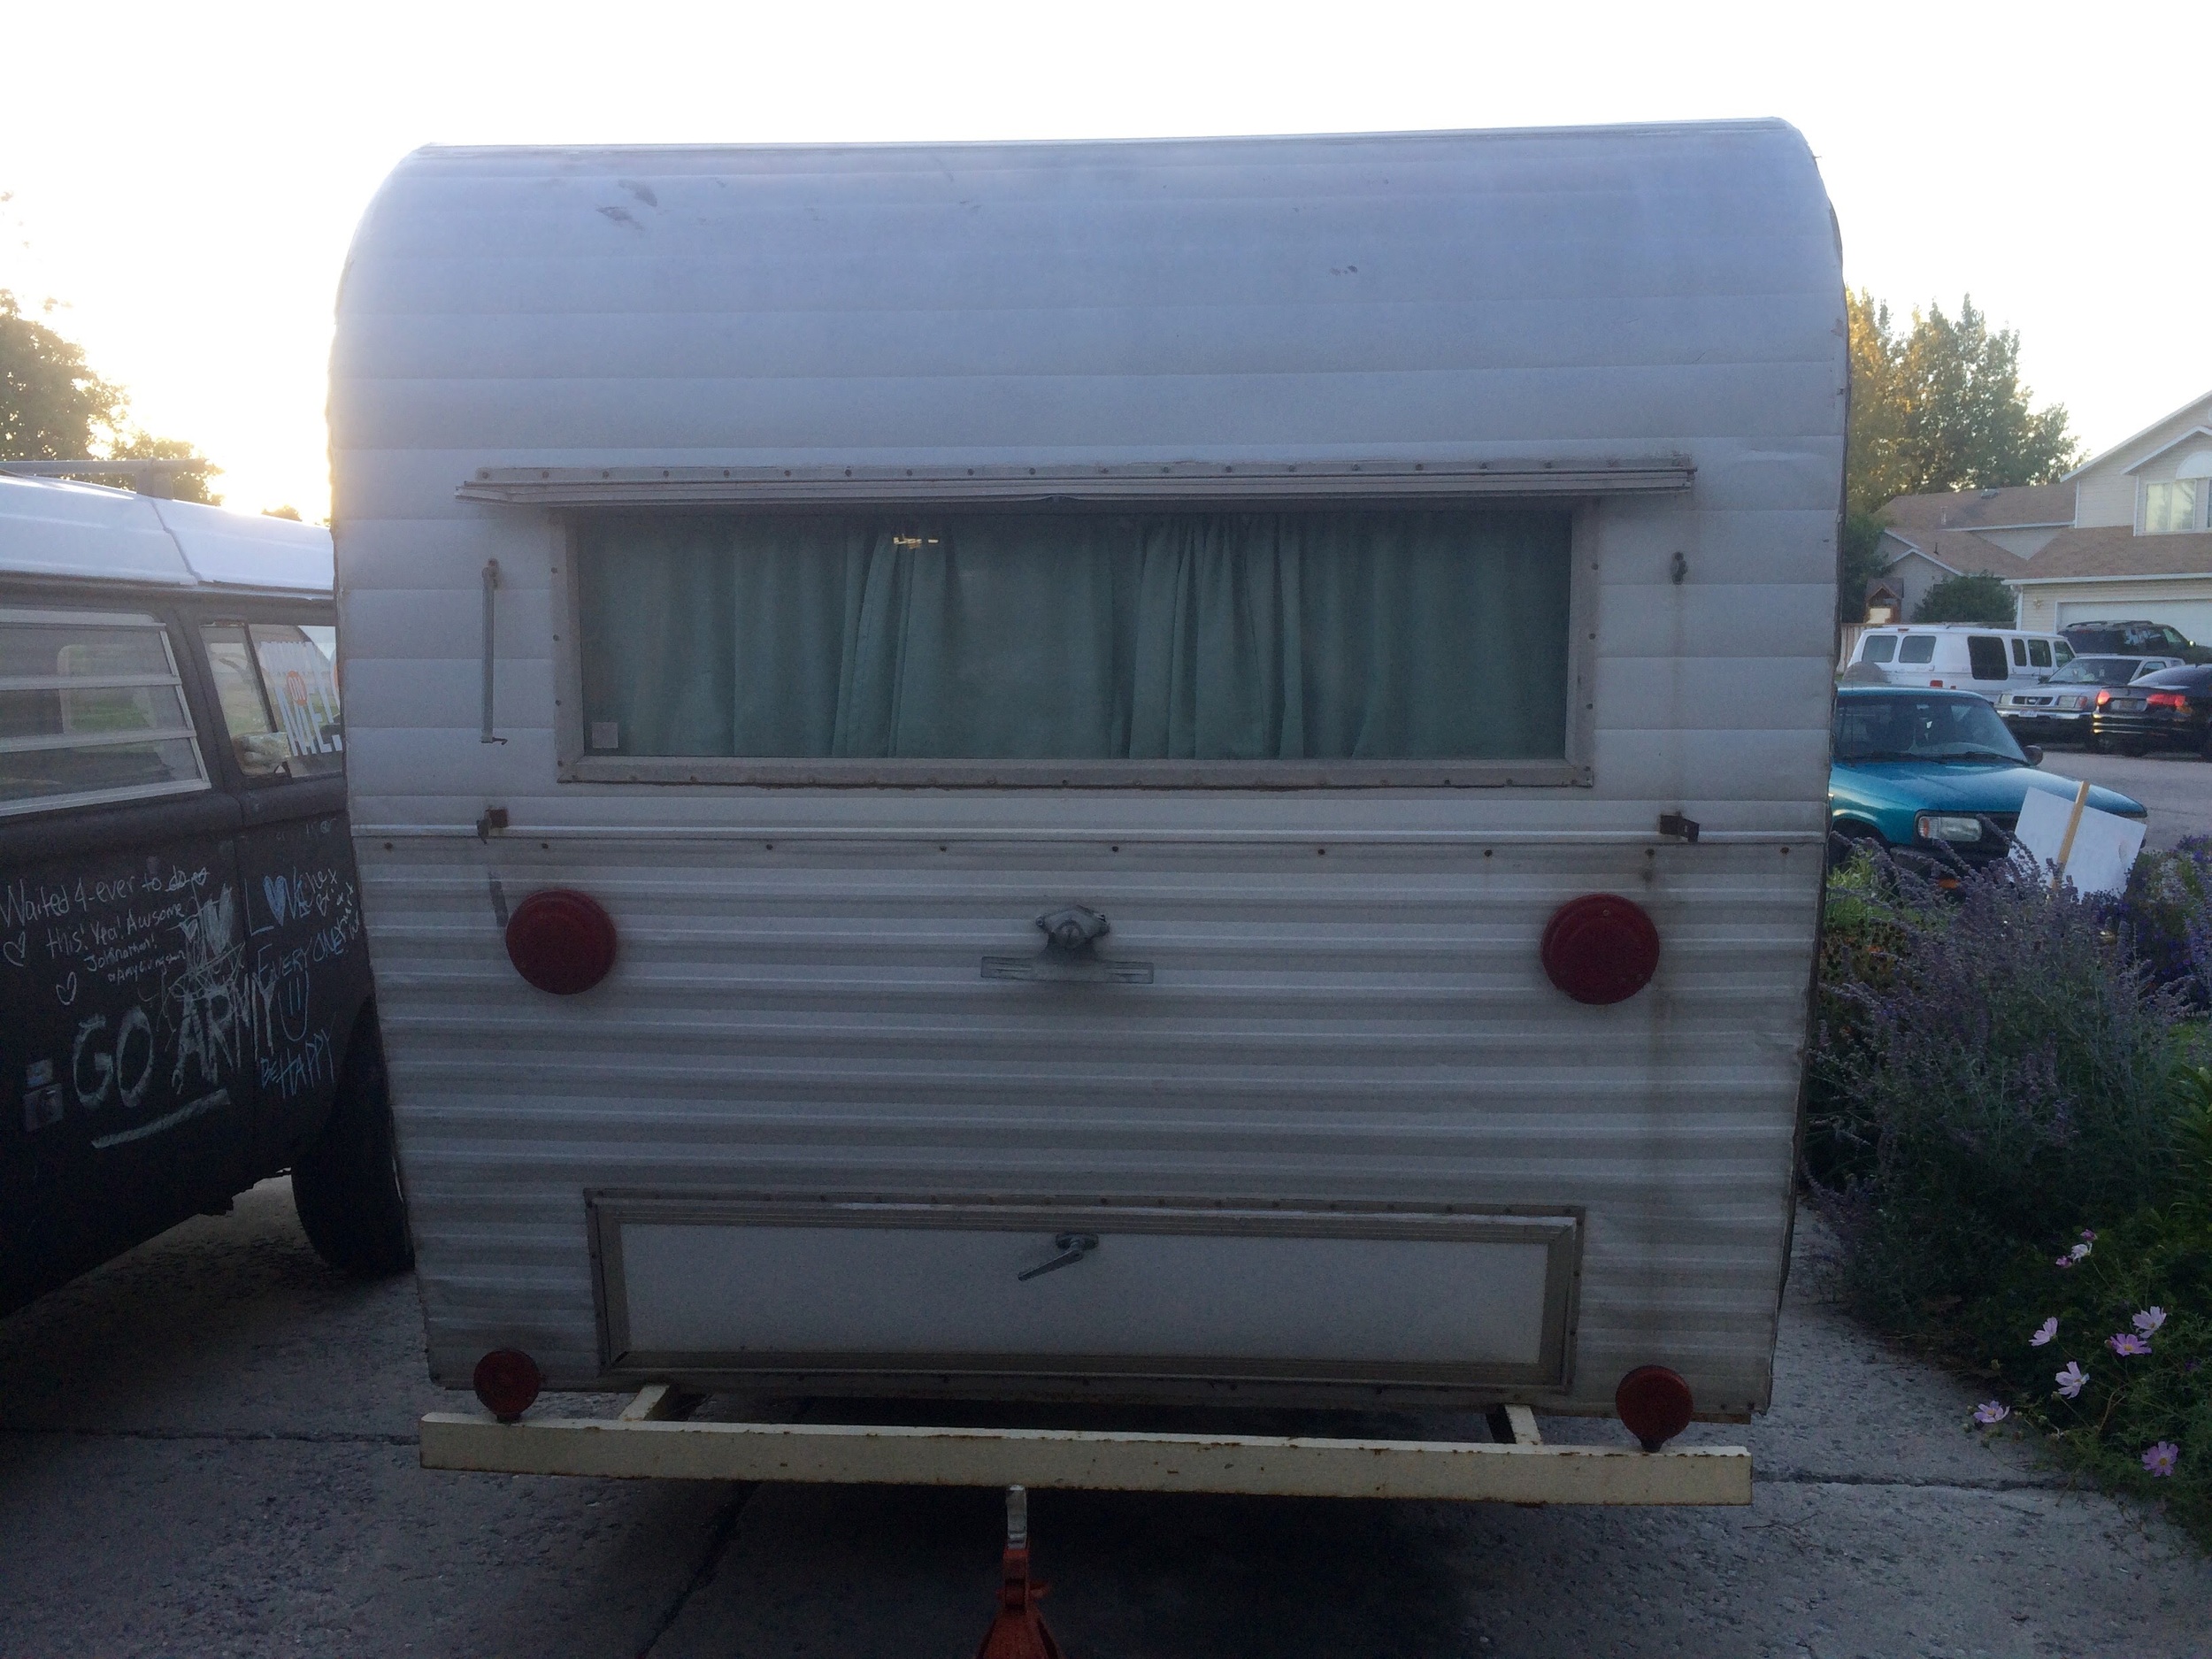
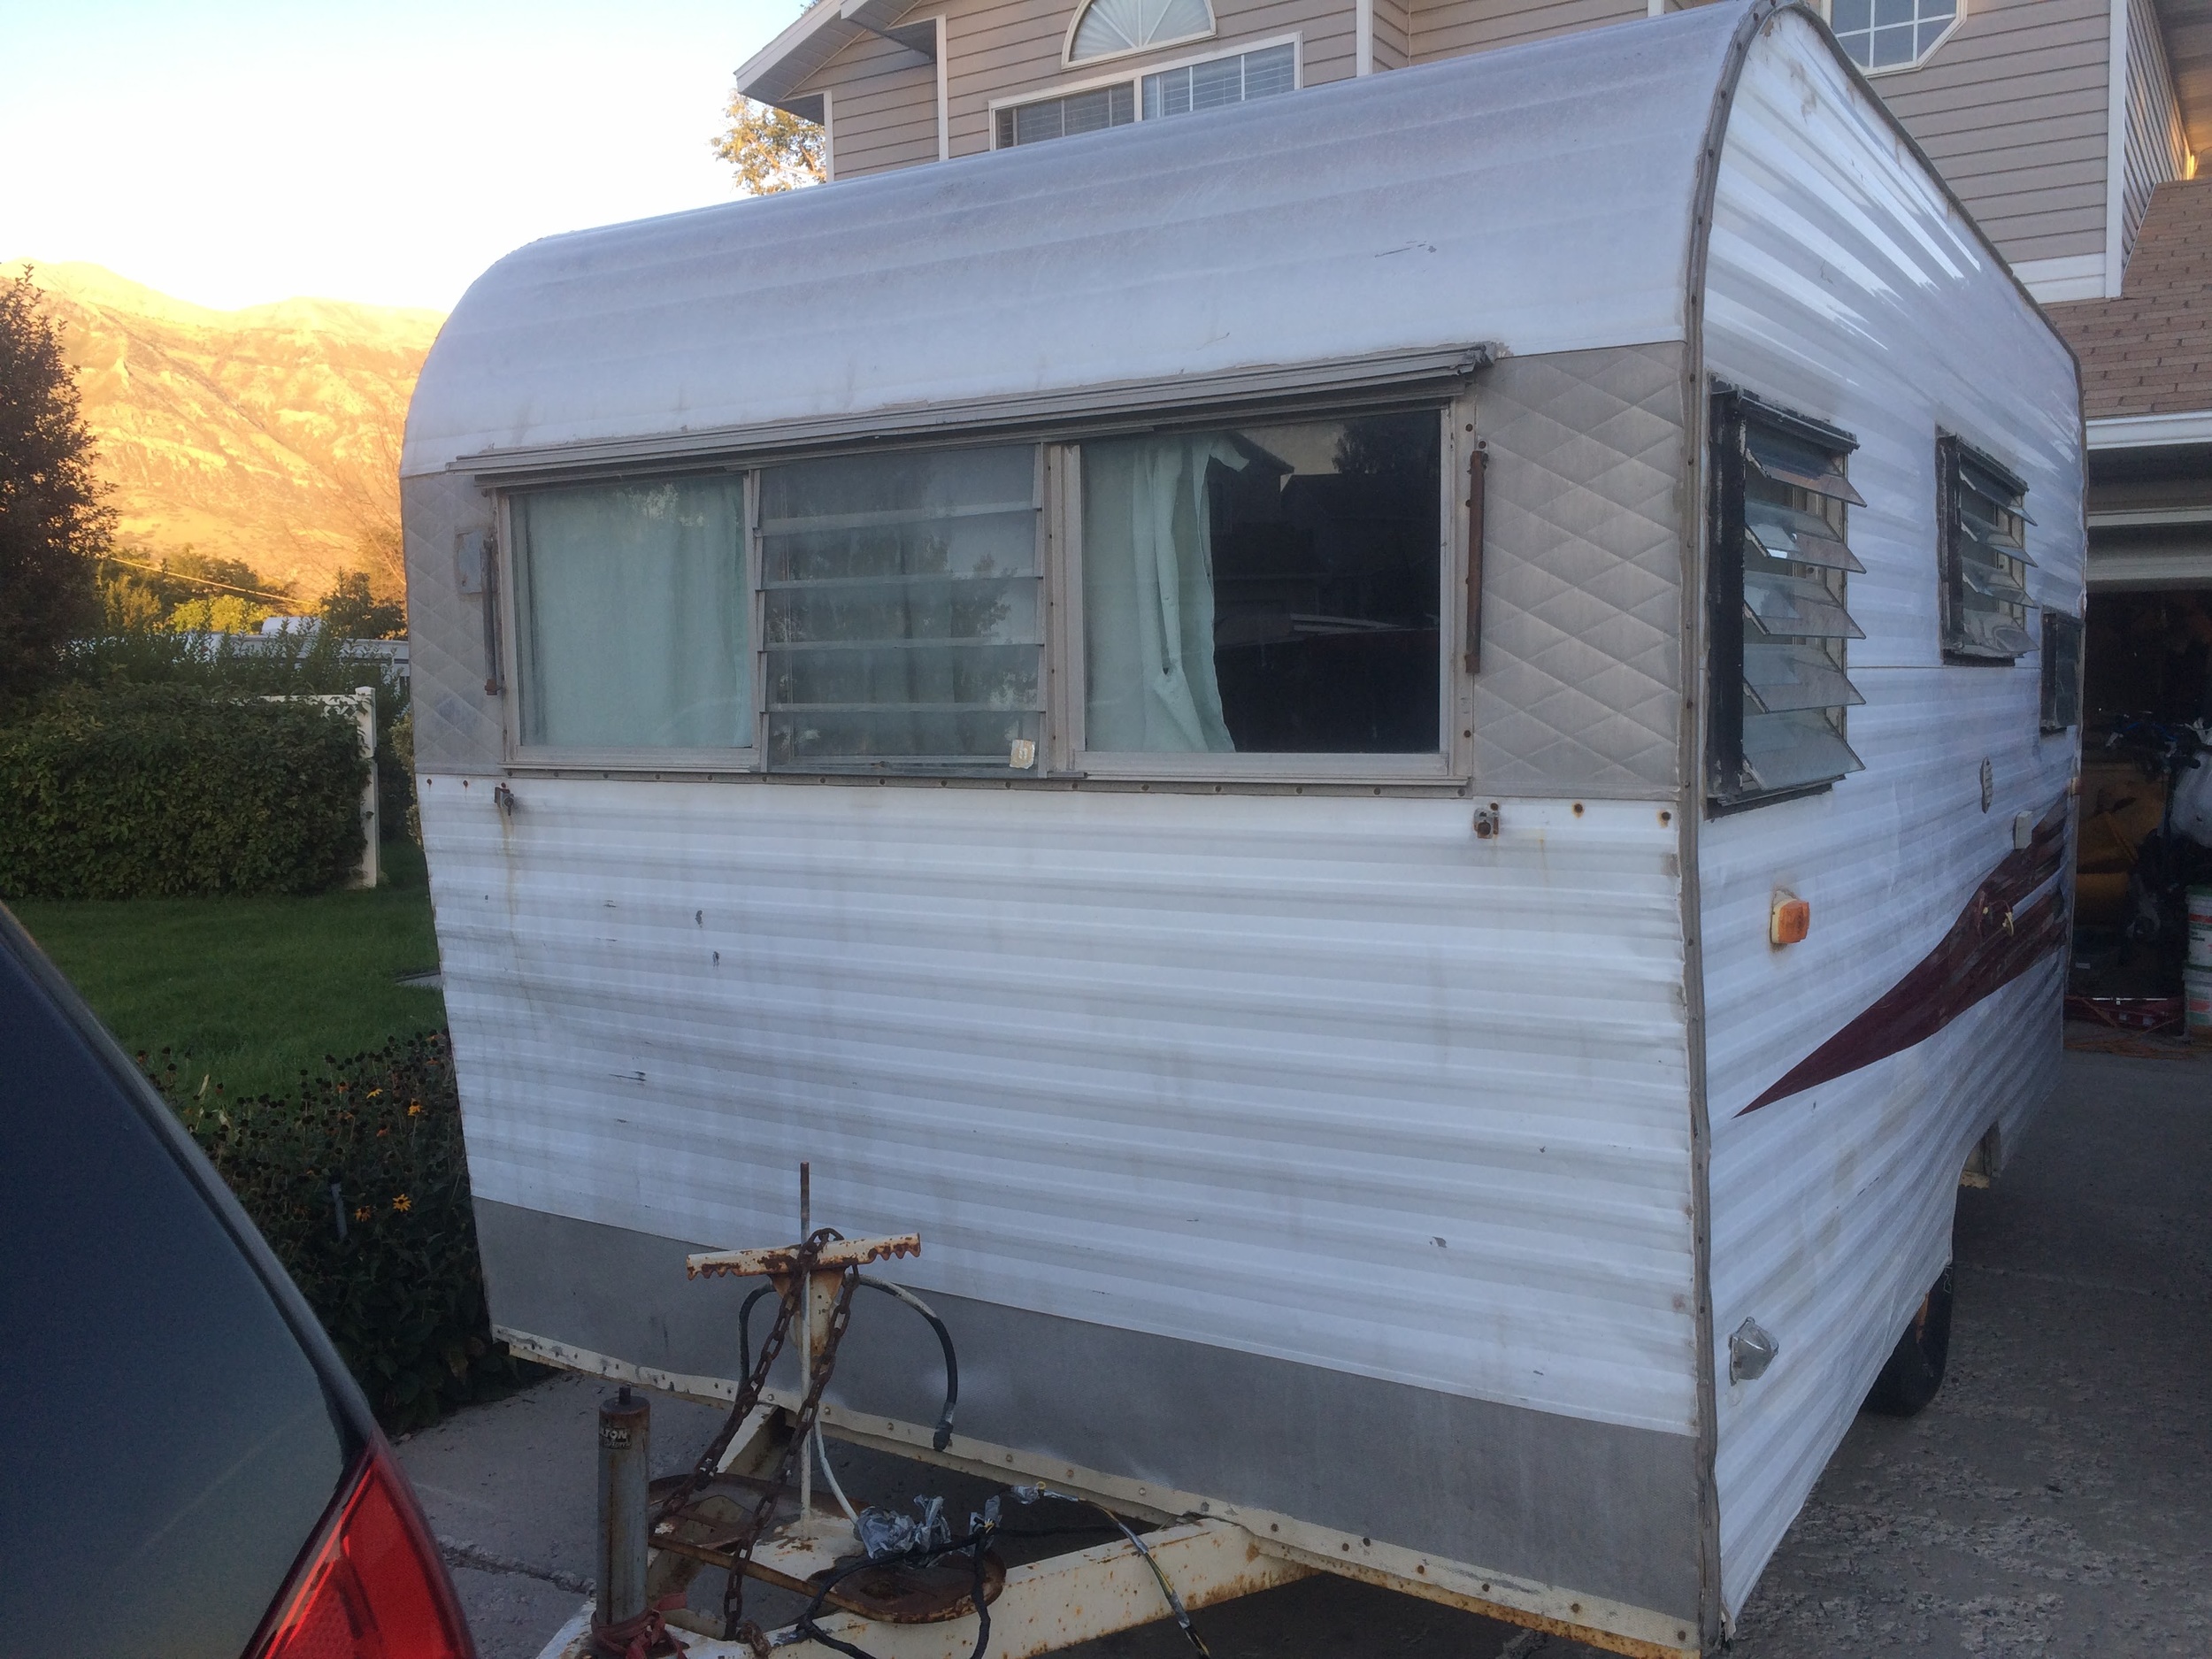
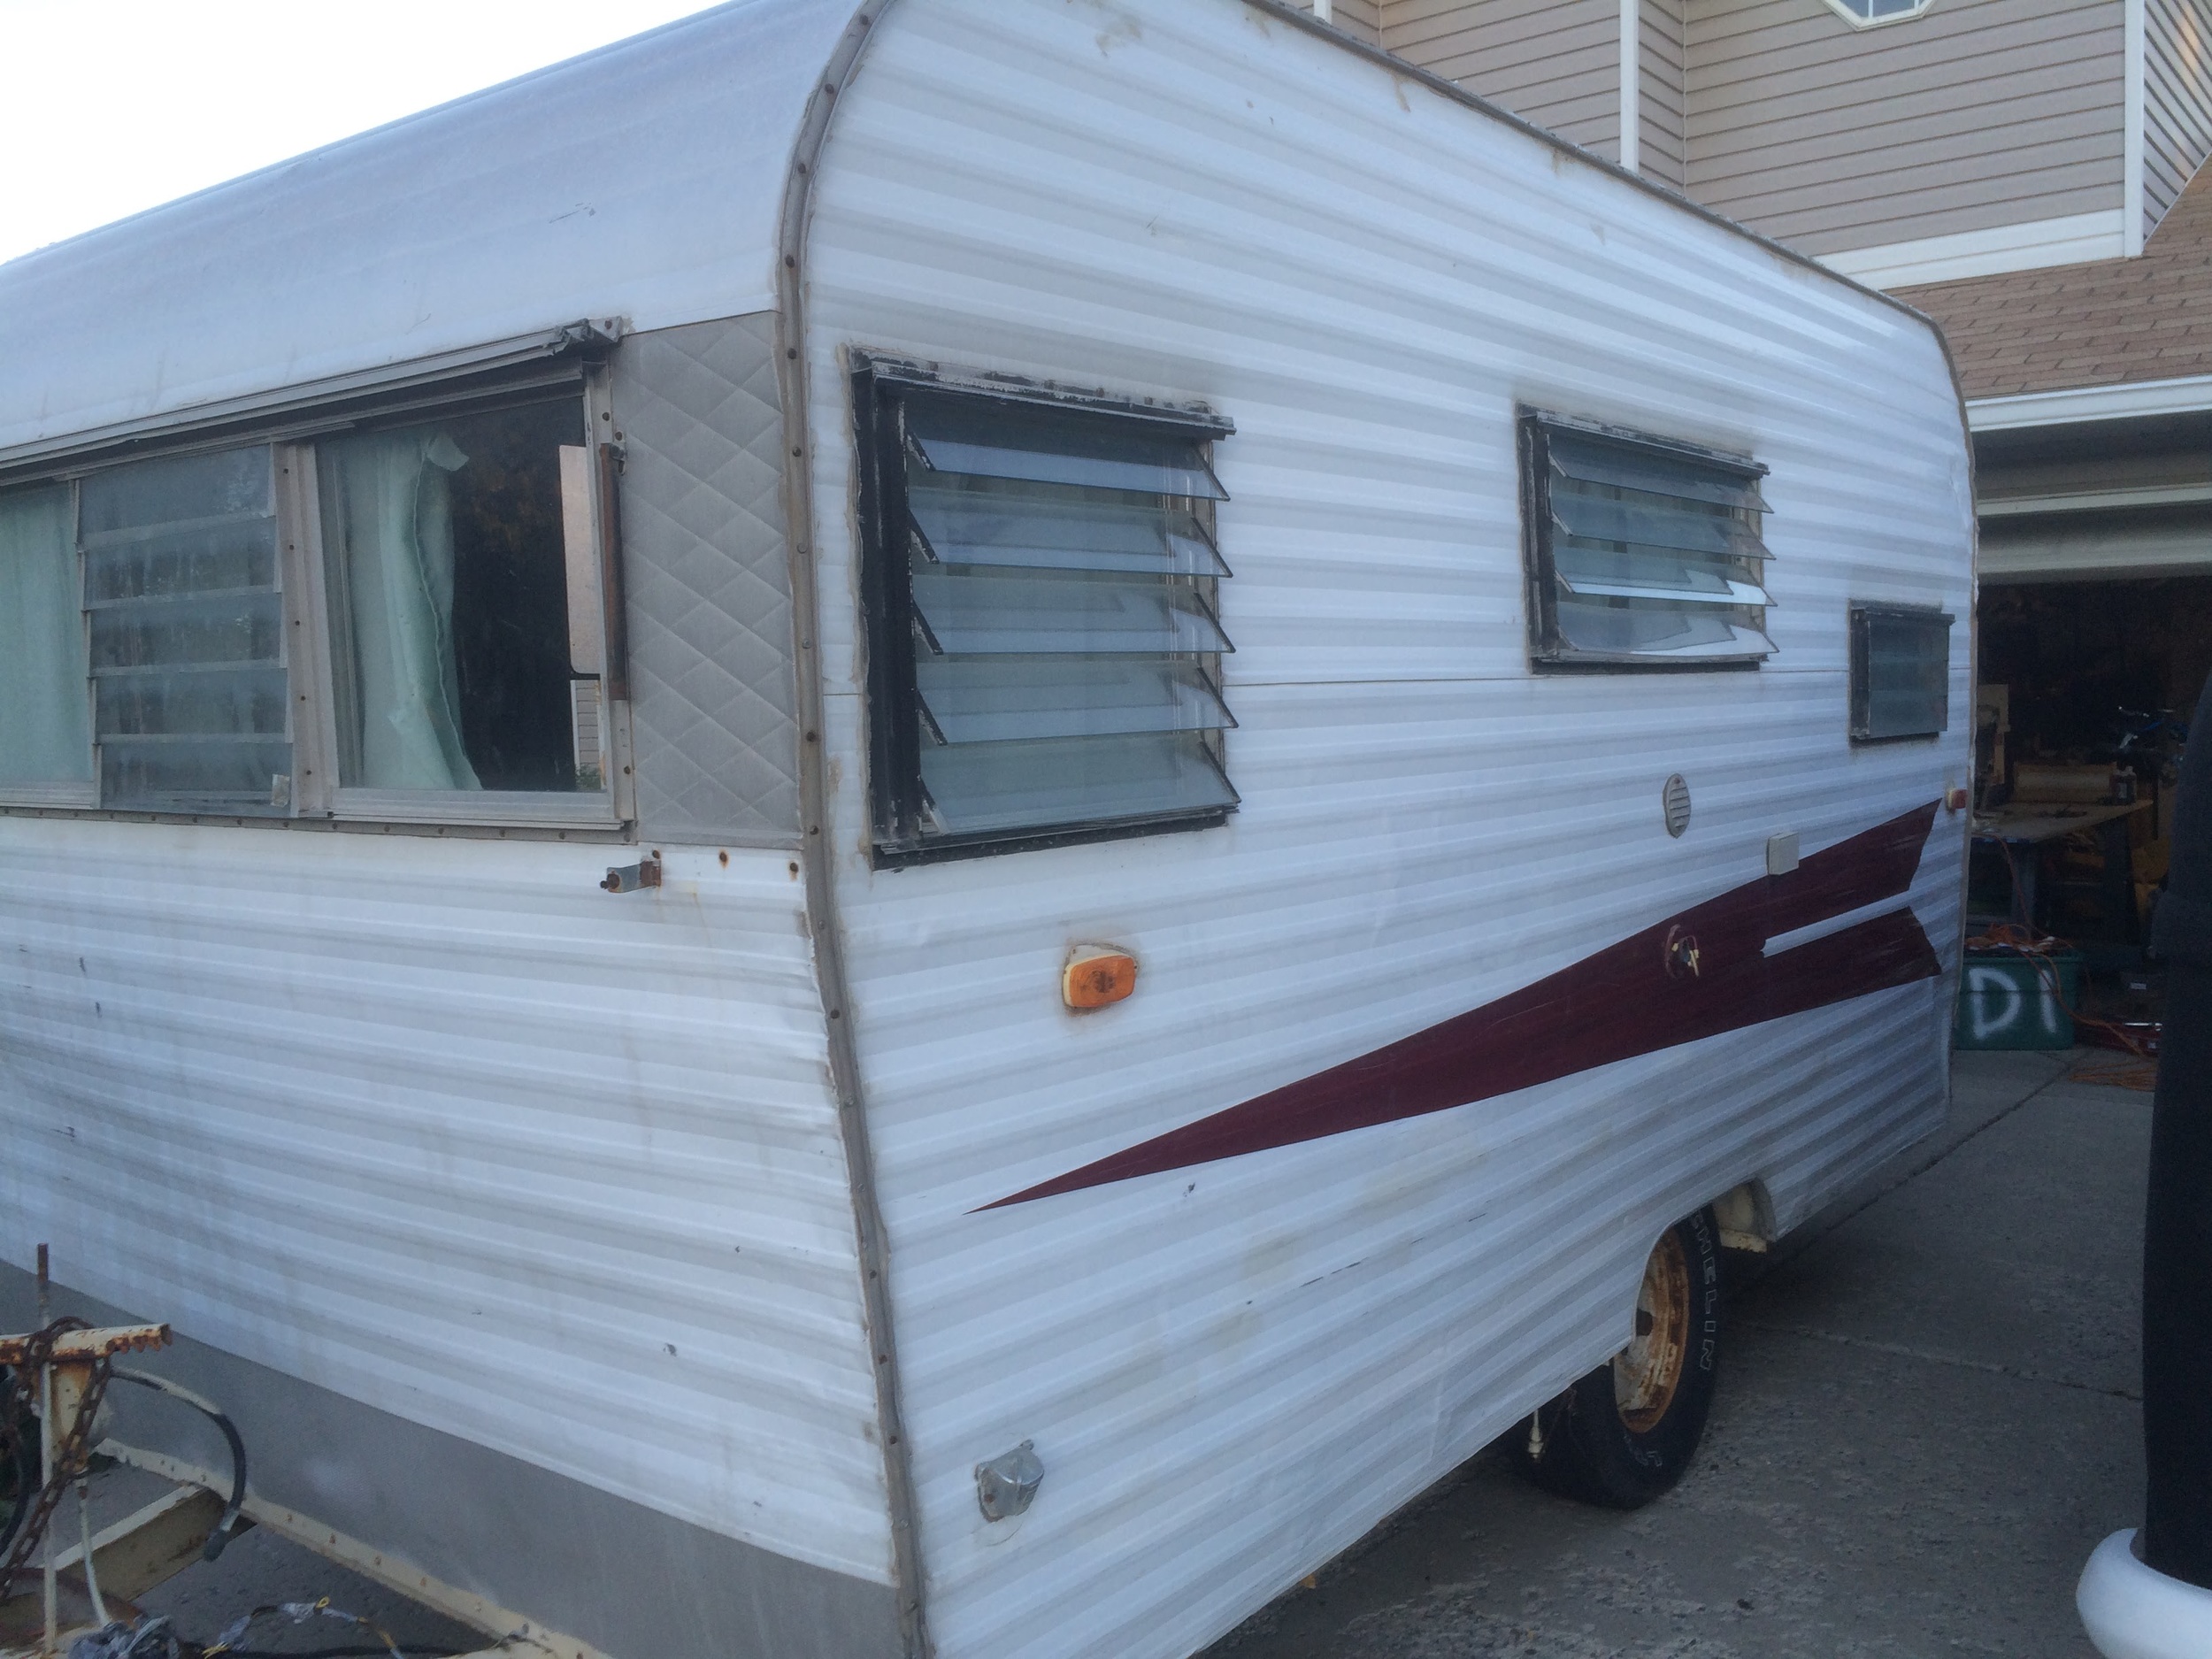
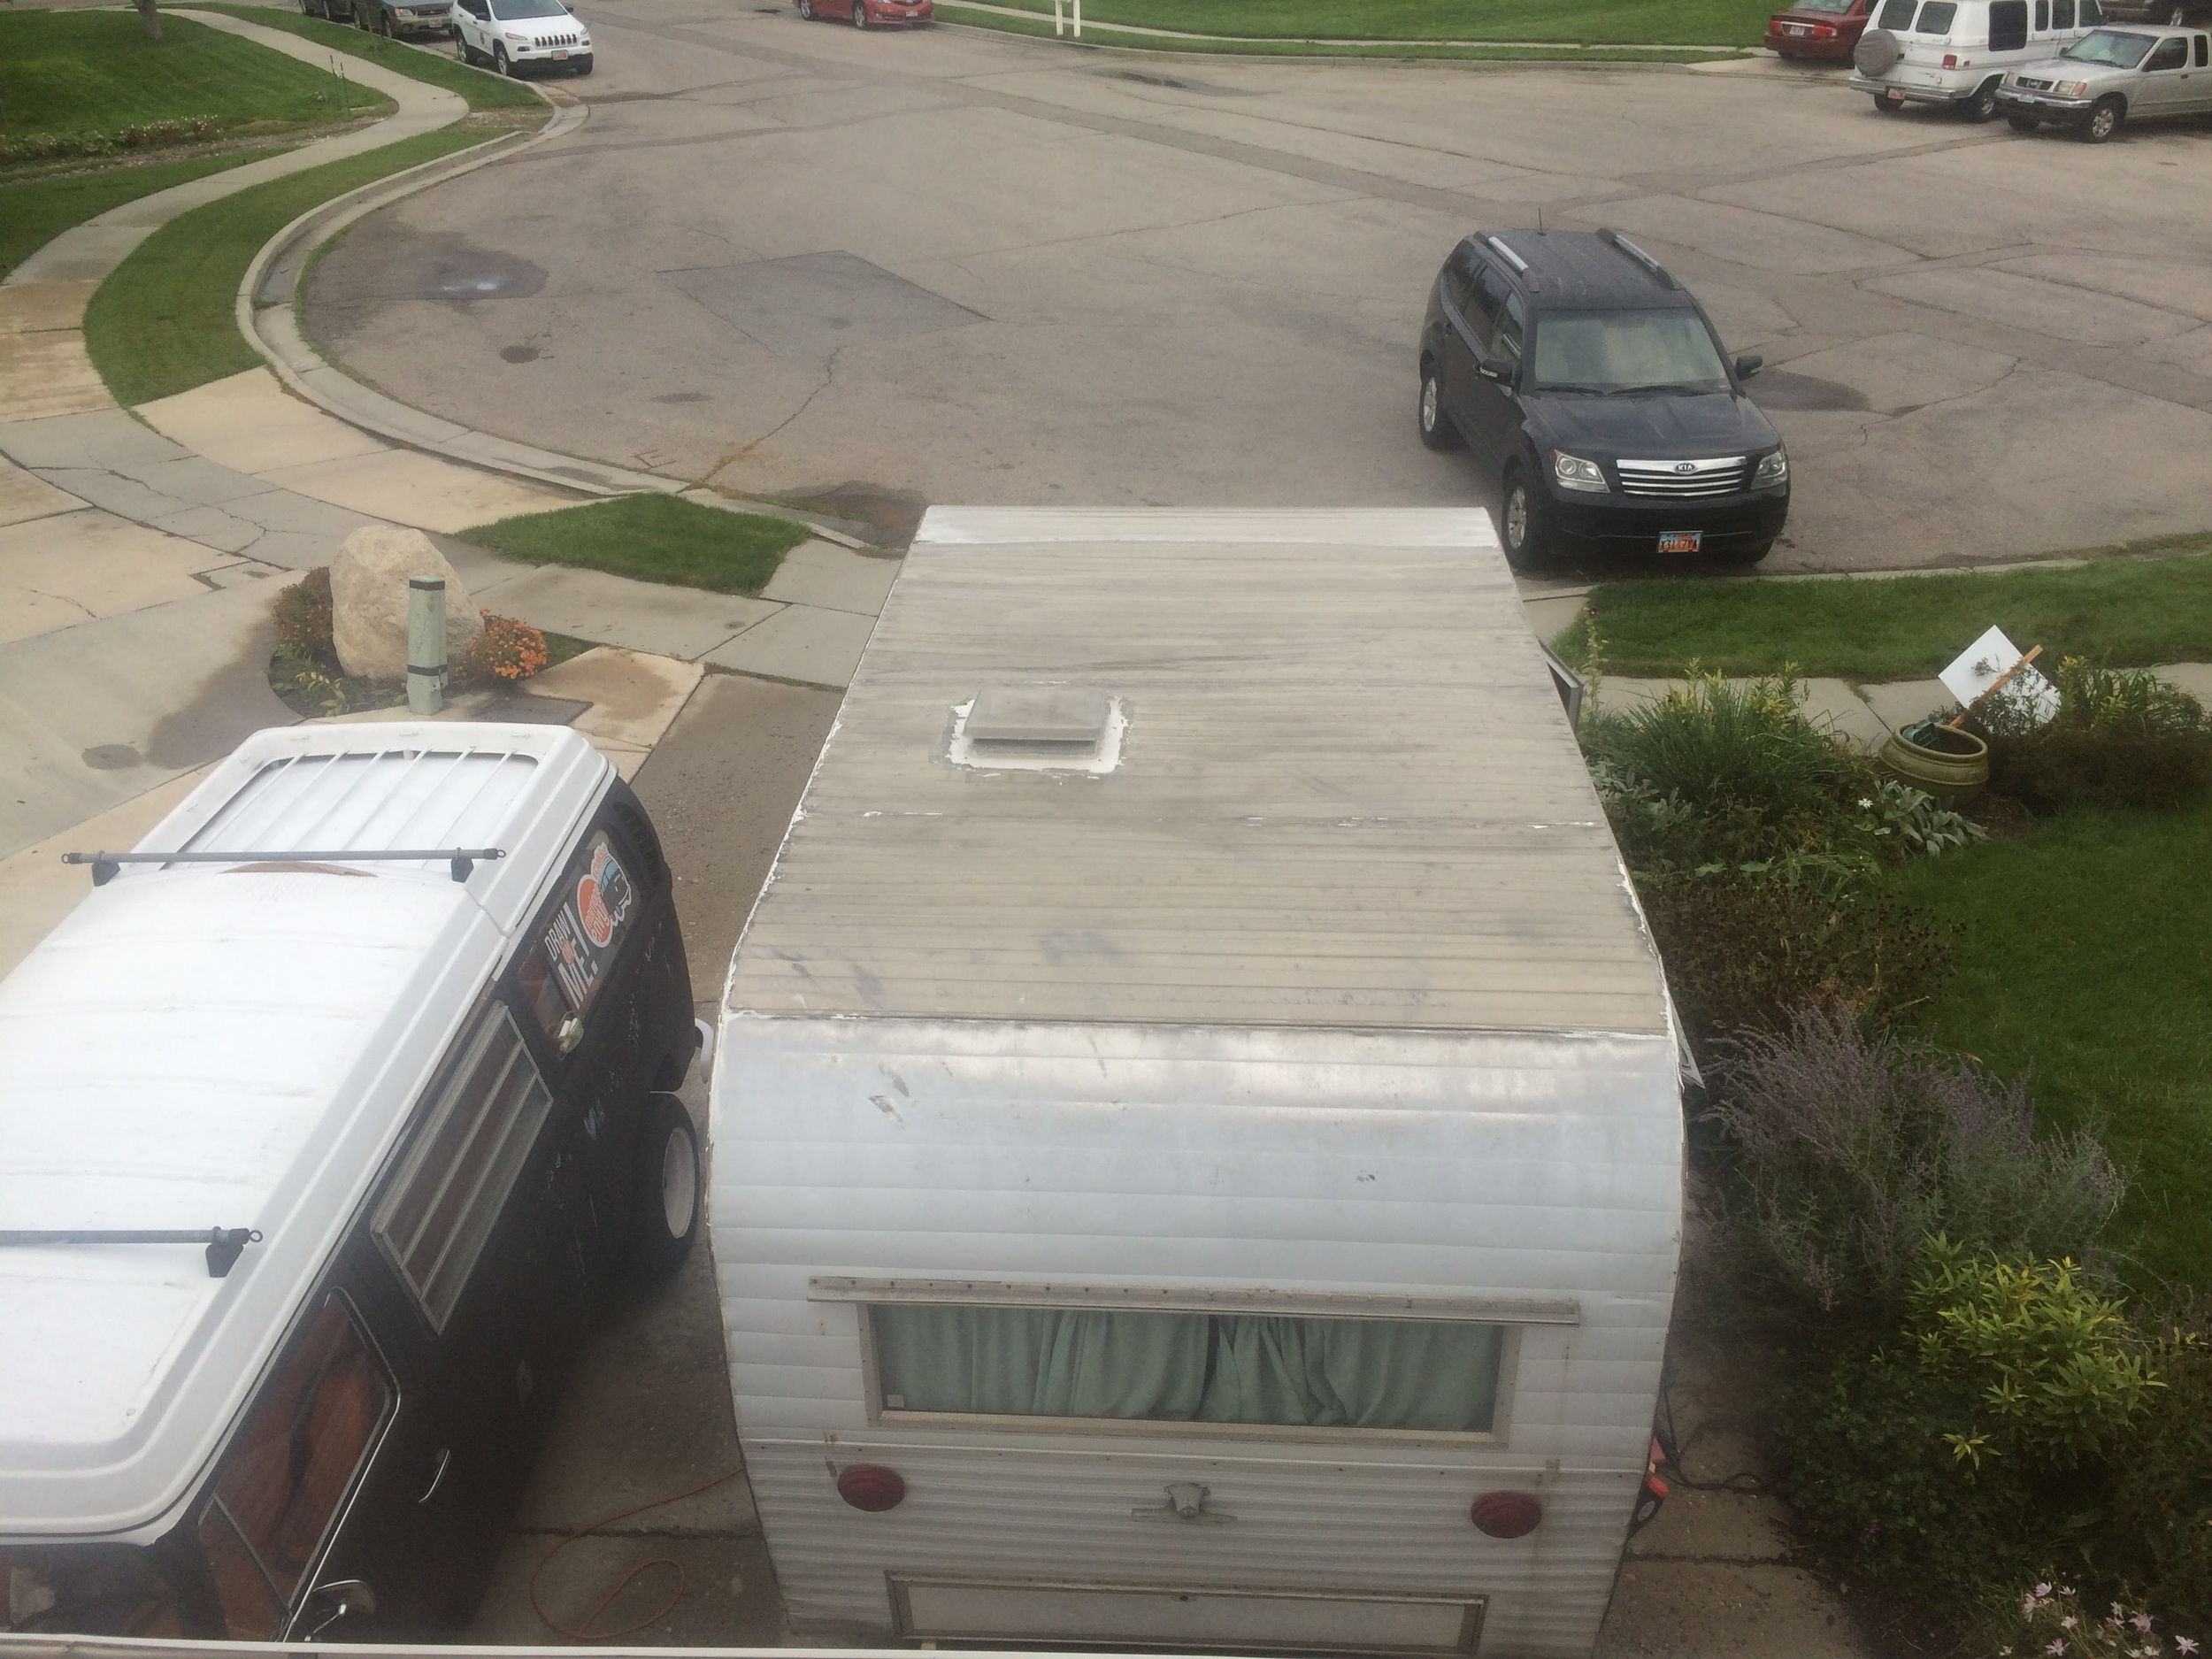
Profile:

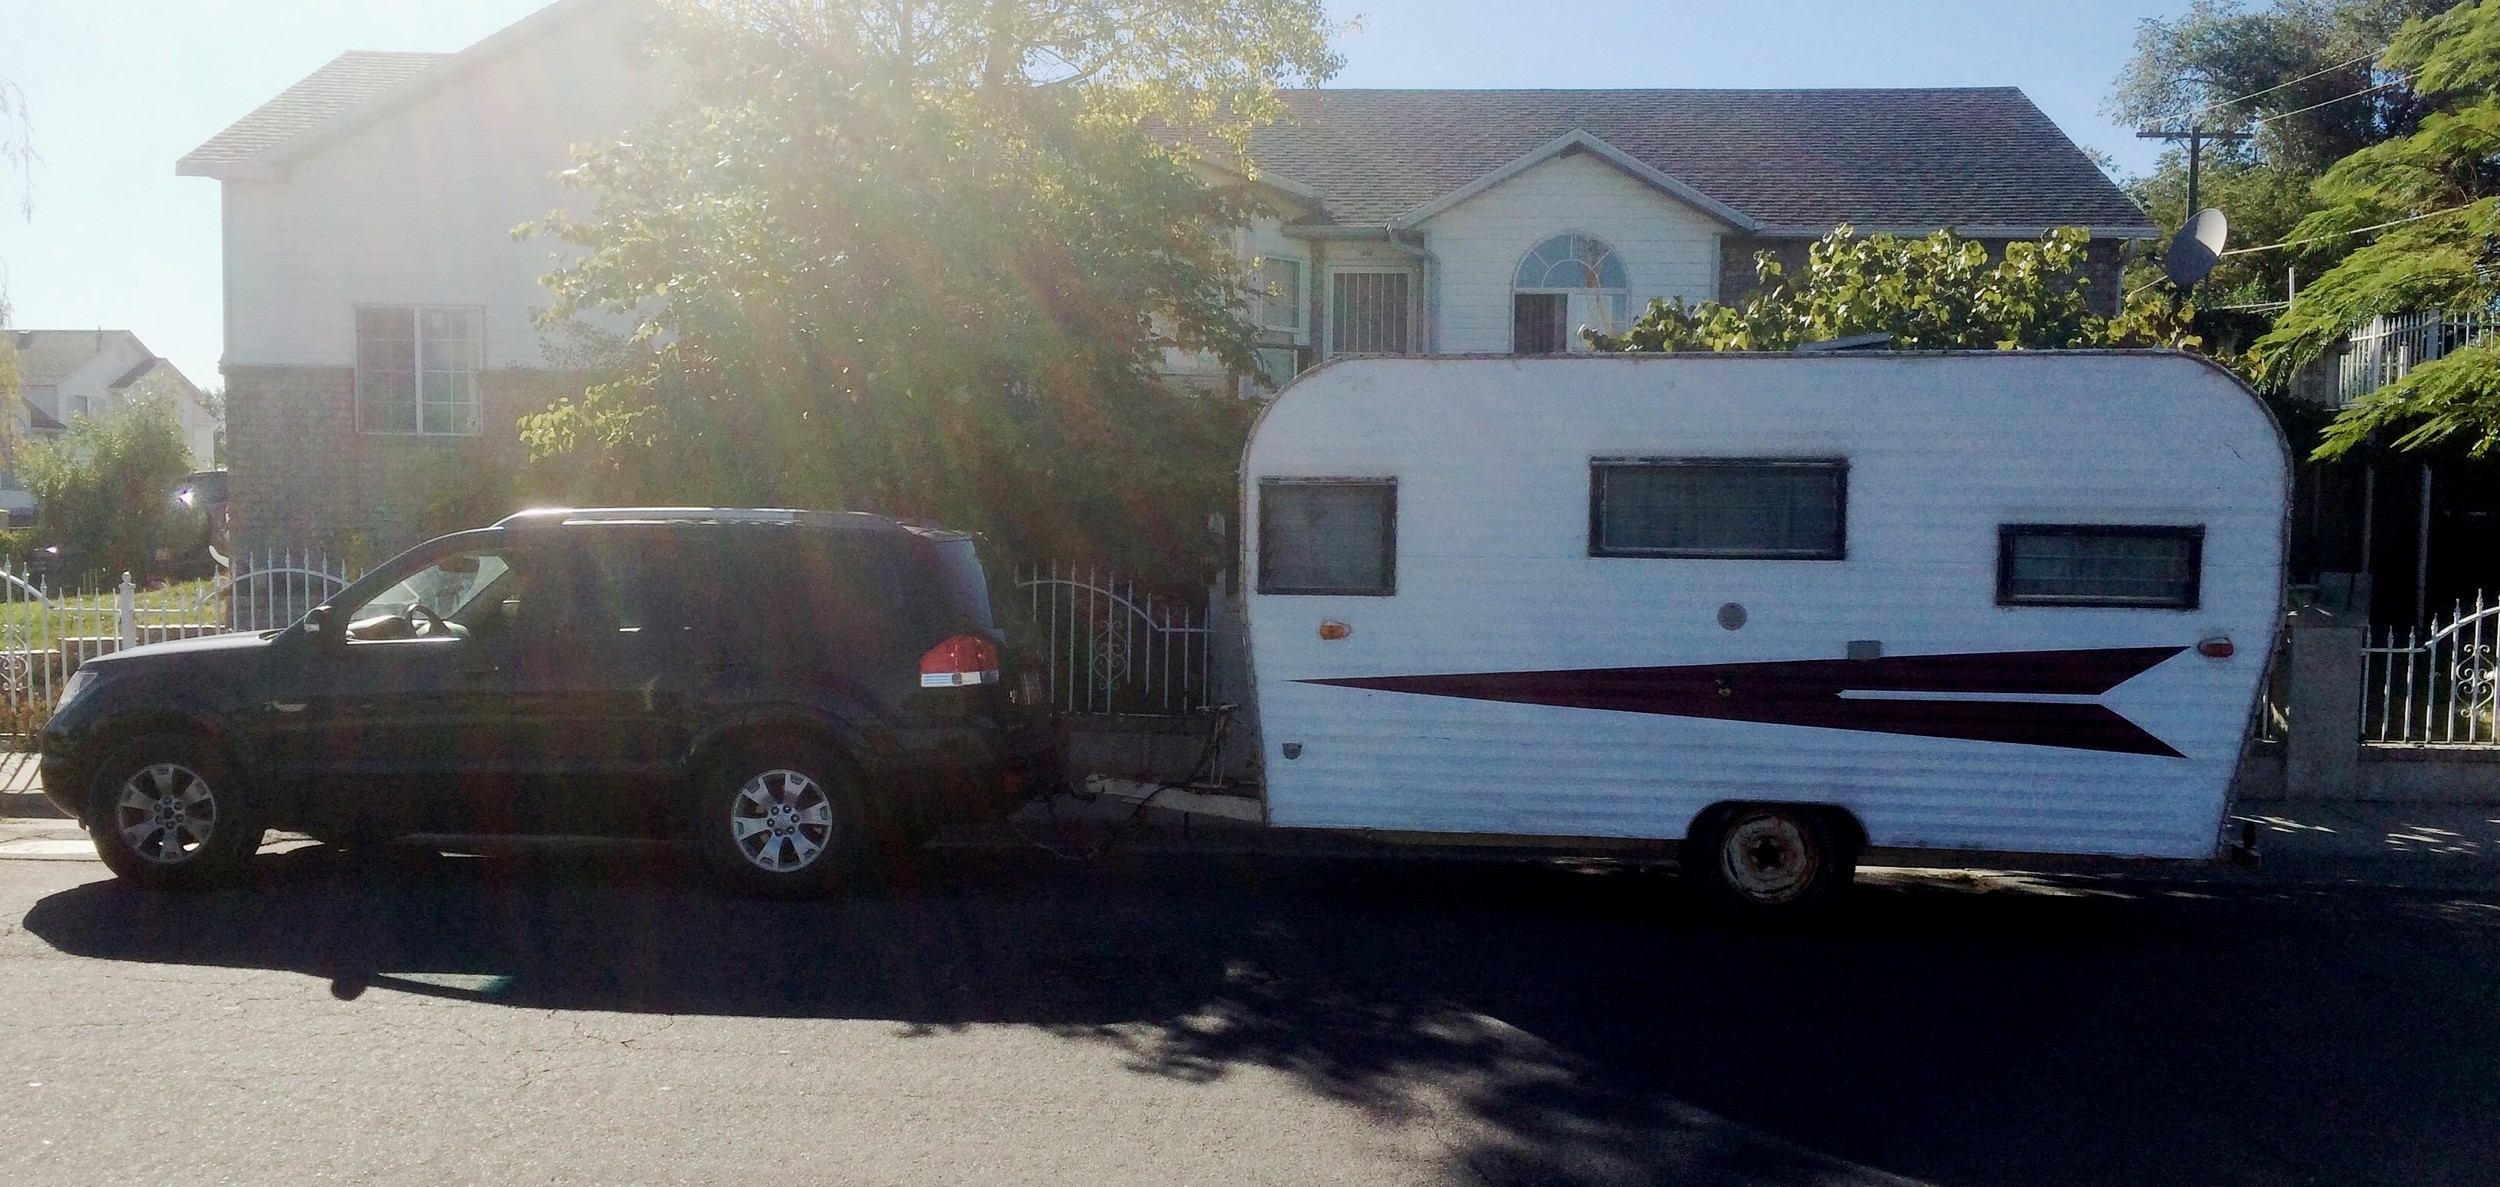
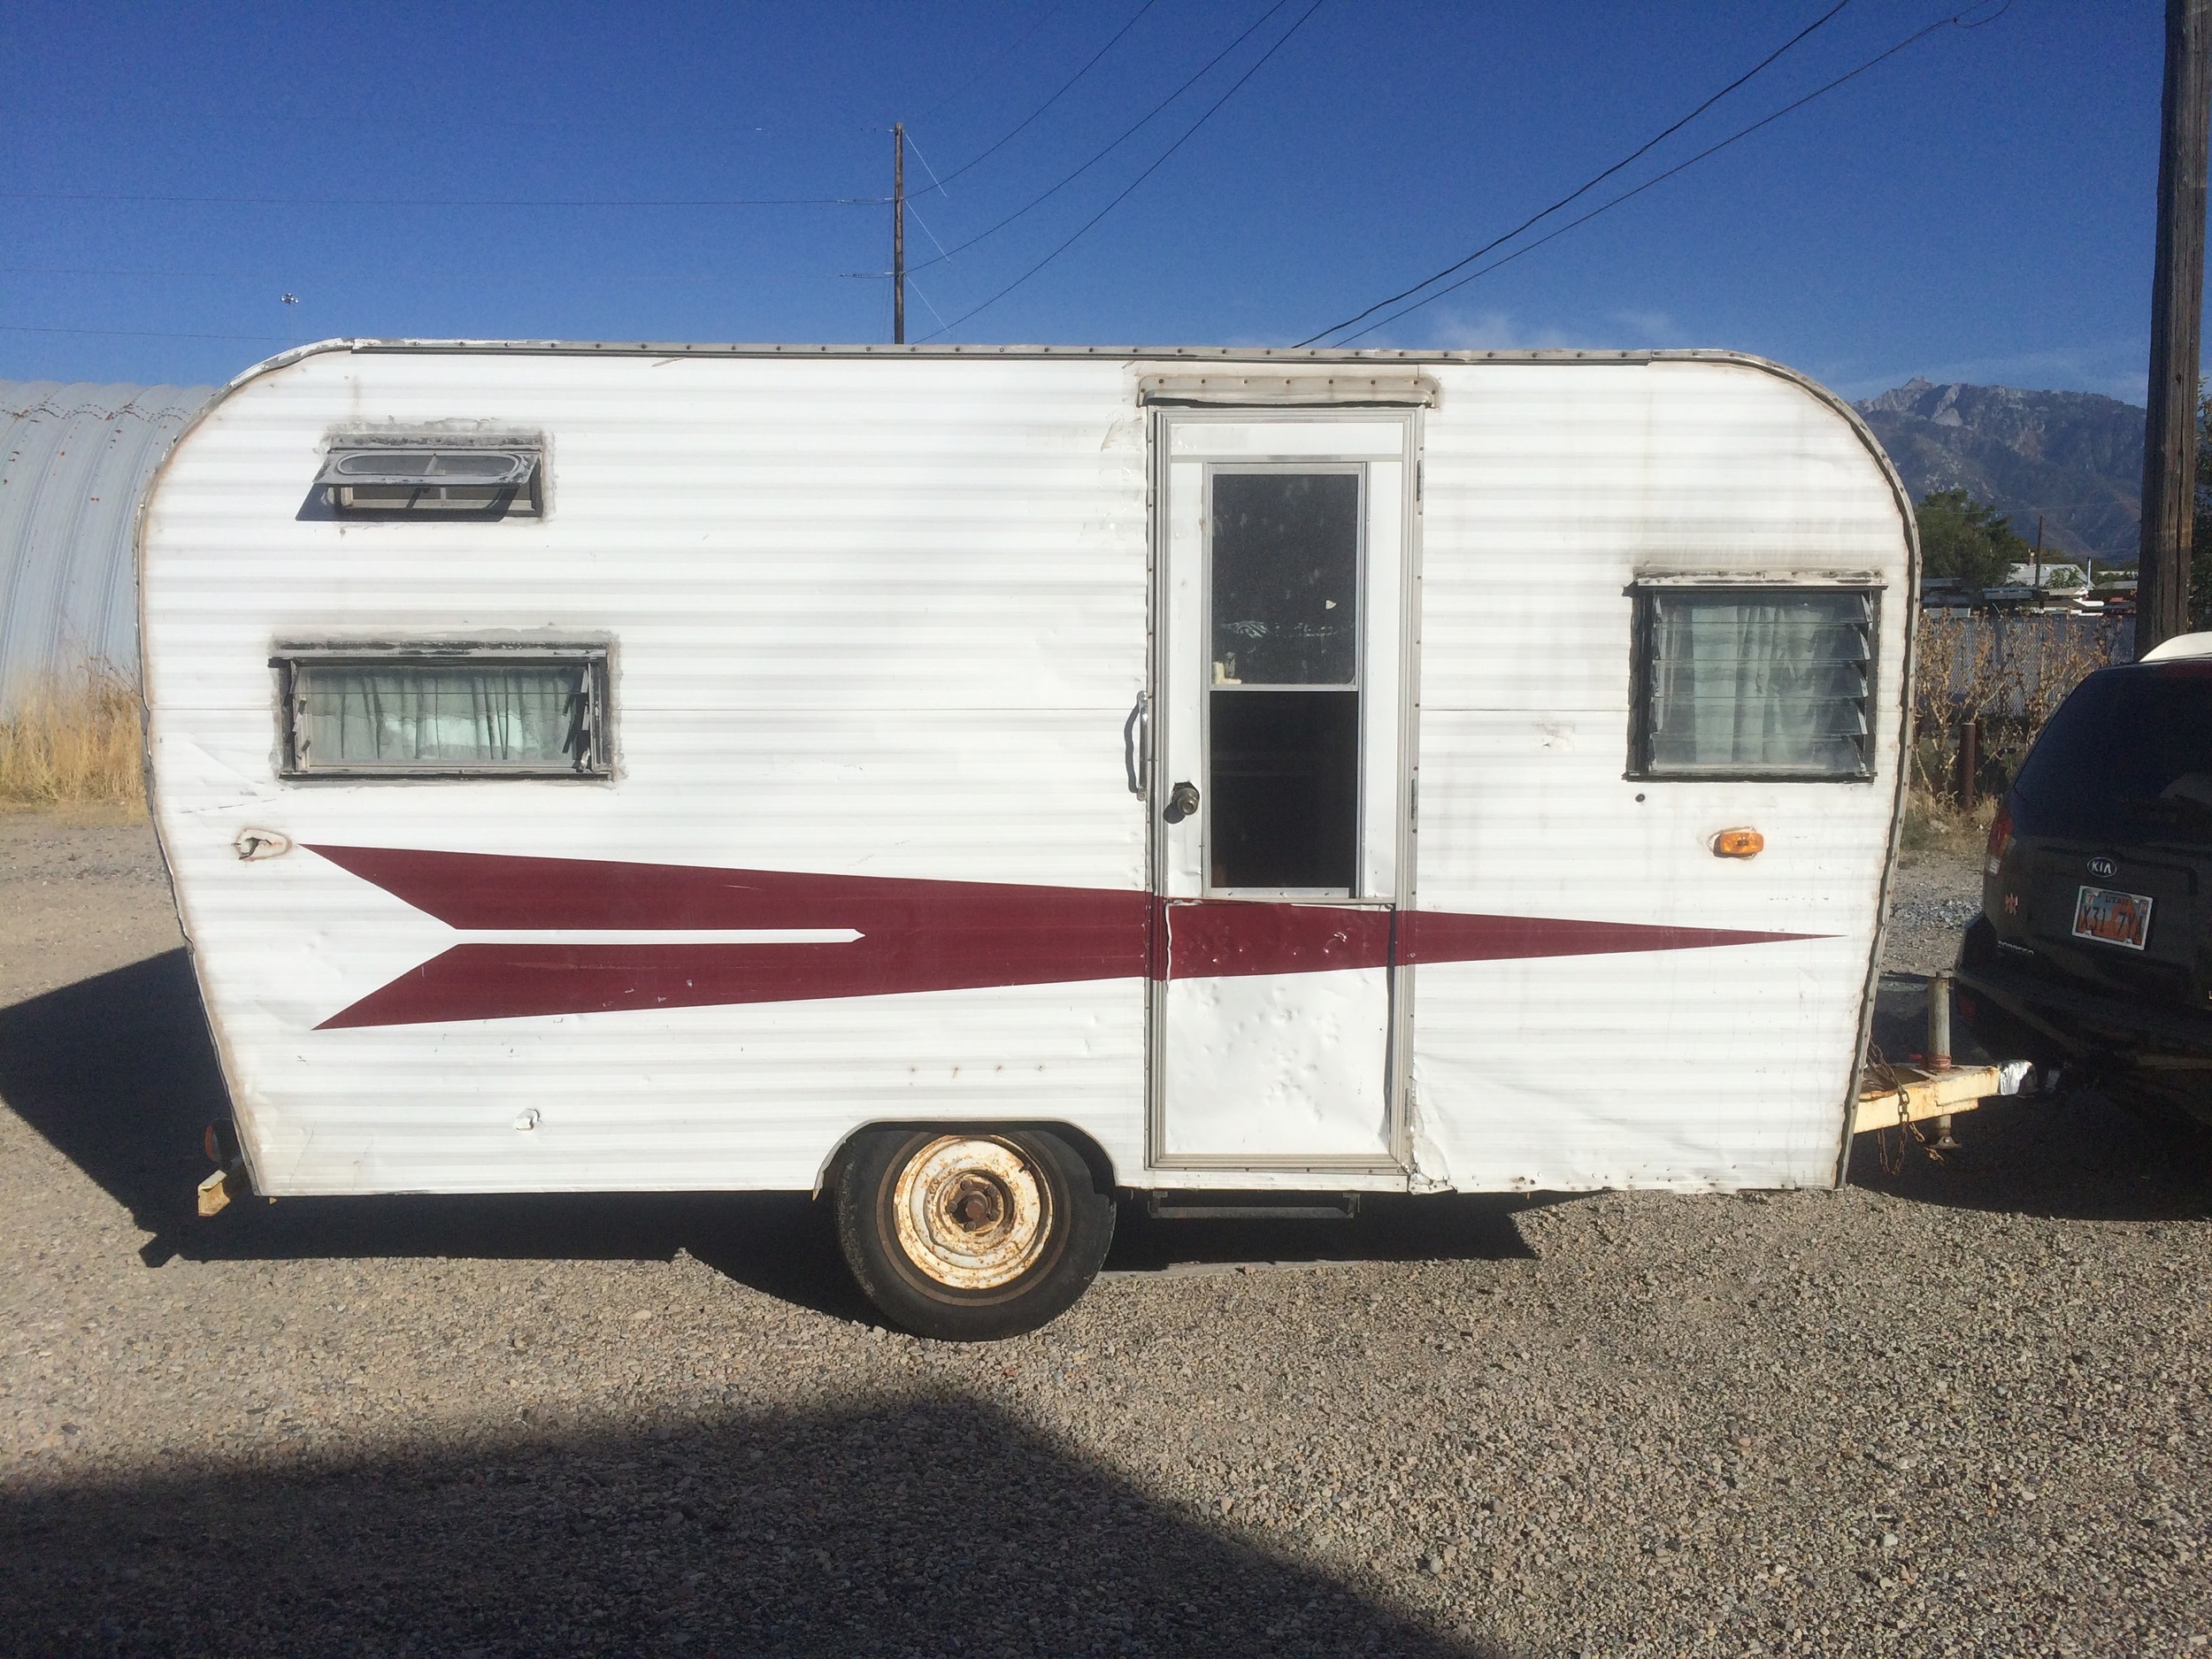
Exterior Walk-around:
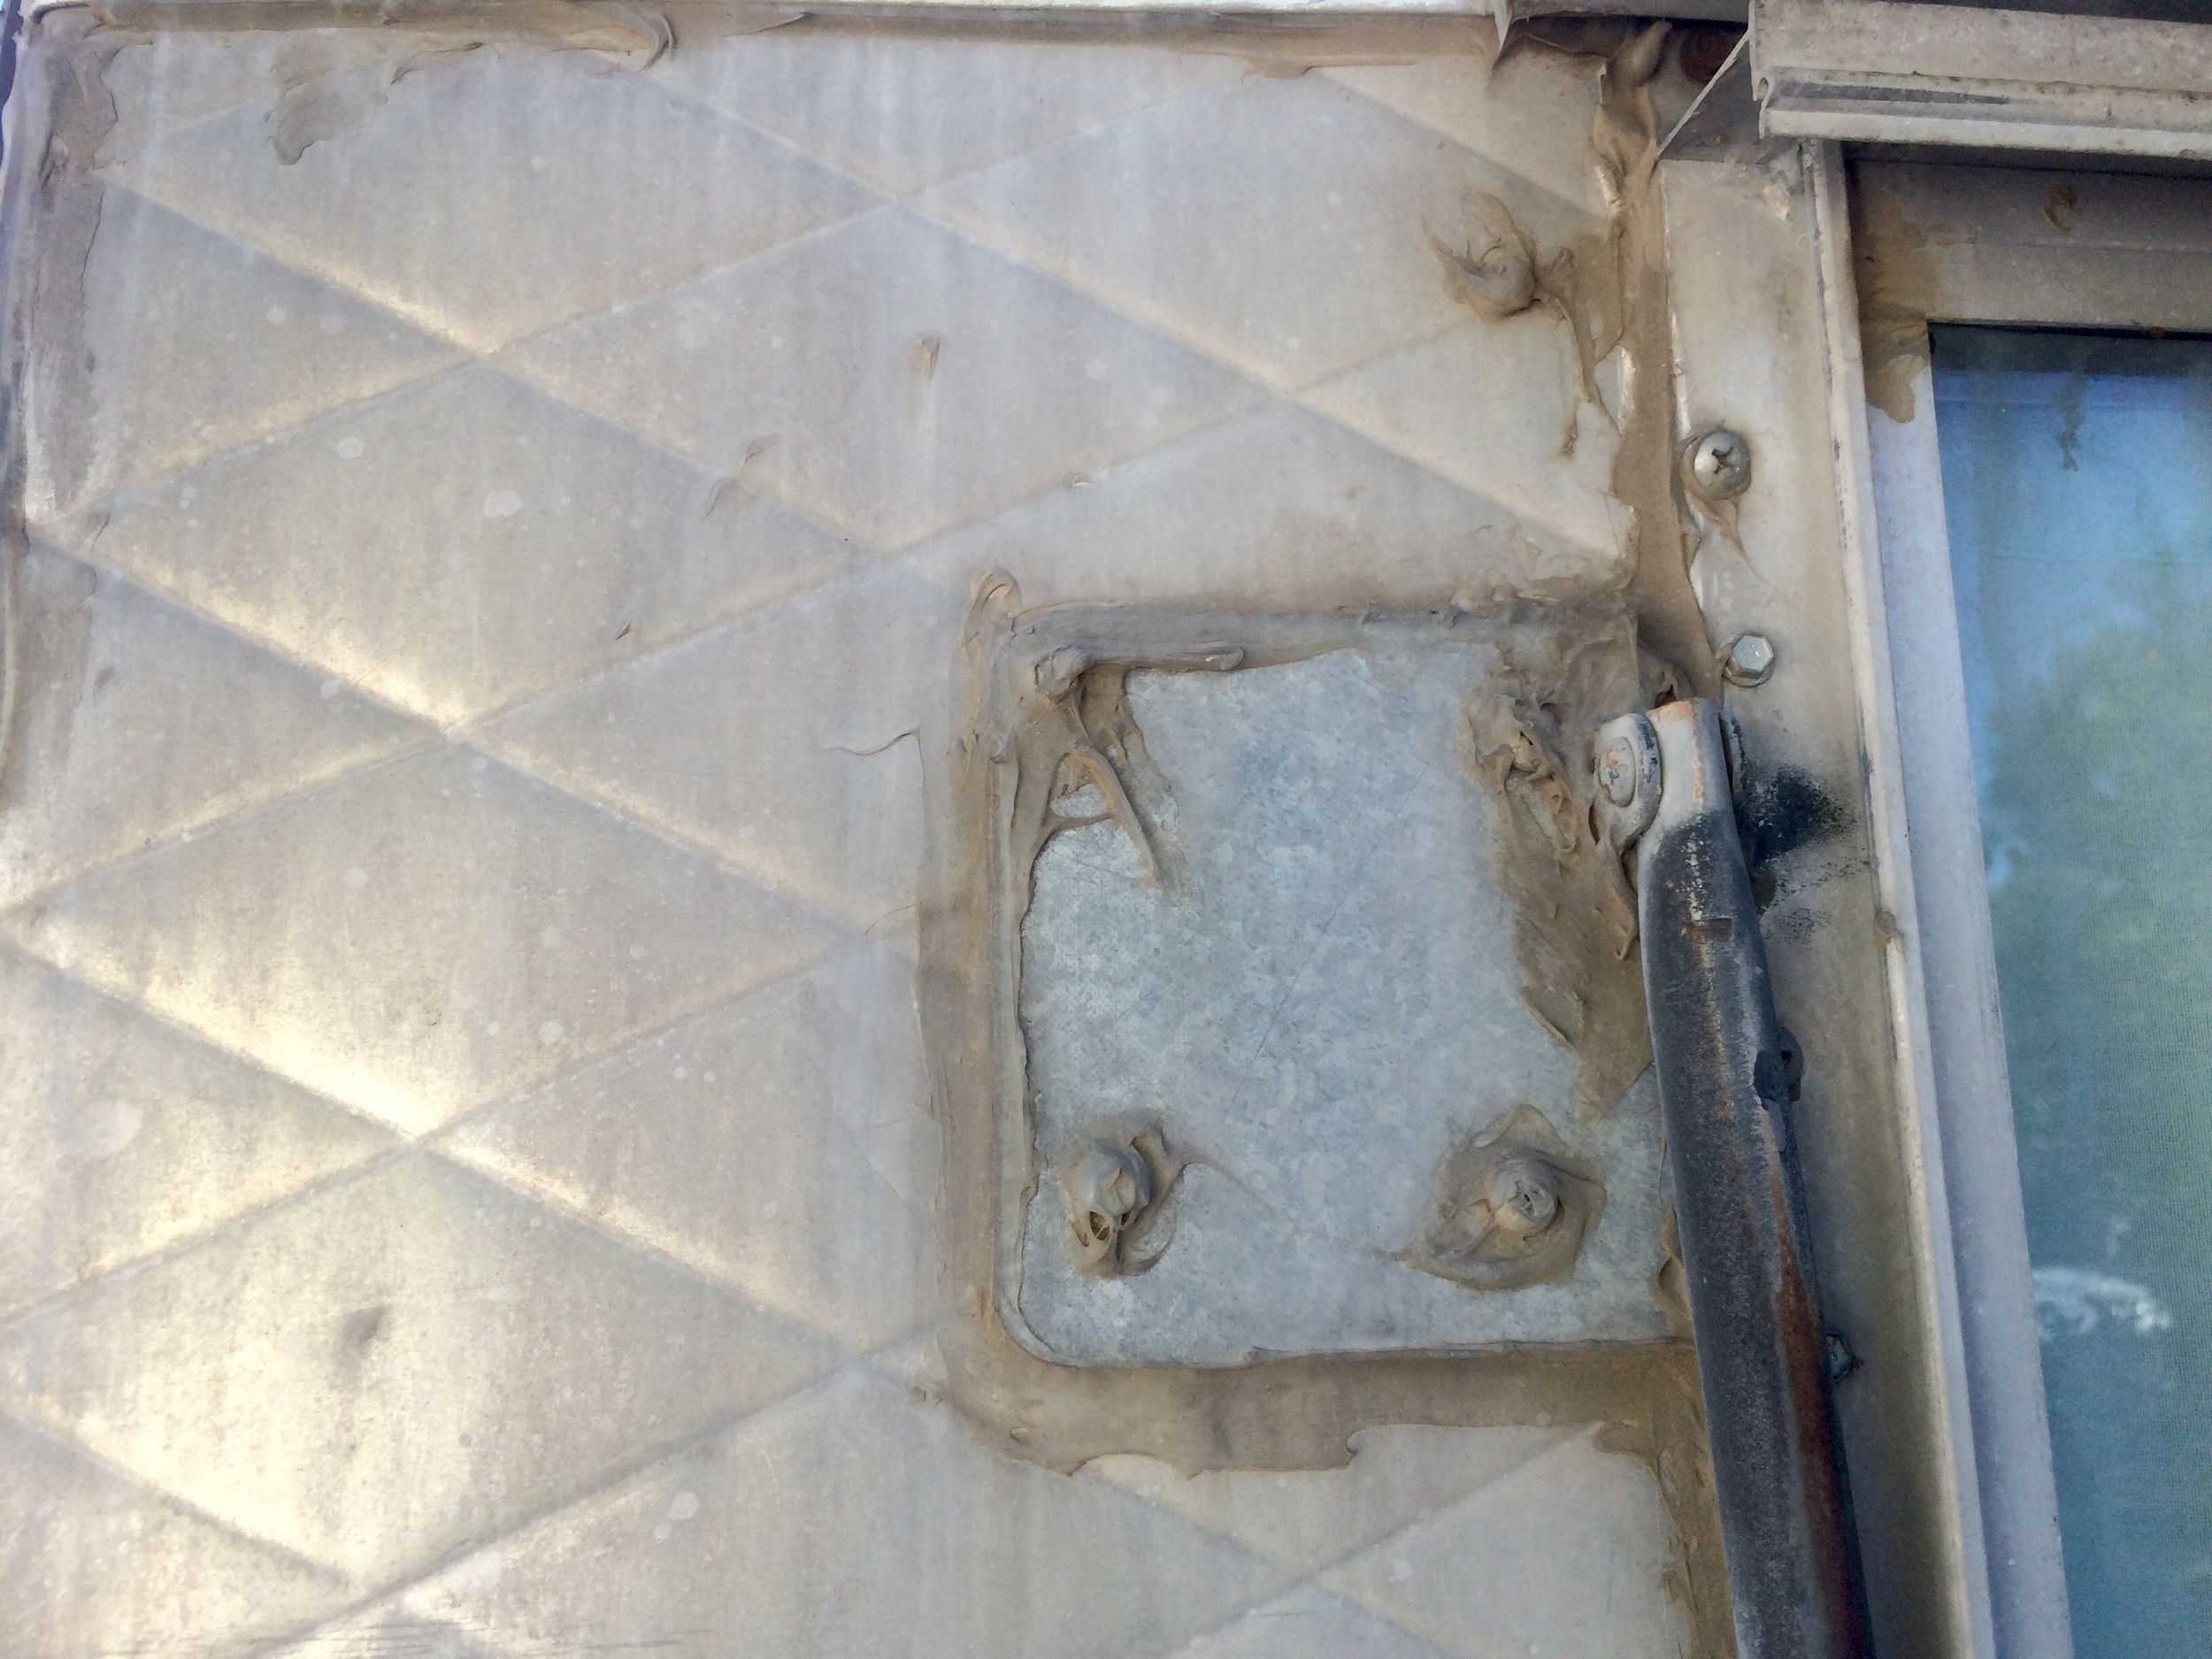
Silicone Caulk Removal
This thing is smeared with years of silicone caulking and re-caulking. It's pretty water-tight, but from what I've read online from RV and camper folk is DO NOT EVER USE SILICONE AGAIN!!! as it is so dang hard to get off! And once you get it off, do not use it to reseal it. Instead, use a ((((rubber caulk???))))
Products recommended by others:
DAP Silicone Be Gone was apparently THE product to use that worked miracles at disolving and jellying silicone to where it could be wiped away easily with just a towel. Of course, because it worked so well, DAP, removed it from the market?! Dang.

the kind I ordered: McKanica and I've tested it on a couple areas and it works pretty dang good--compared to anything else.
Motsenbockers LiftOff, which I found at Home Depot. Useless.
Goof Off. Better than the HD stuff, but not much.
This stuff overseas? Neither of them are available in the states. I've seen some vids on YouTube for these. This one is from Estonia
http://penosil.com/gb/cleaners/66-penosil-premium-silicone-remover-6024.html
And this one is from England.
http://www.unibond.co.uk/en/sealants/tools---accessories/silicone-sealant-remover.html
Very helpful discussion and review on silicone caulk removers
http://www.fiberglassrv.com/forums/f55/silicone-remover-51074.html
No Title or Papers
Utah DMV has this process: Link to it.
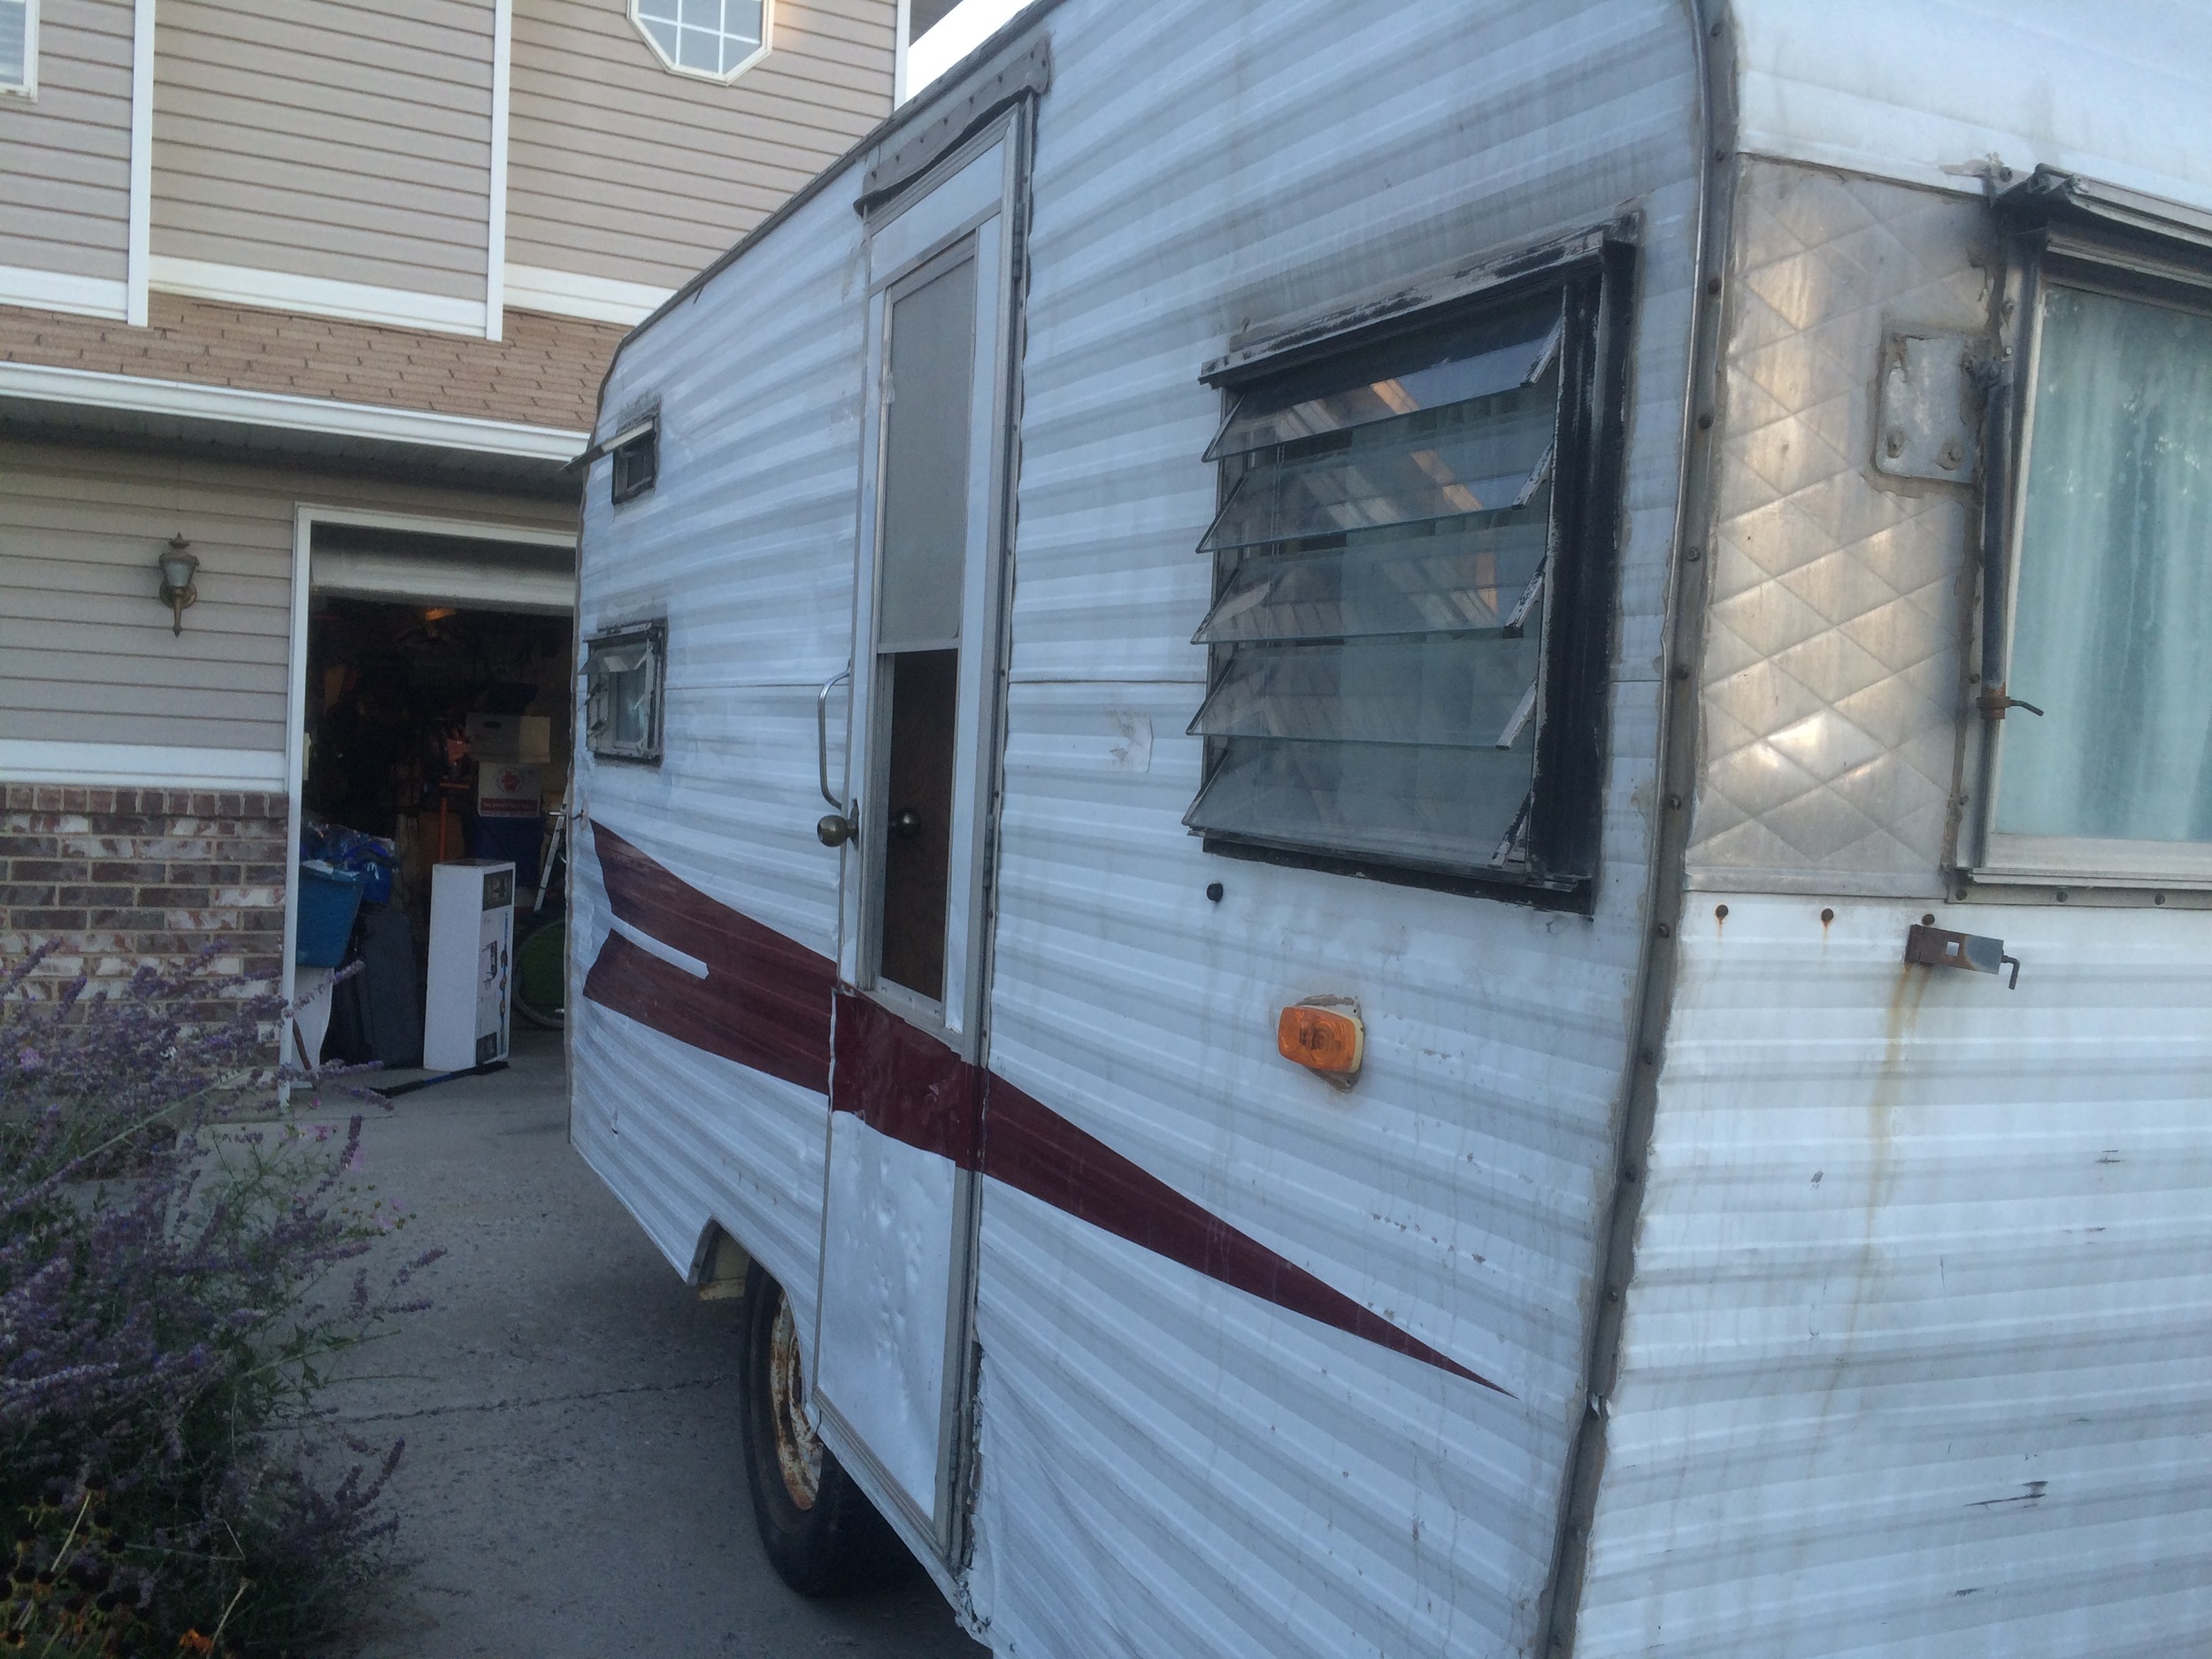
Door
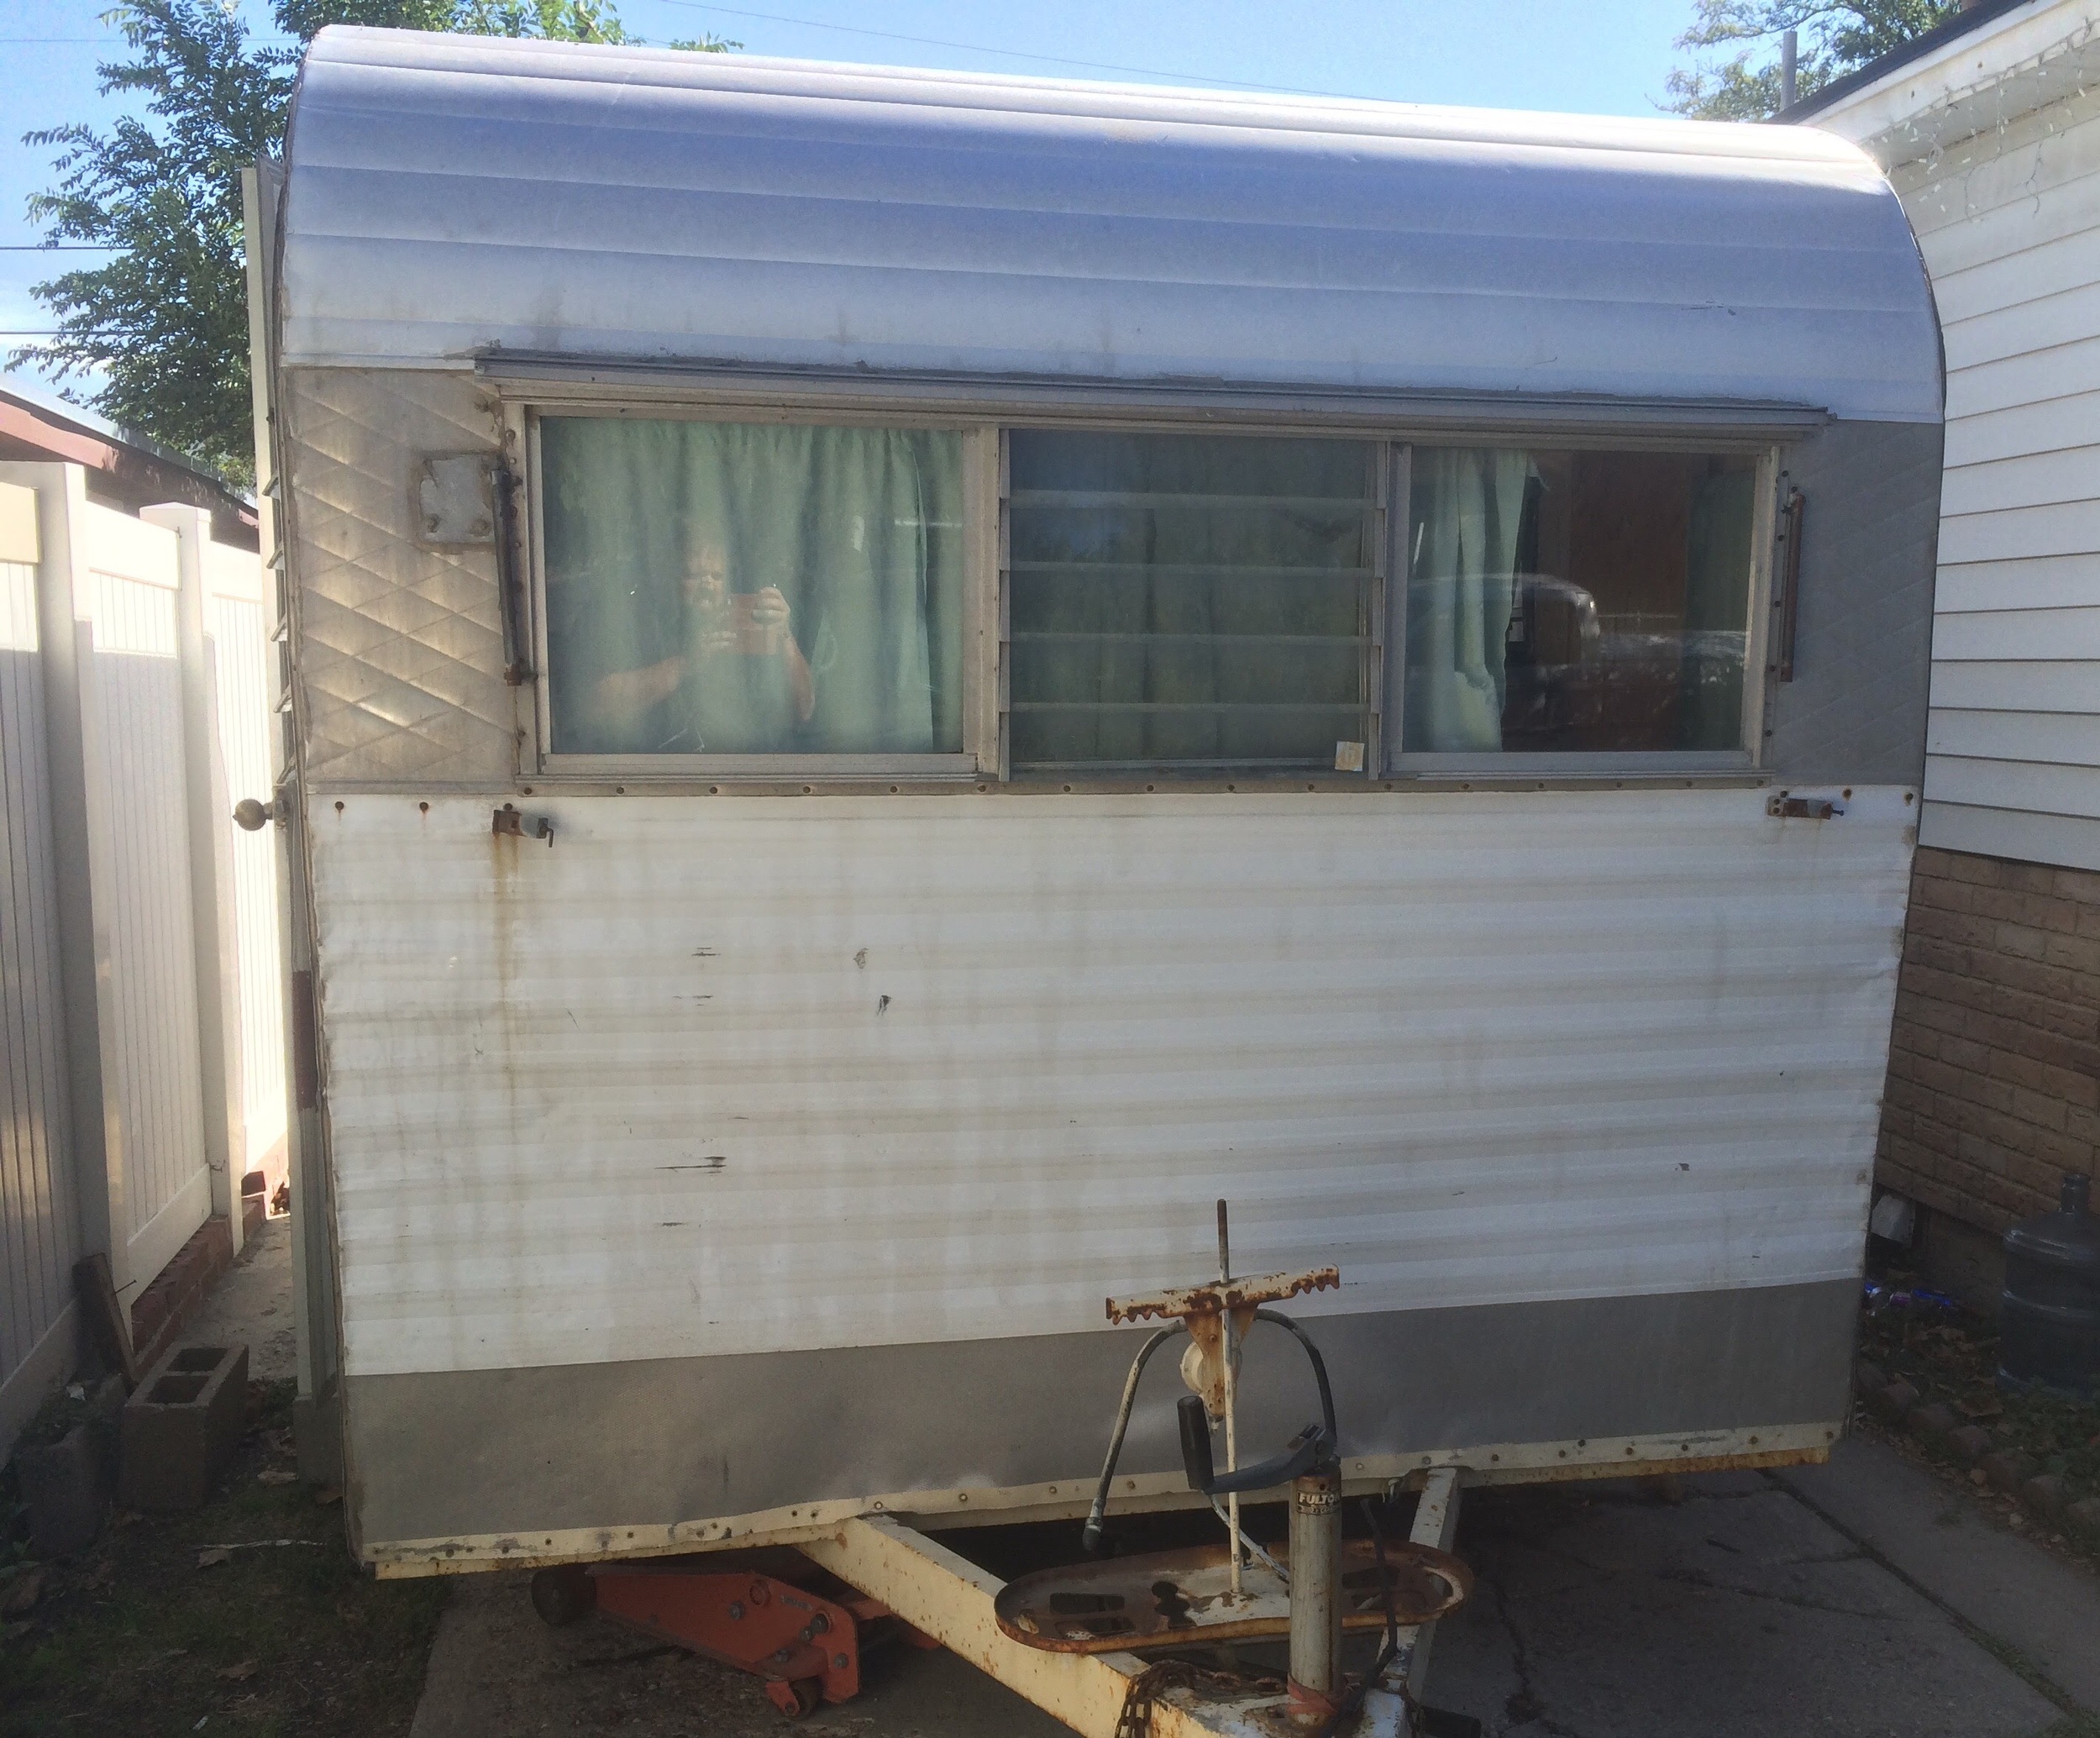
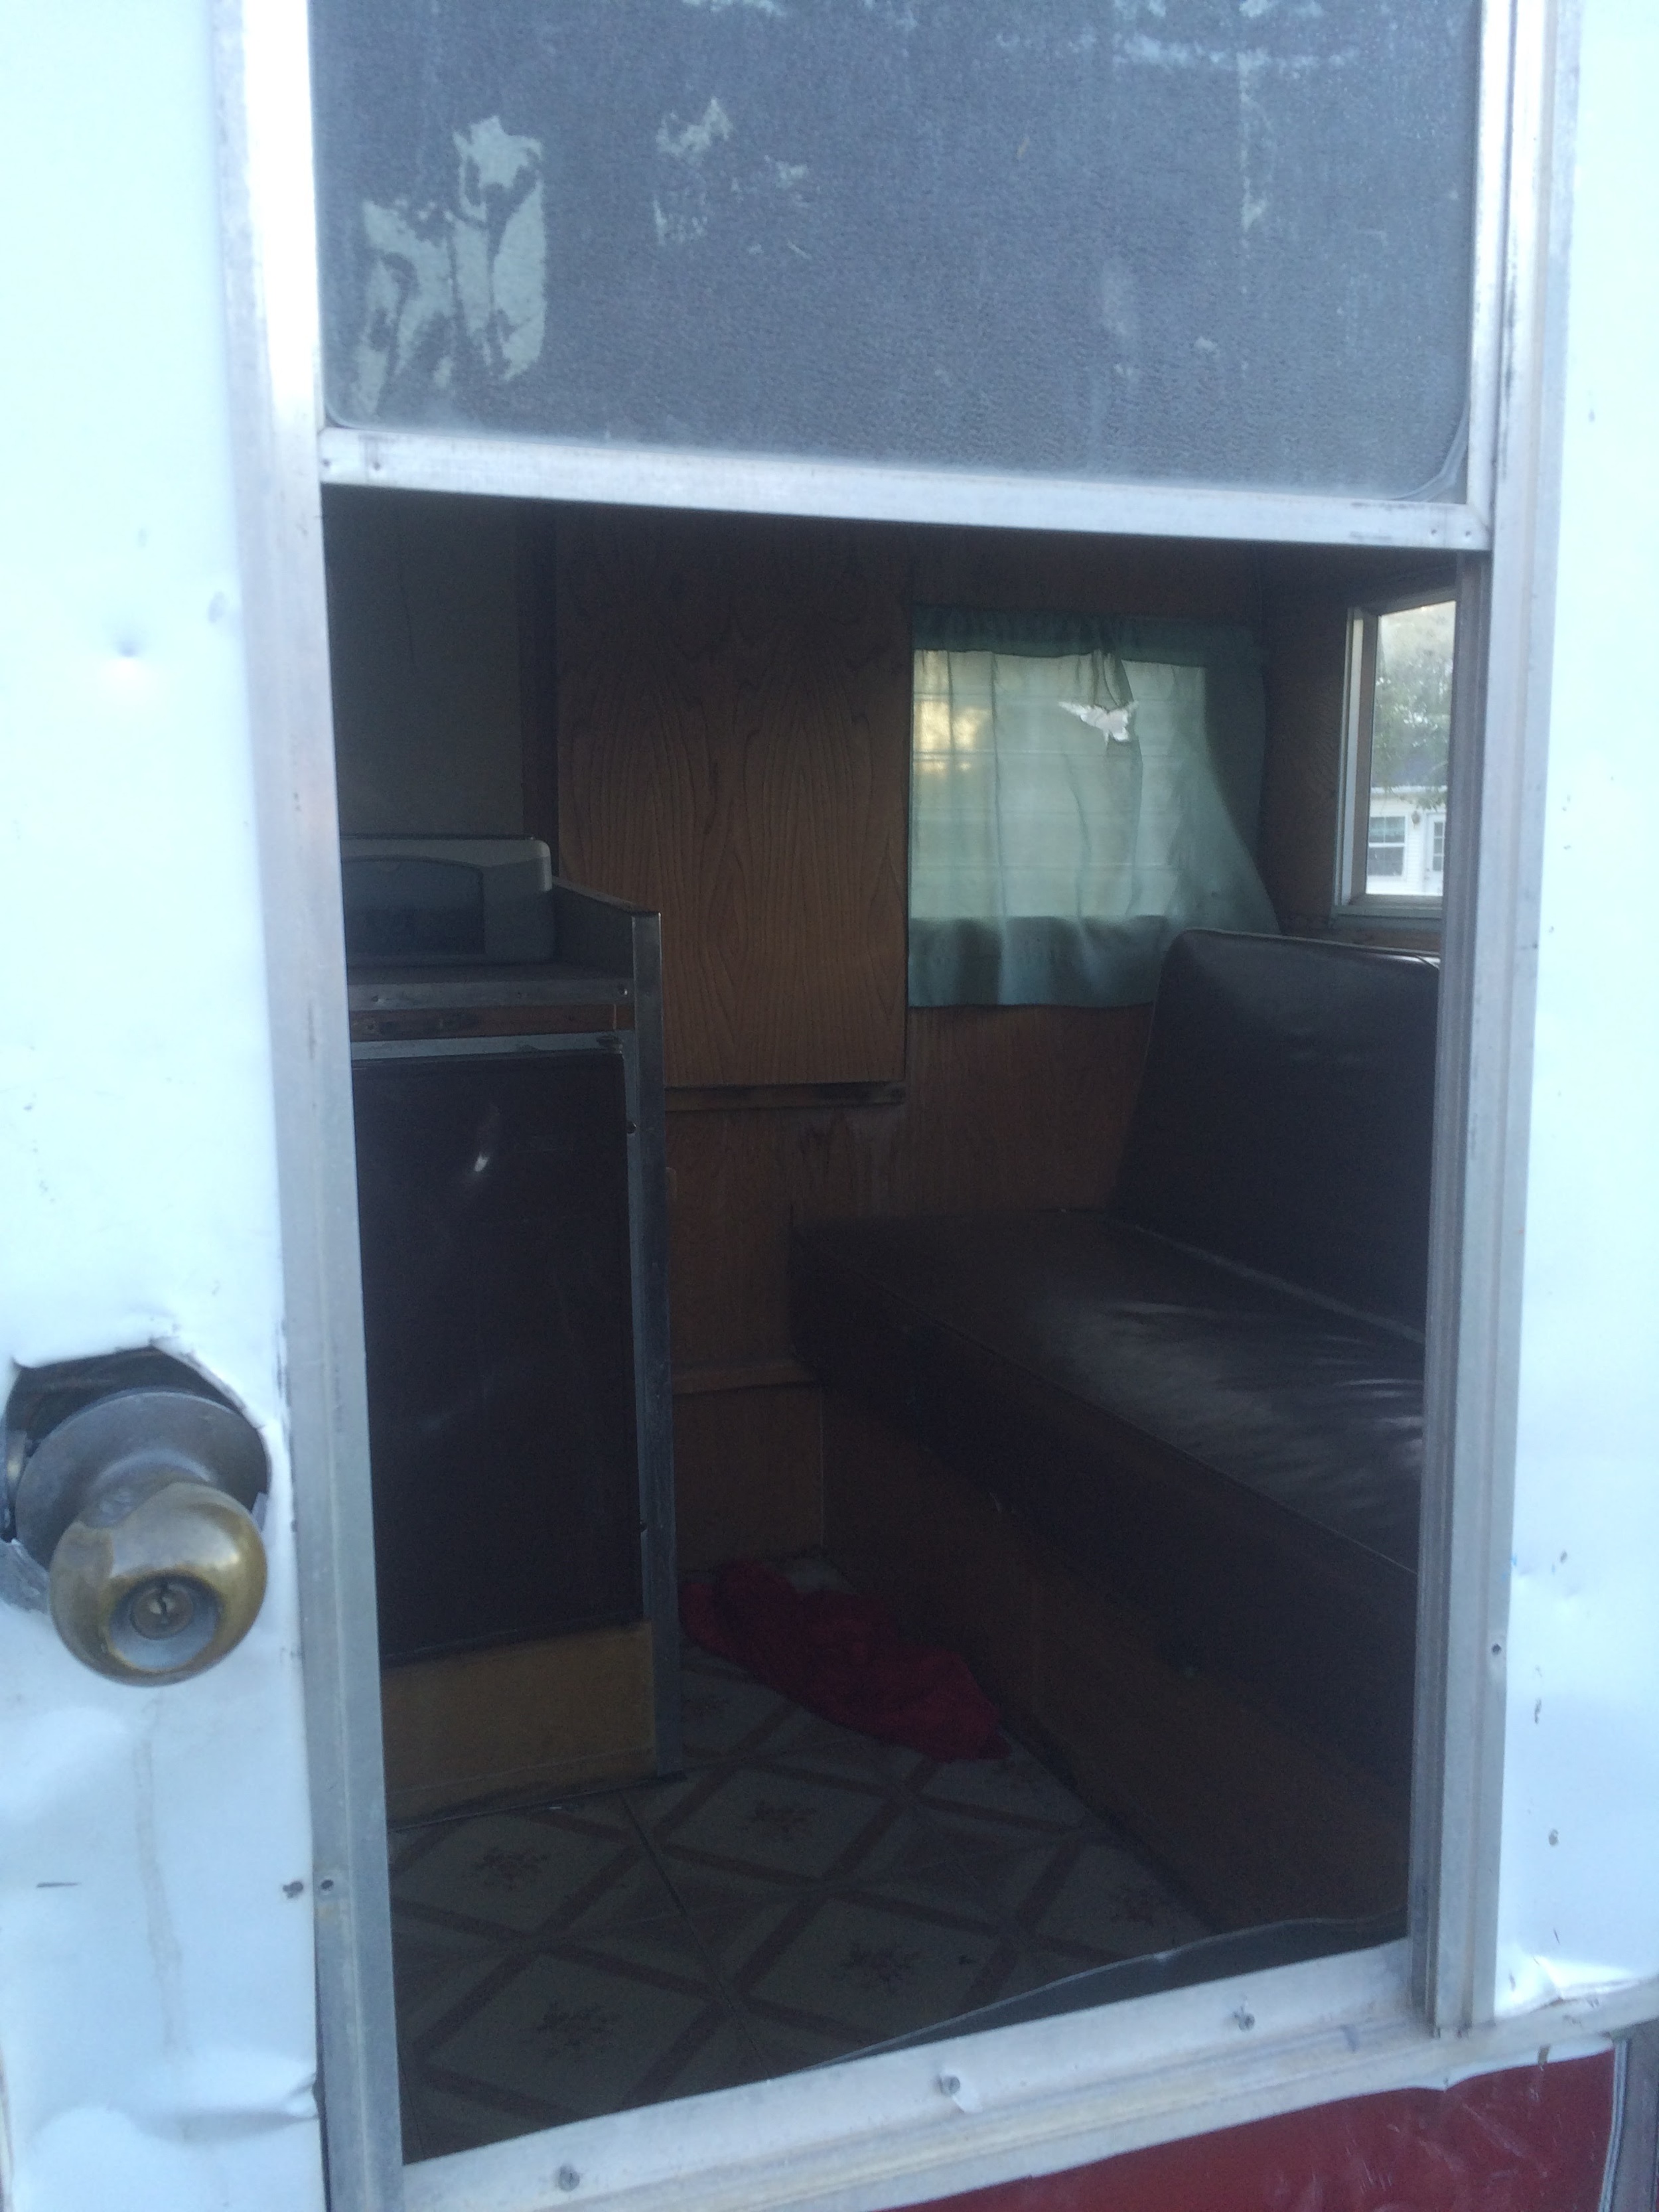
Before: The door was in bad shape.
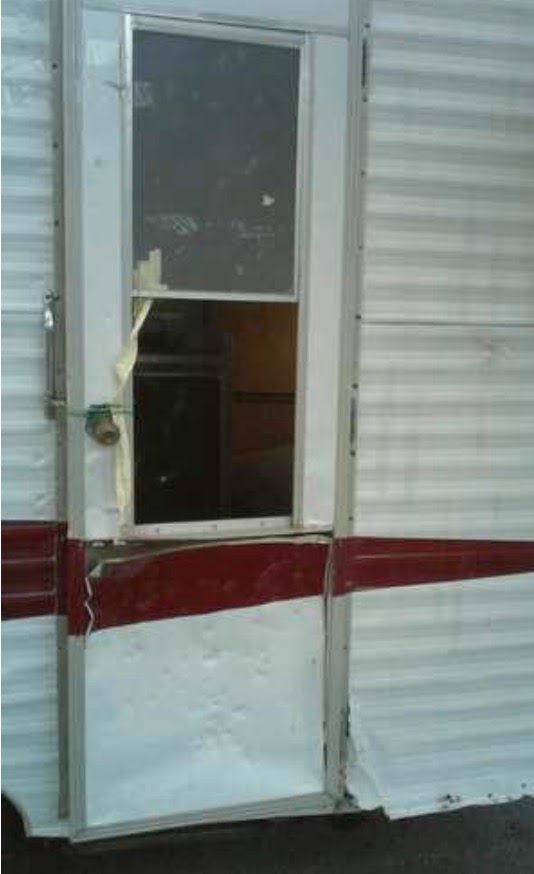
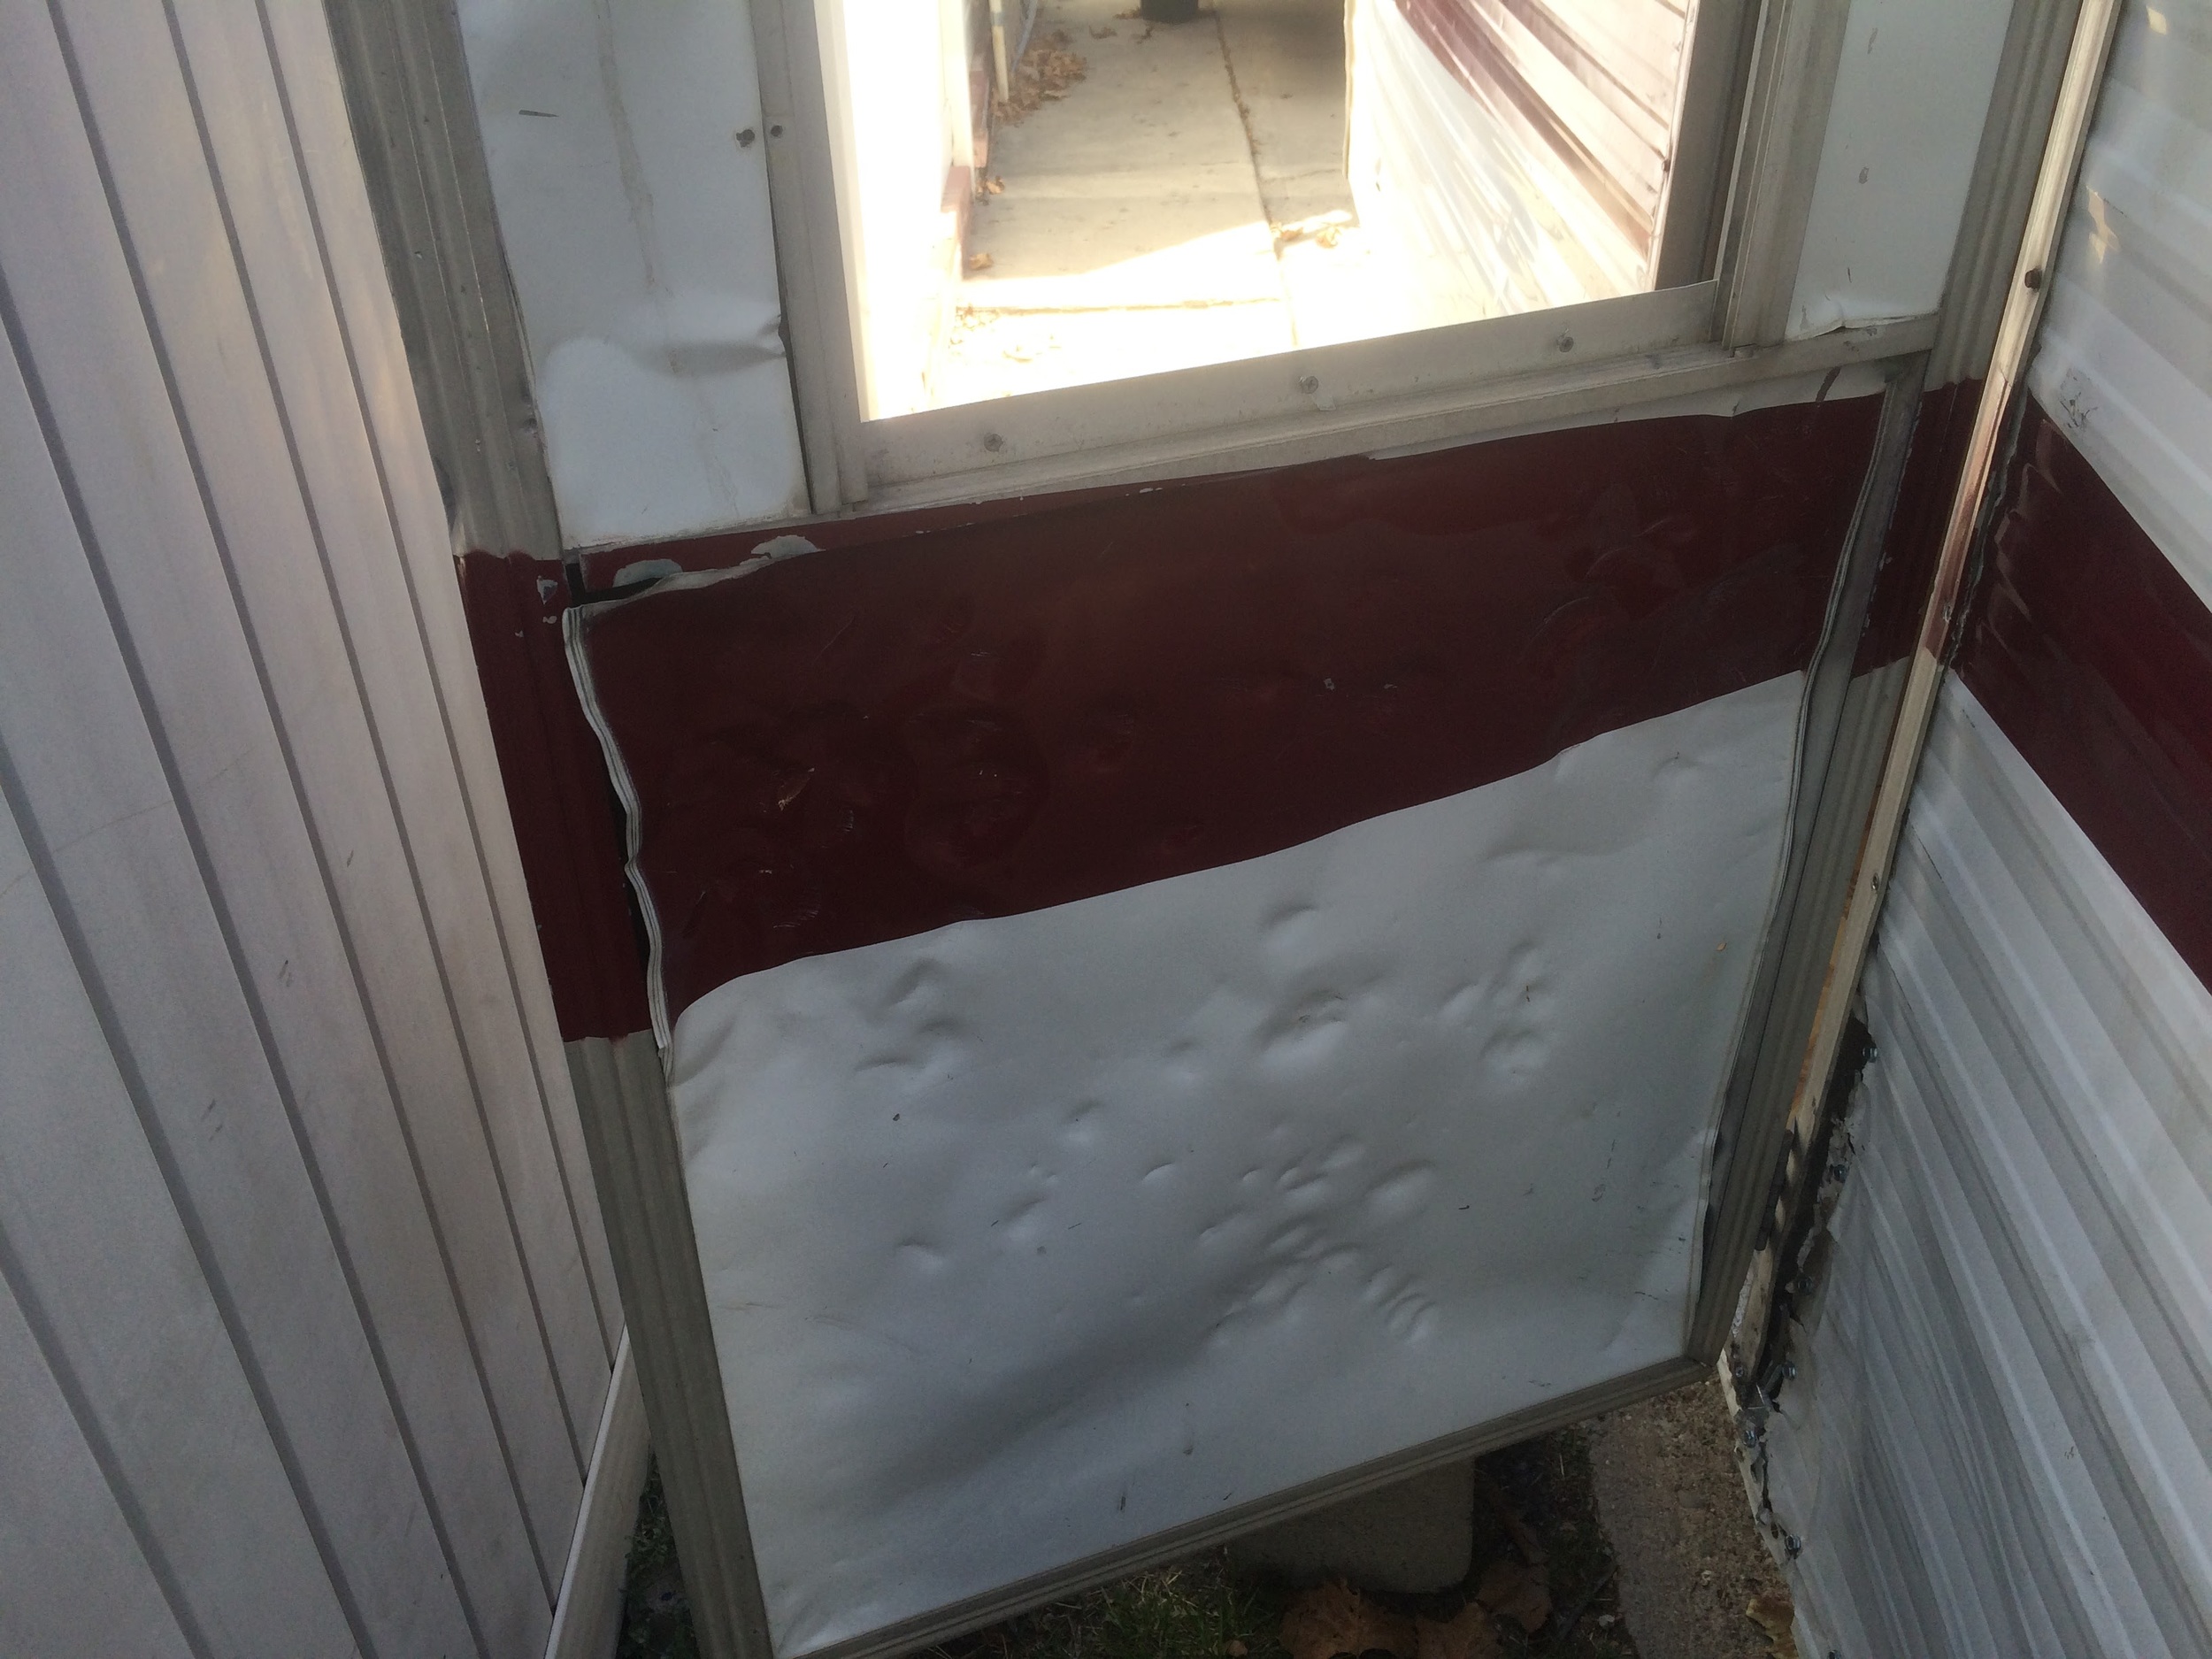
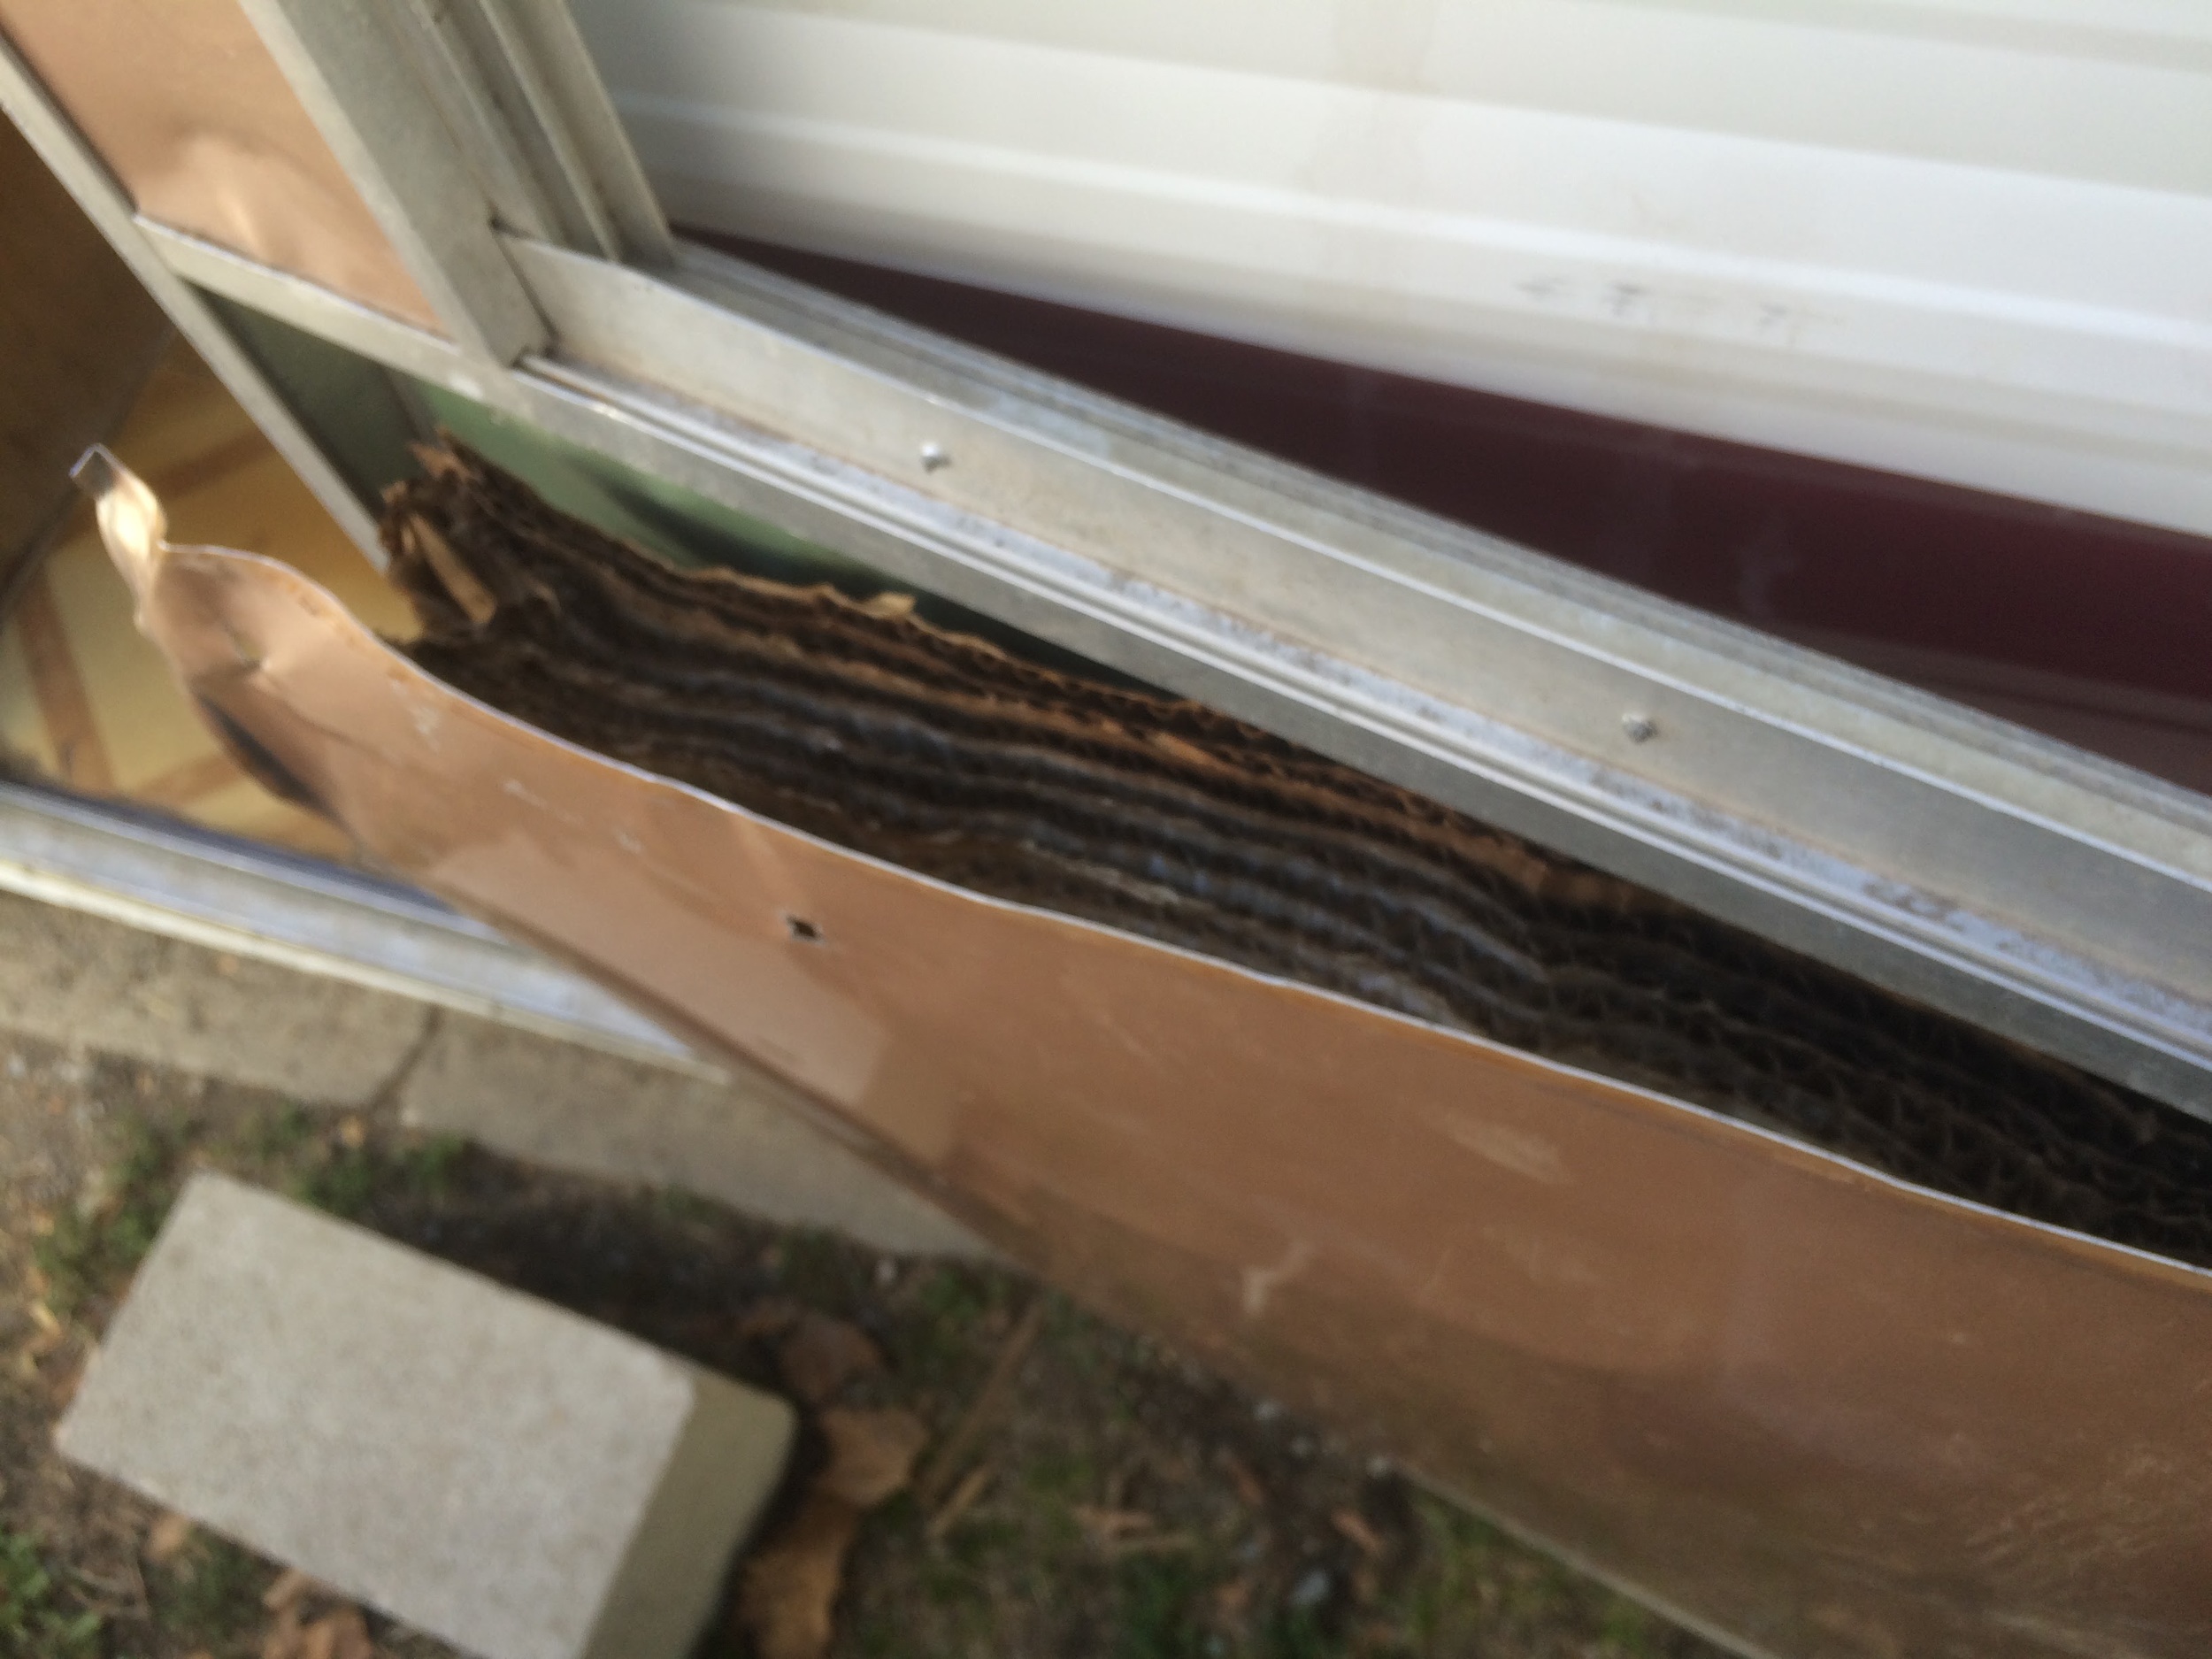
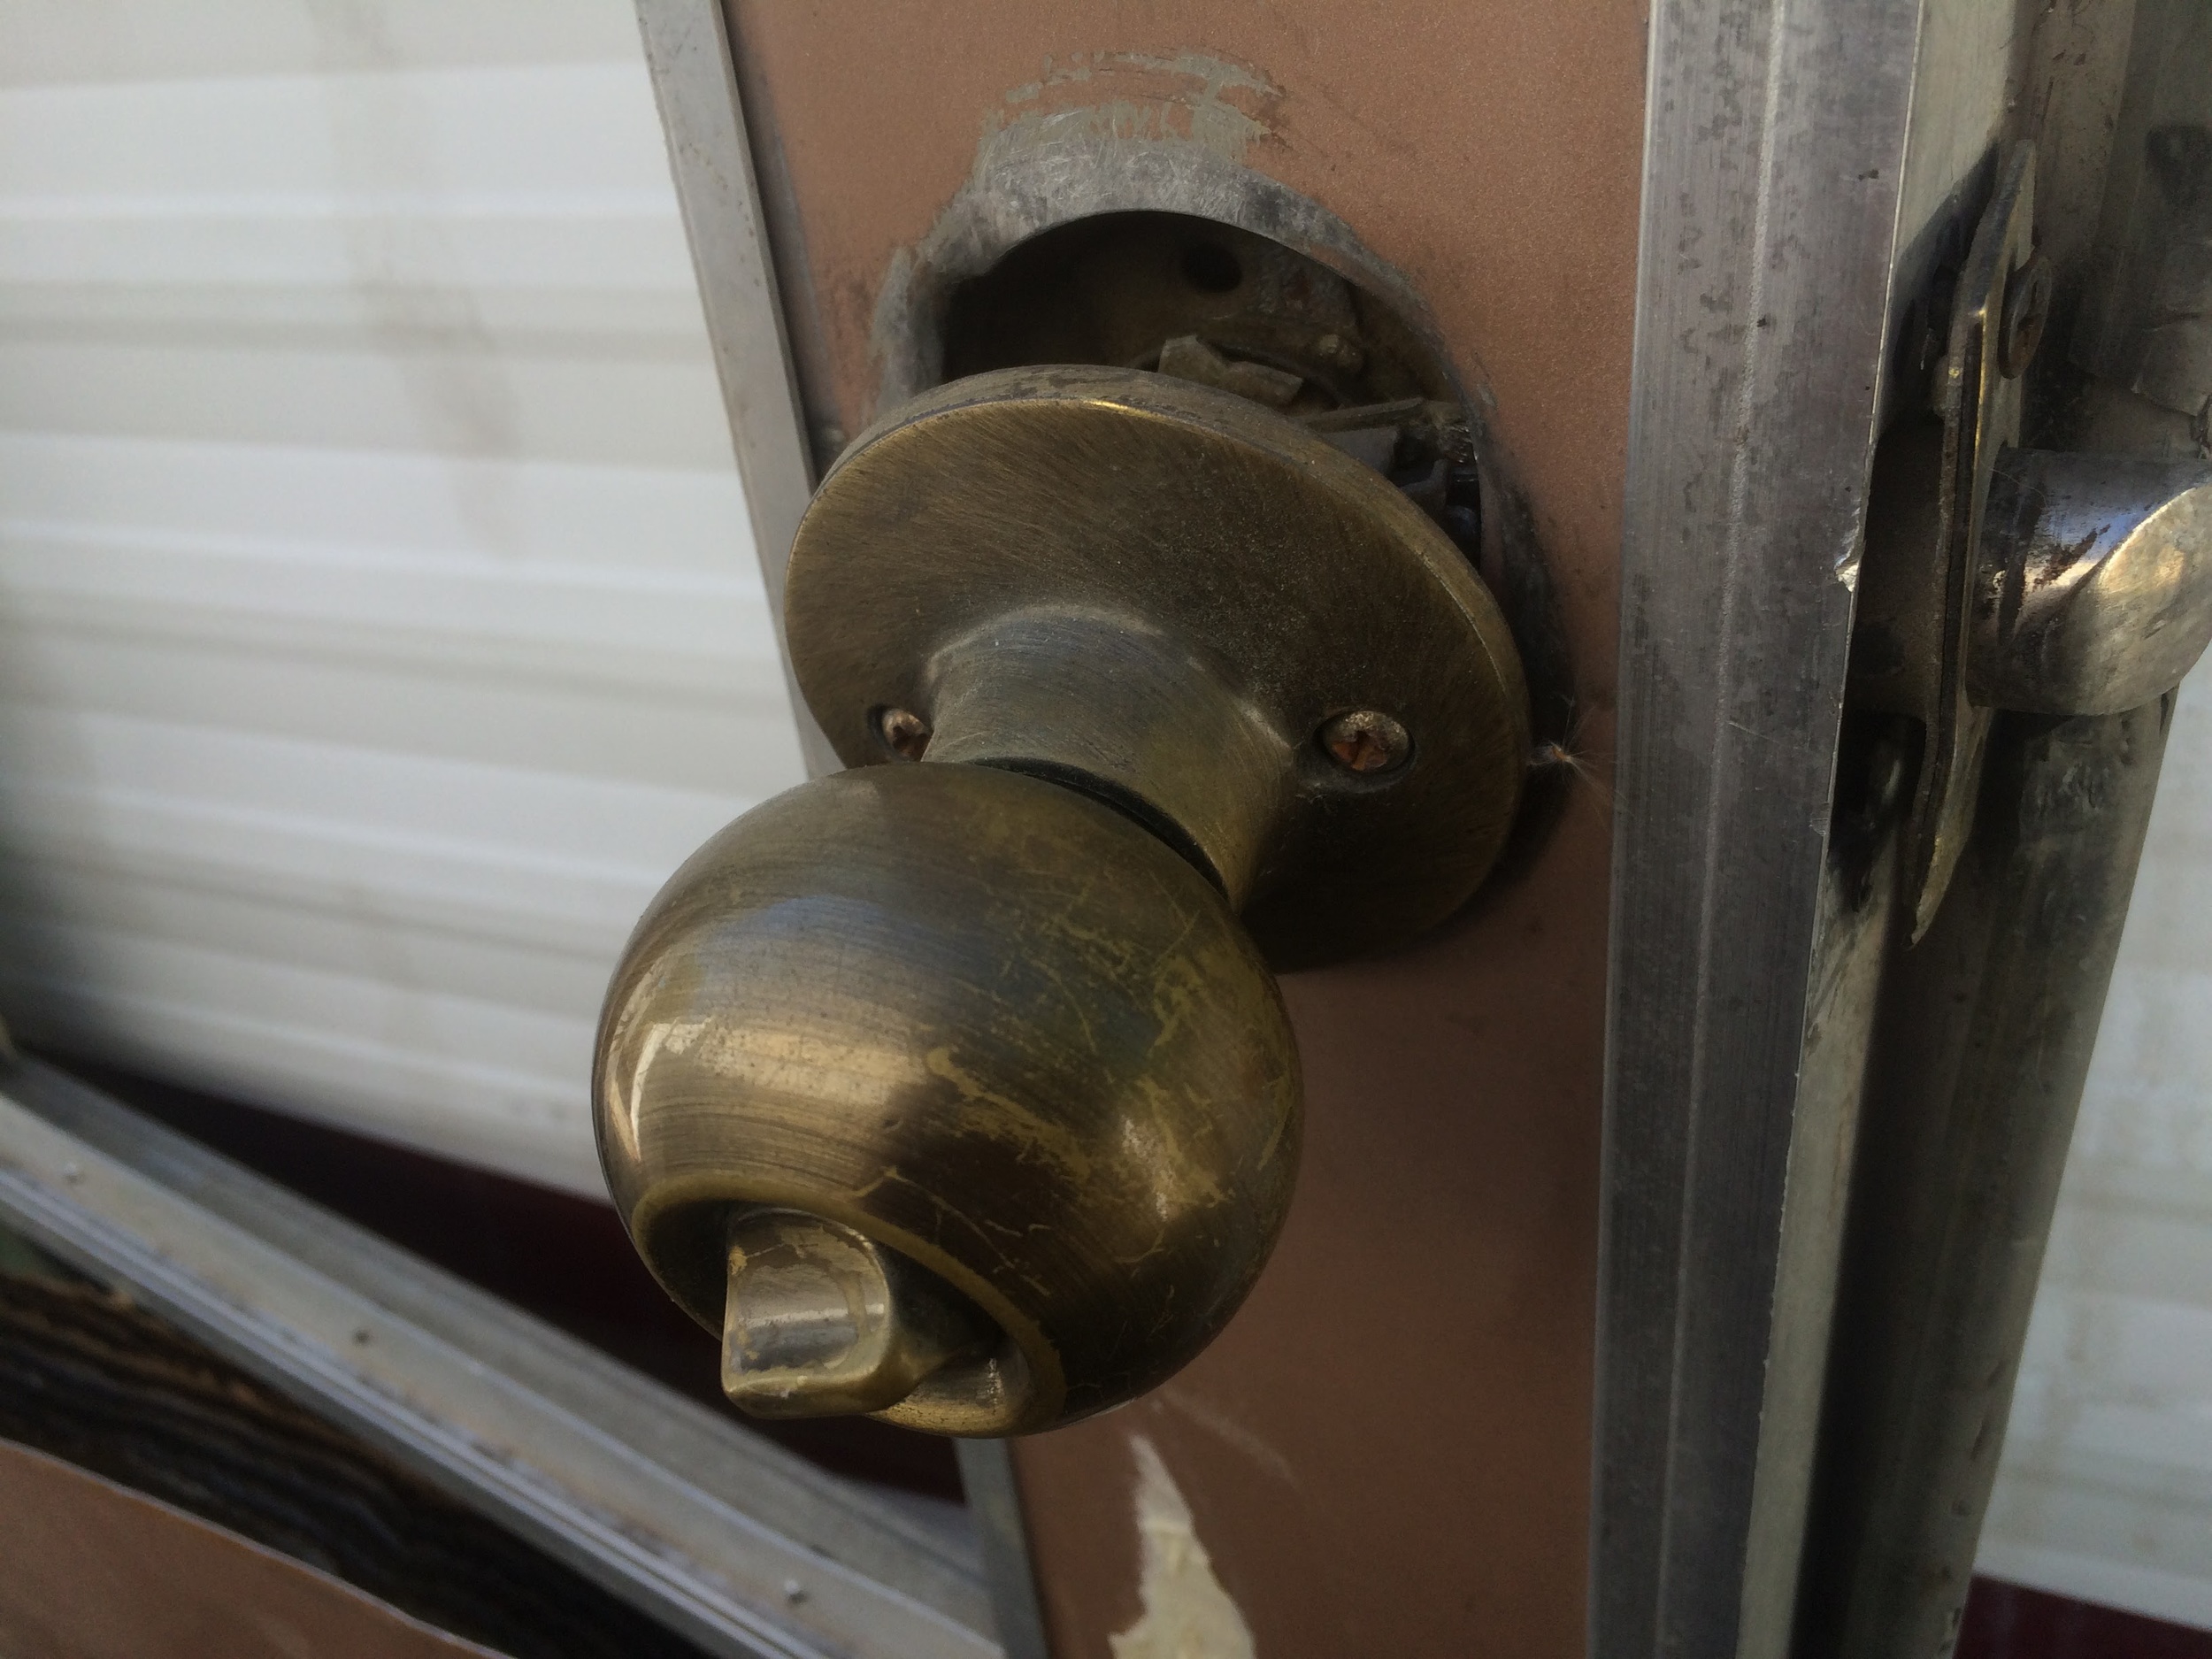
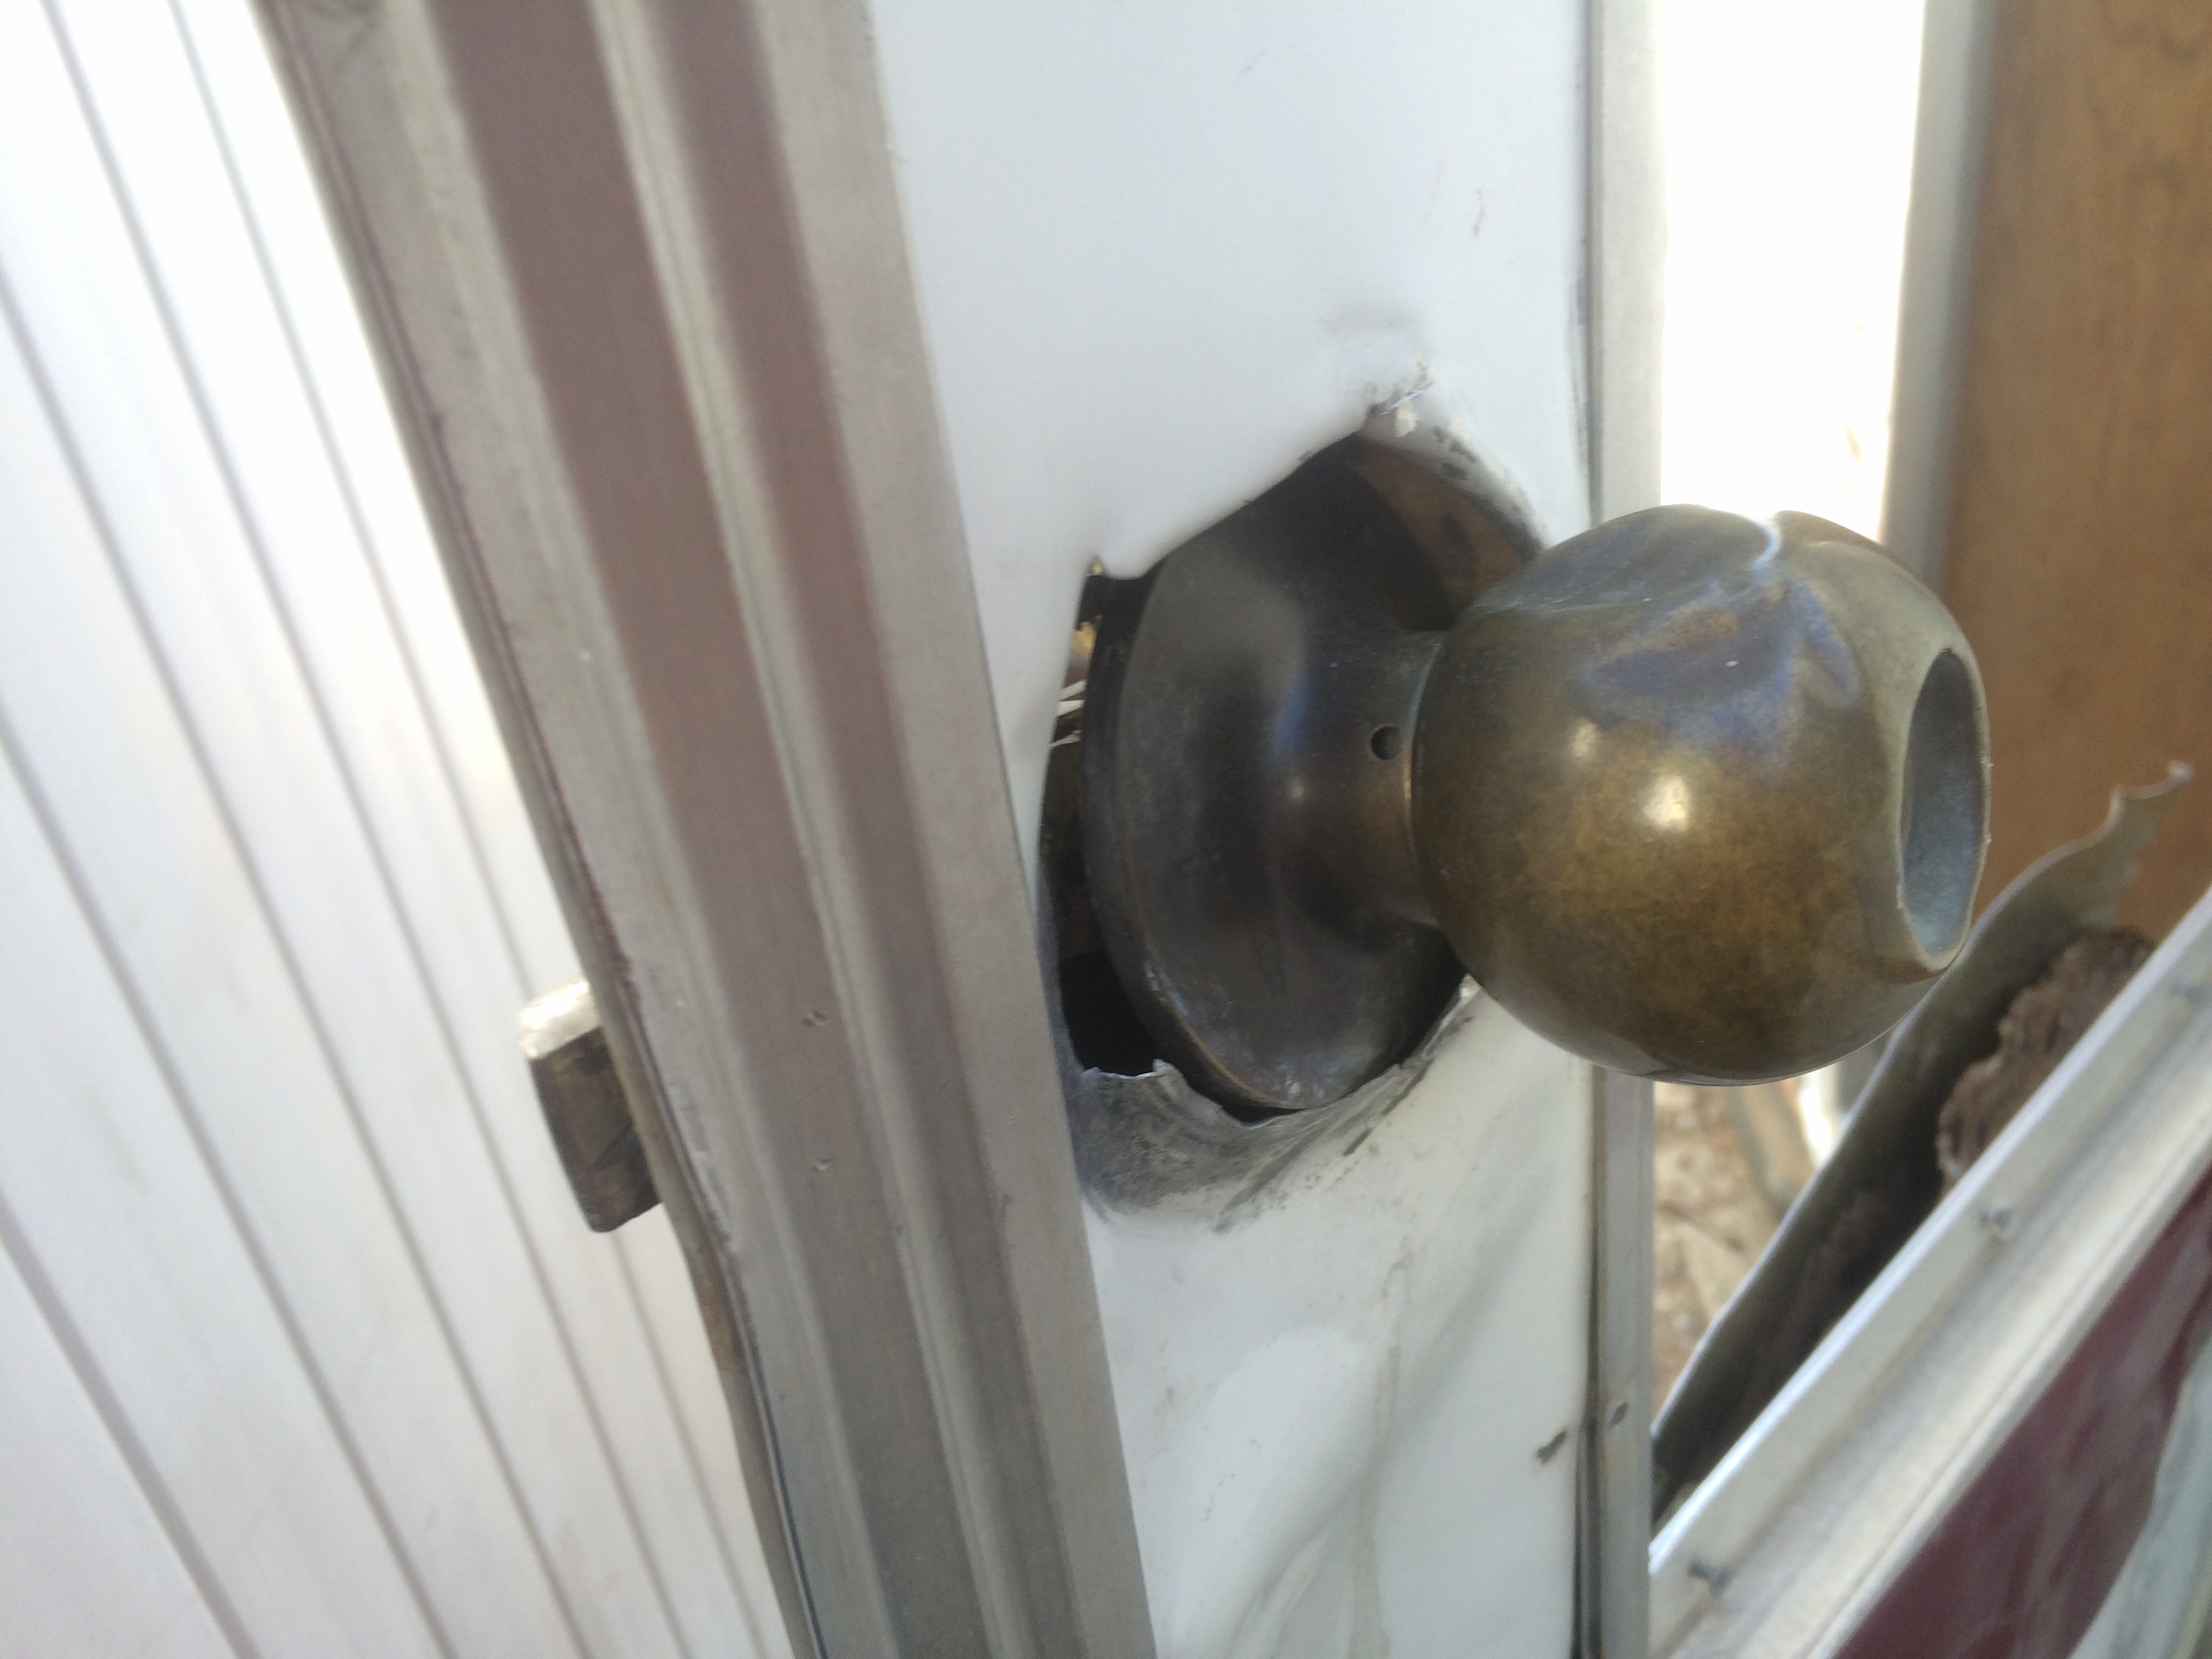
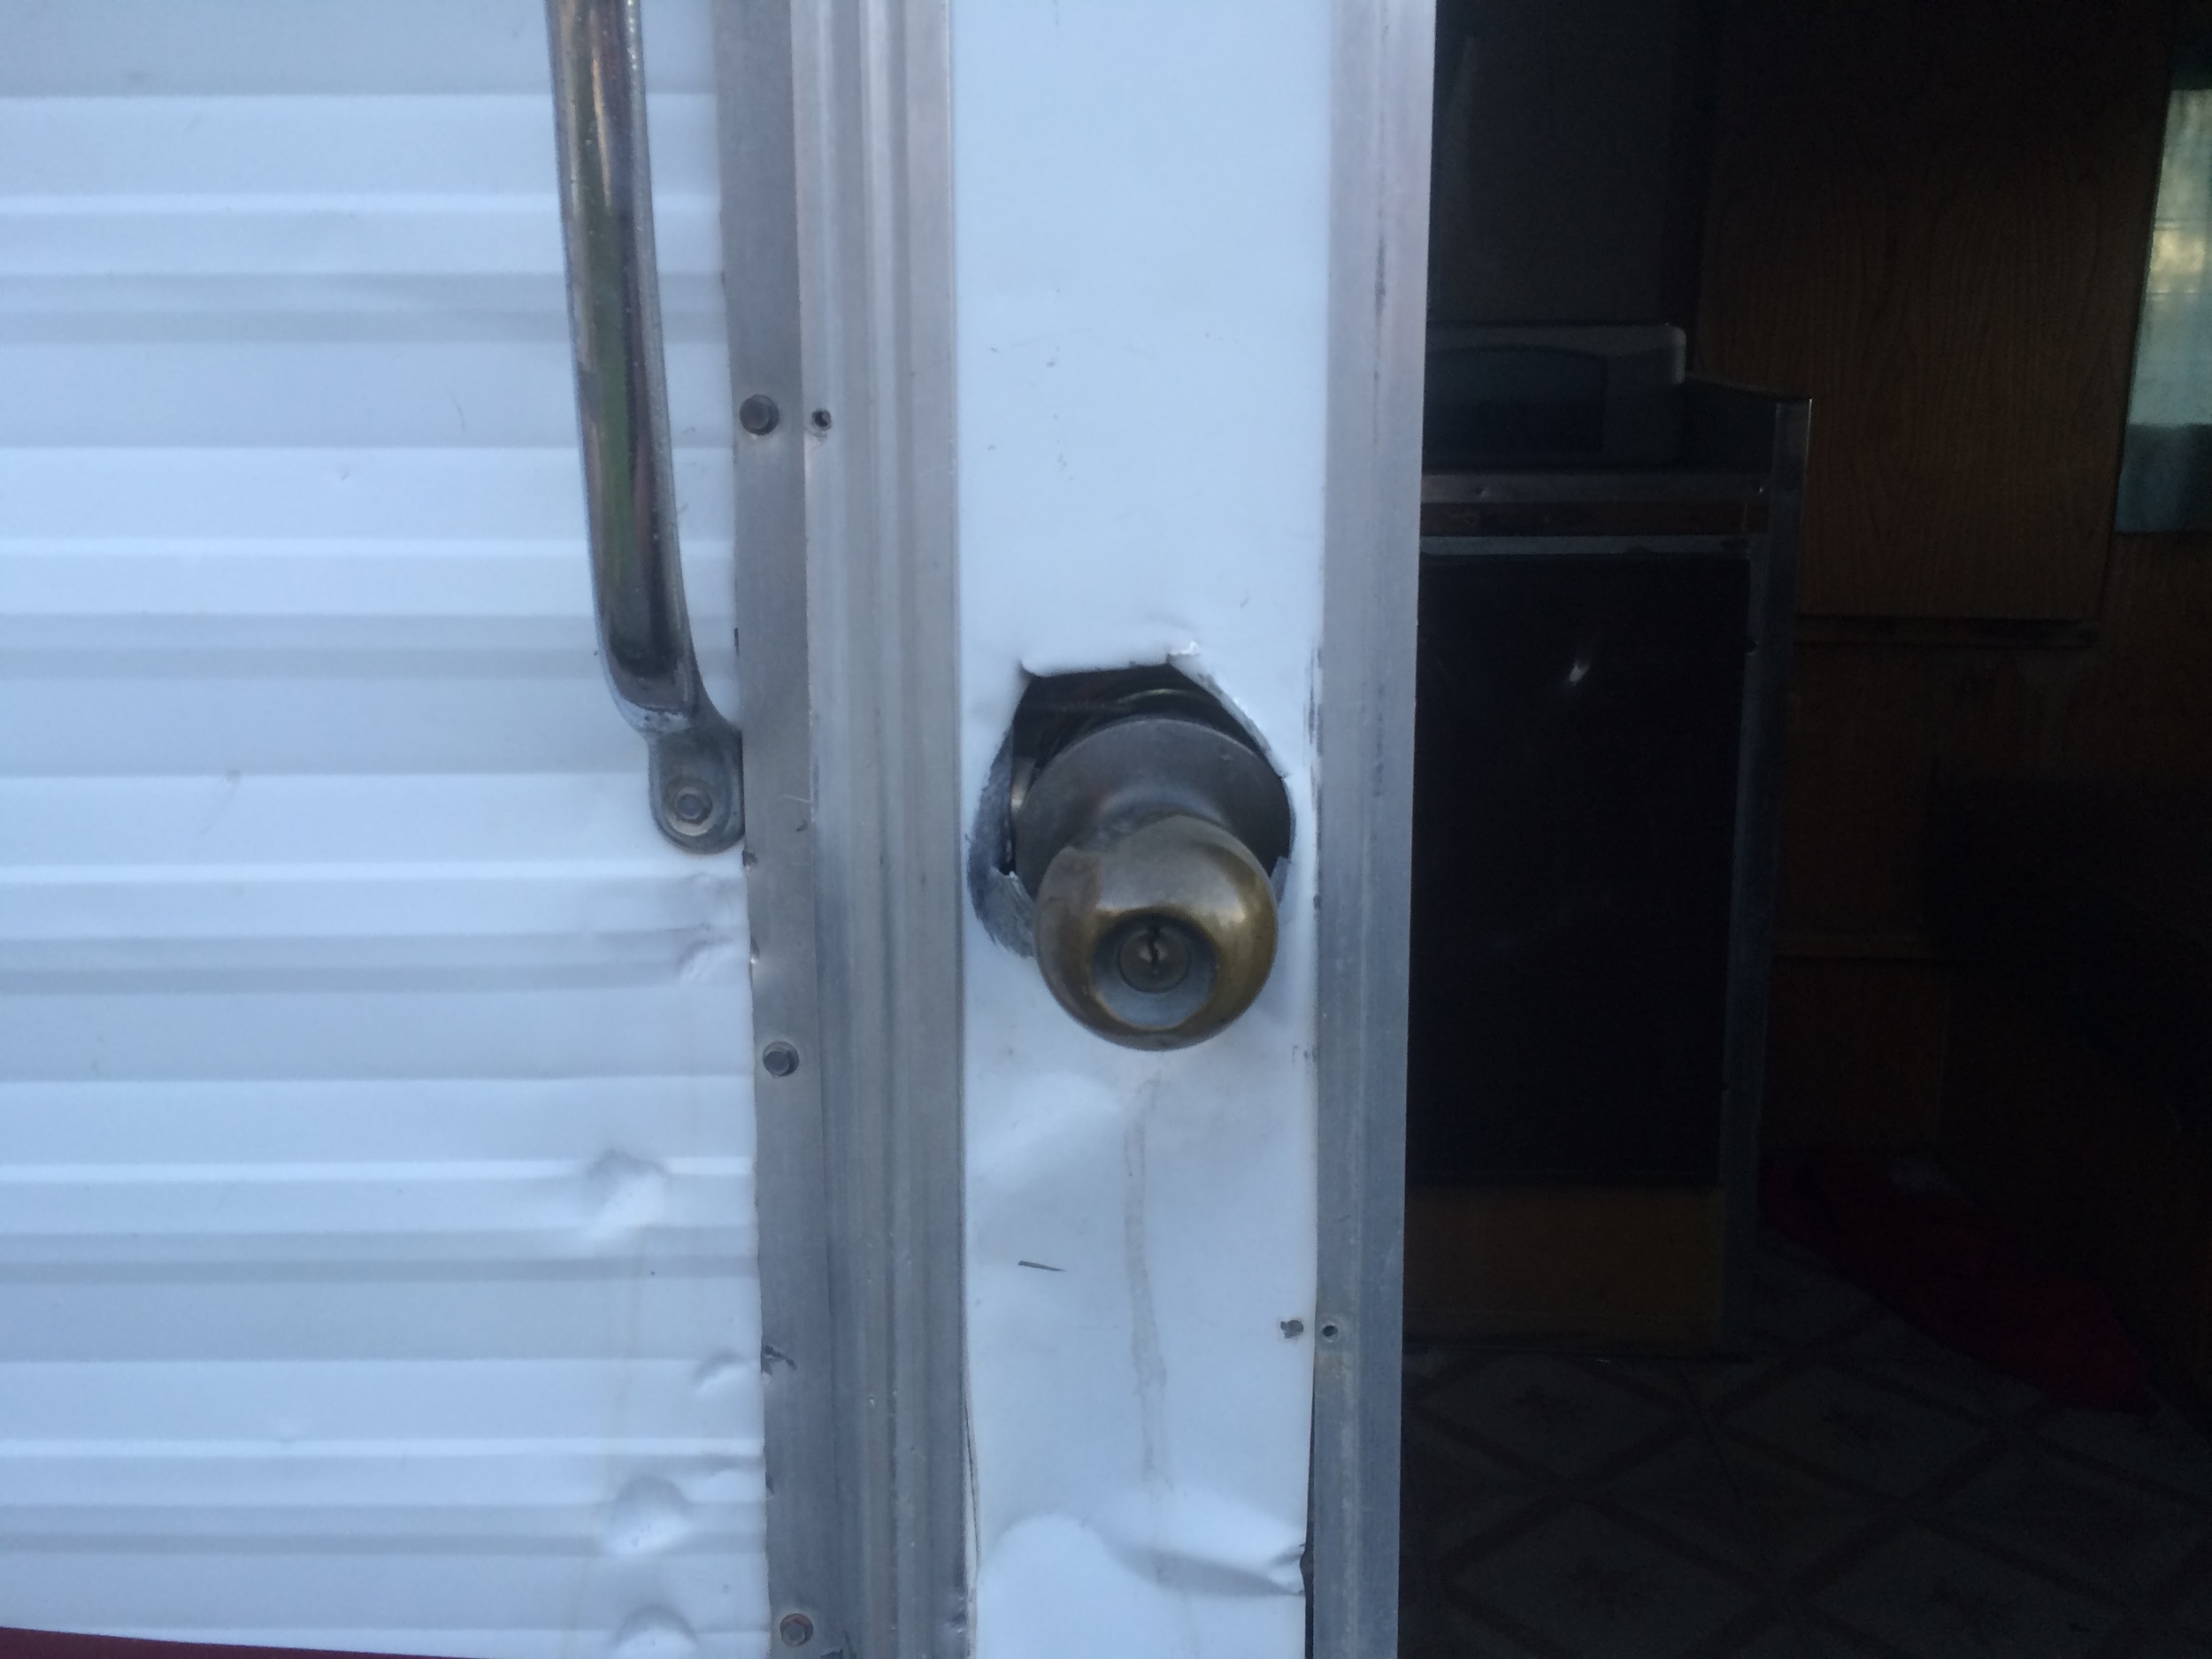
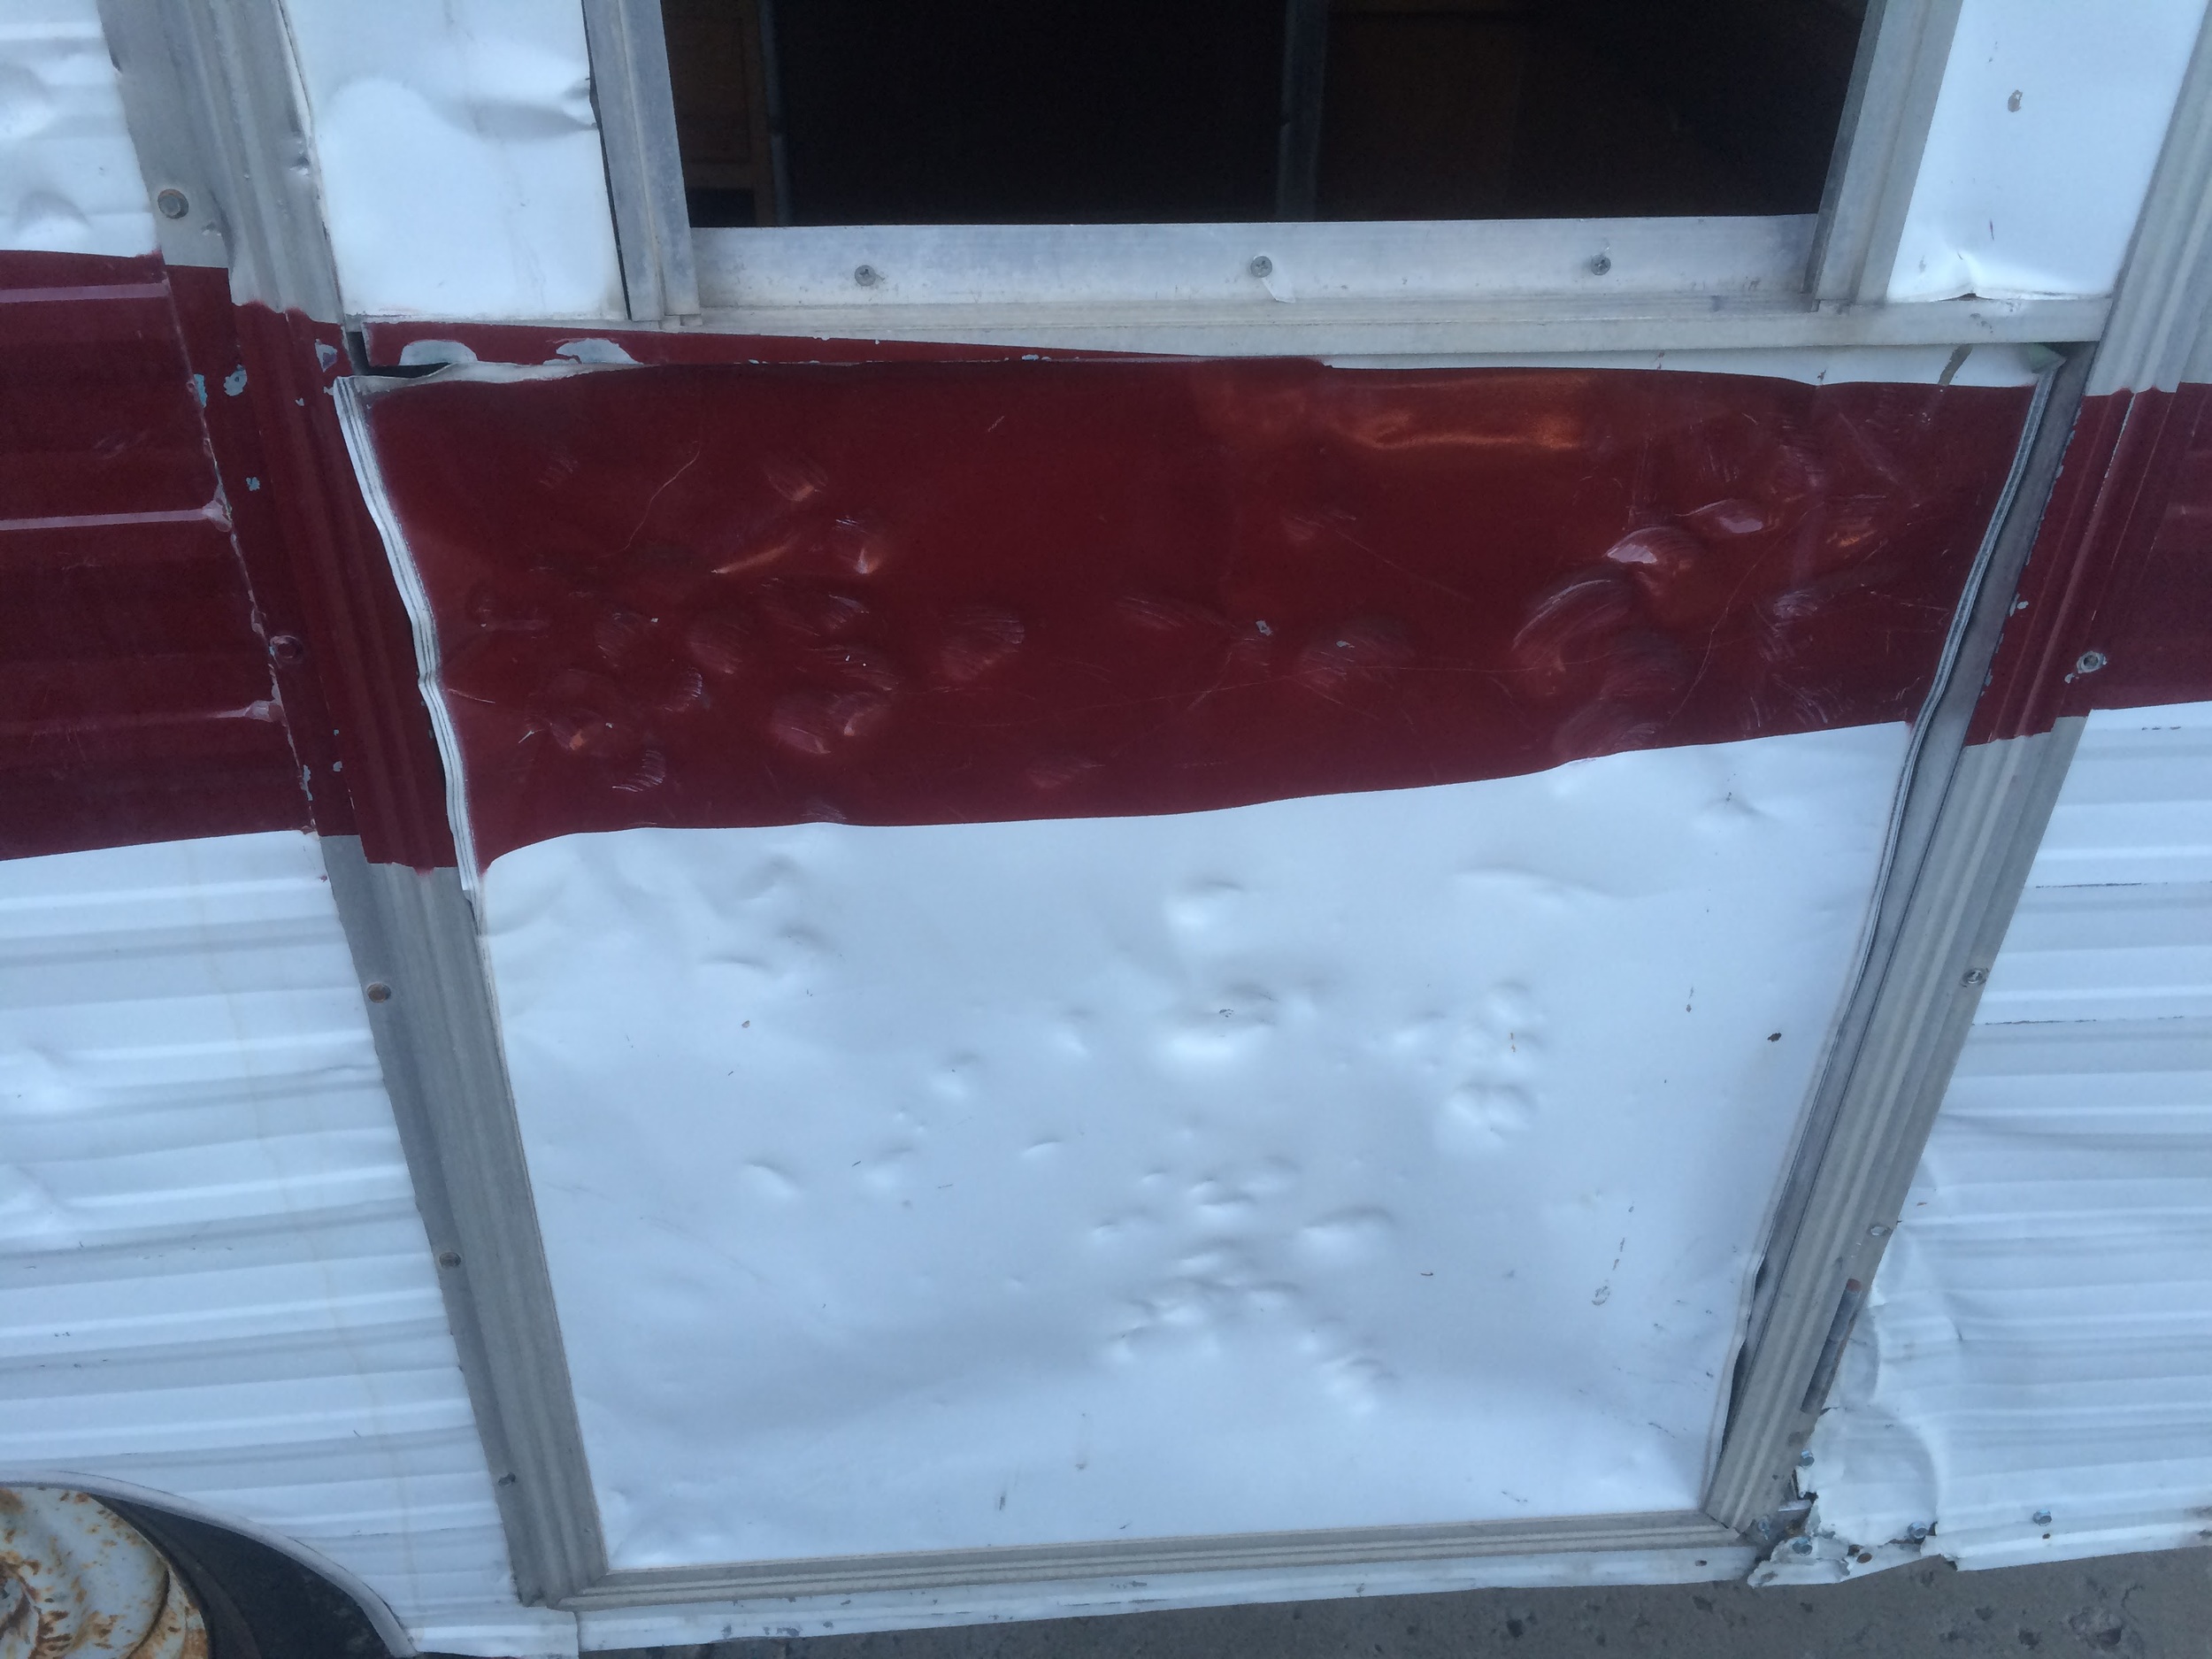
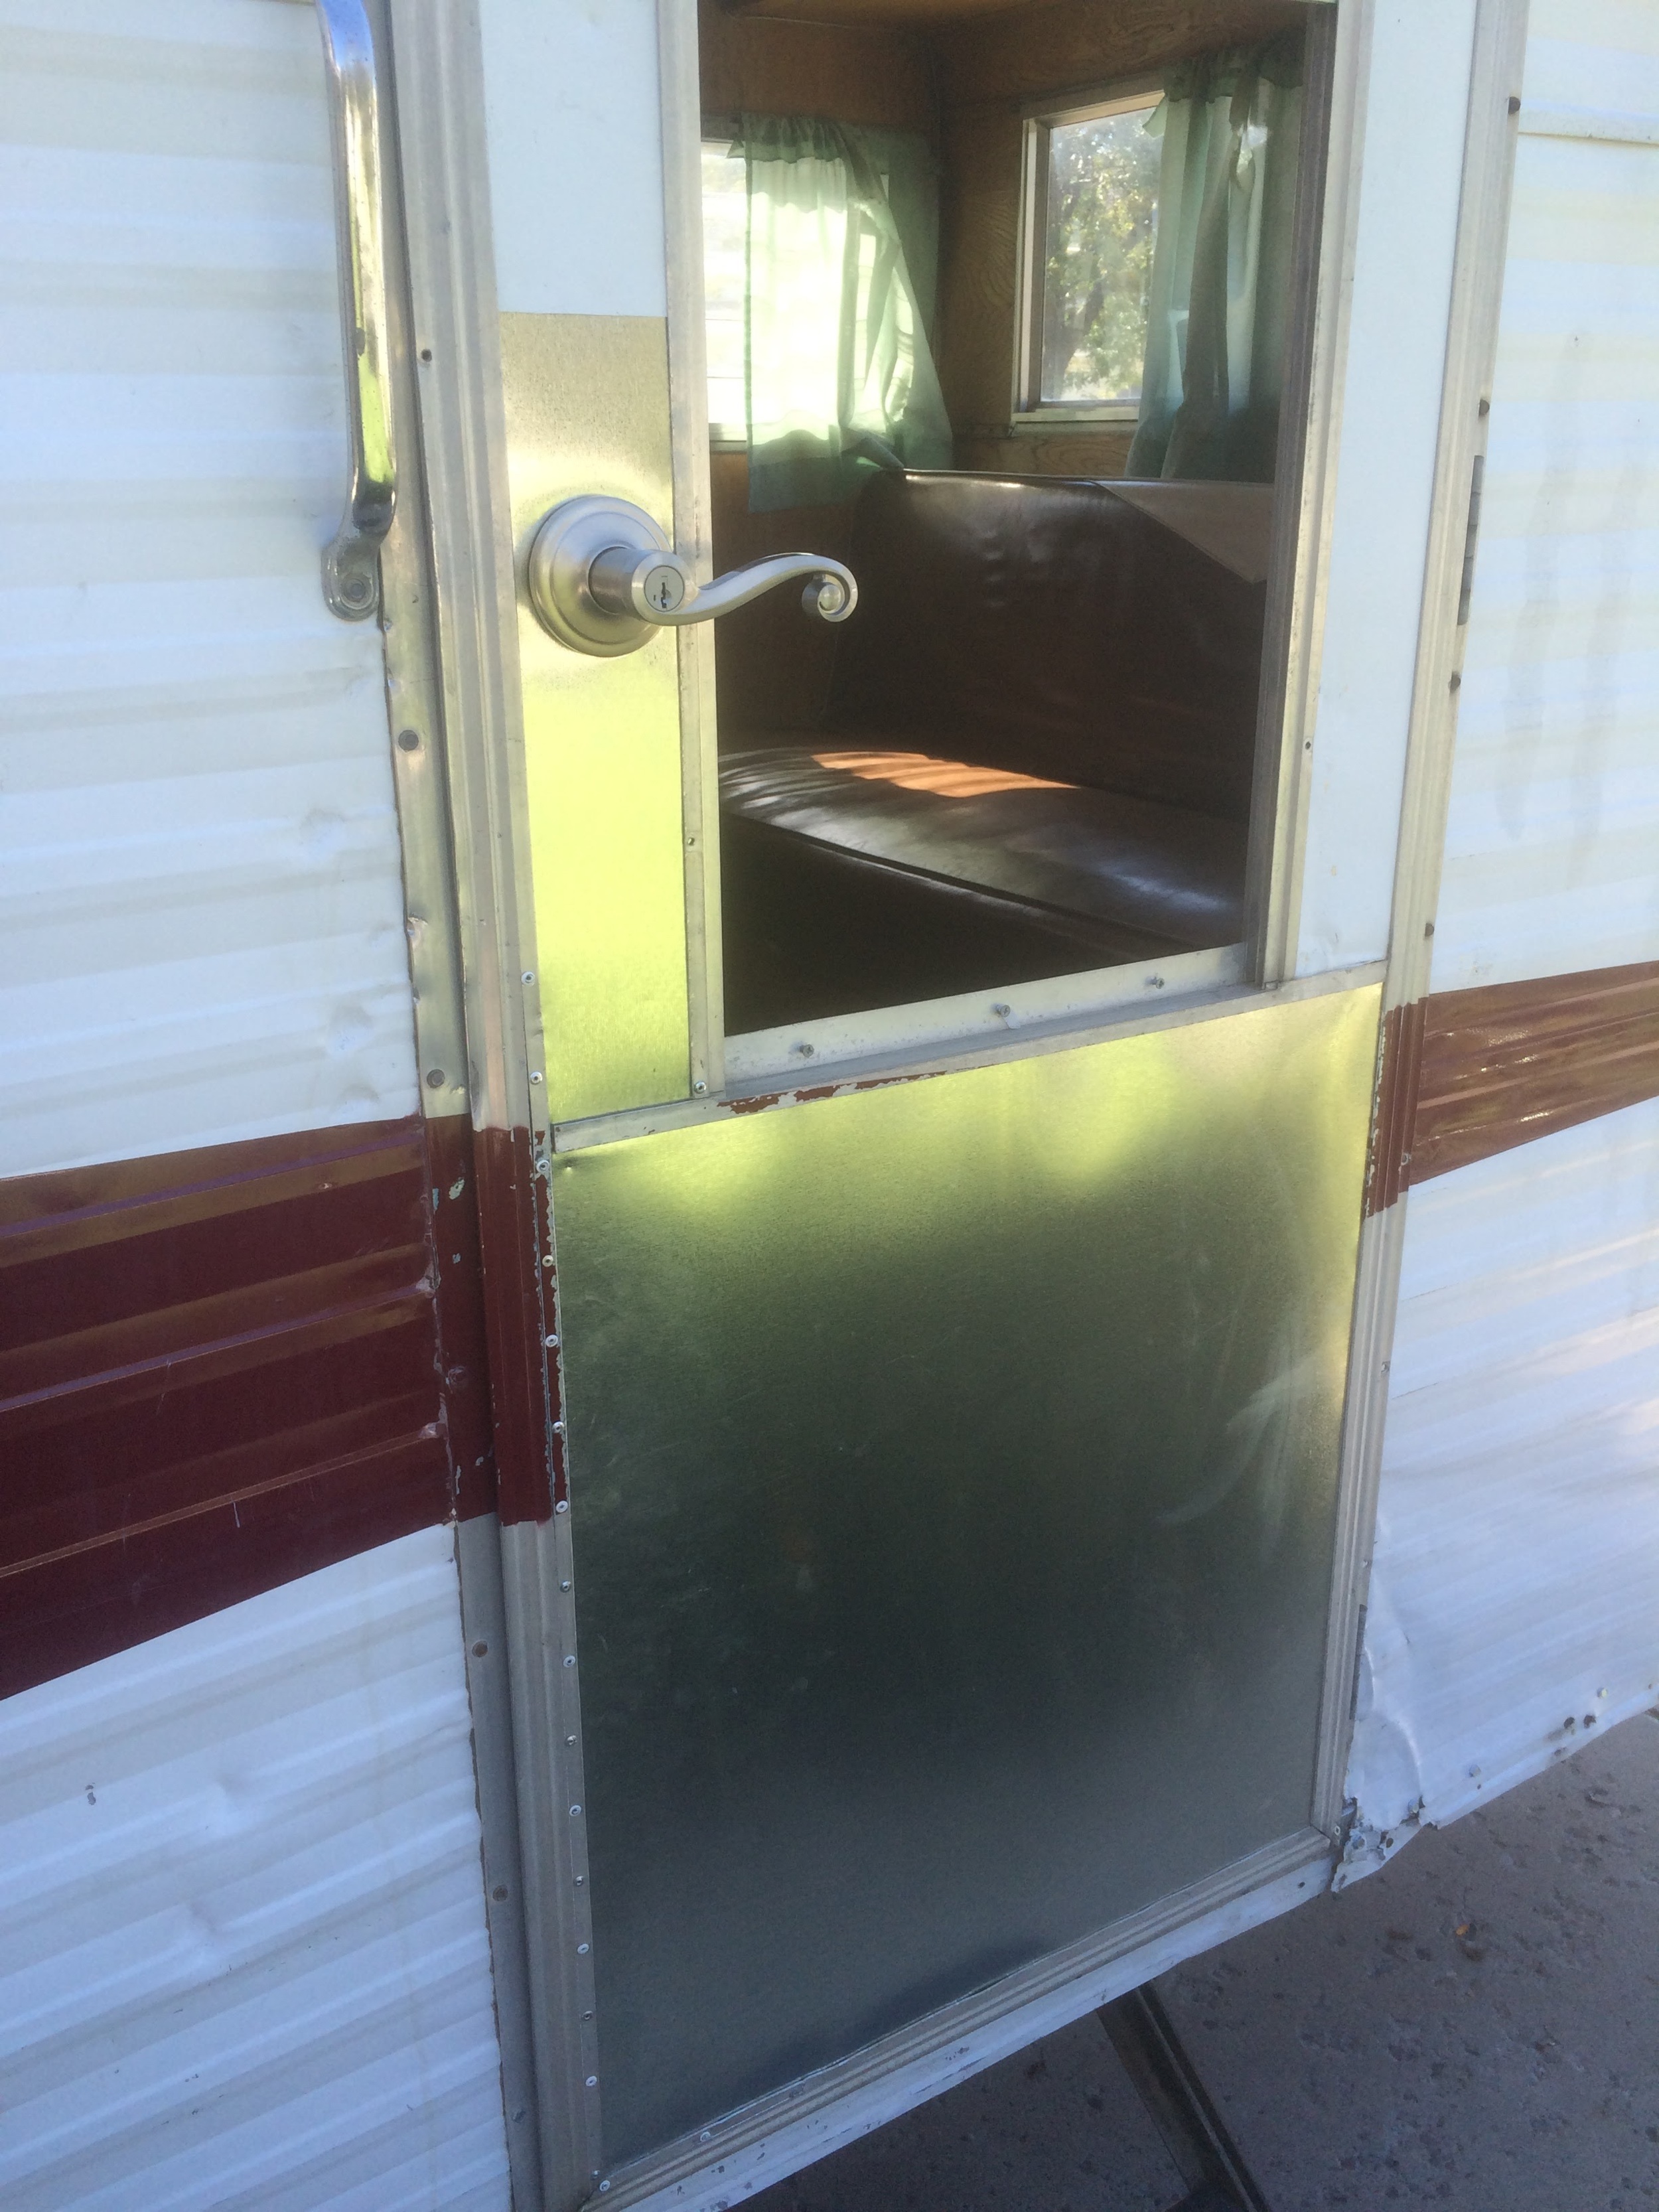

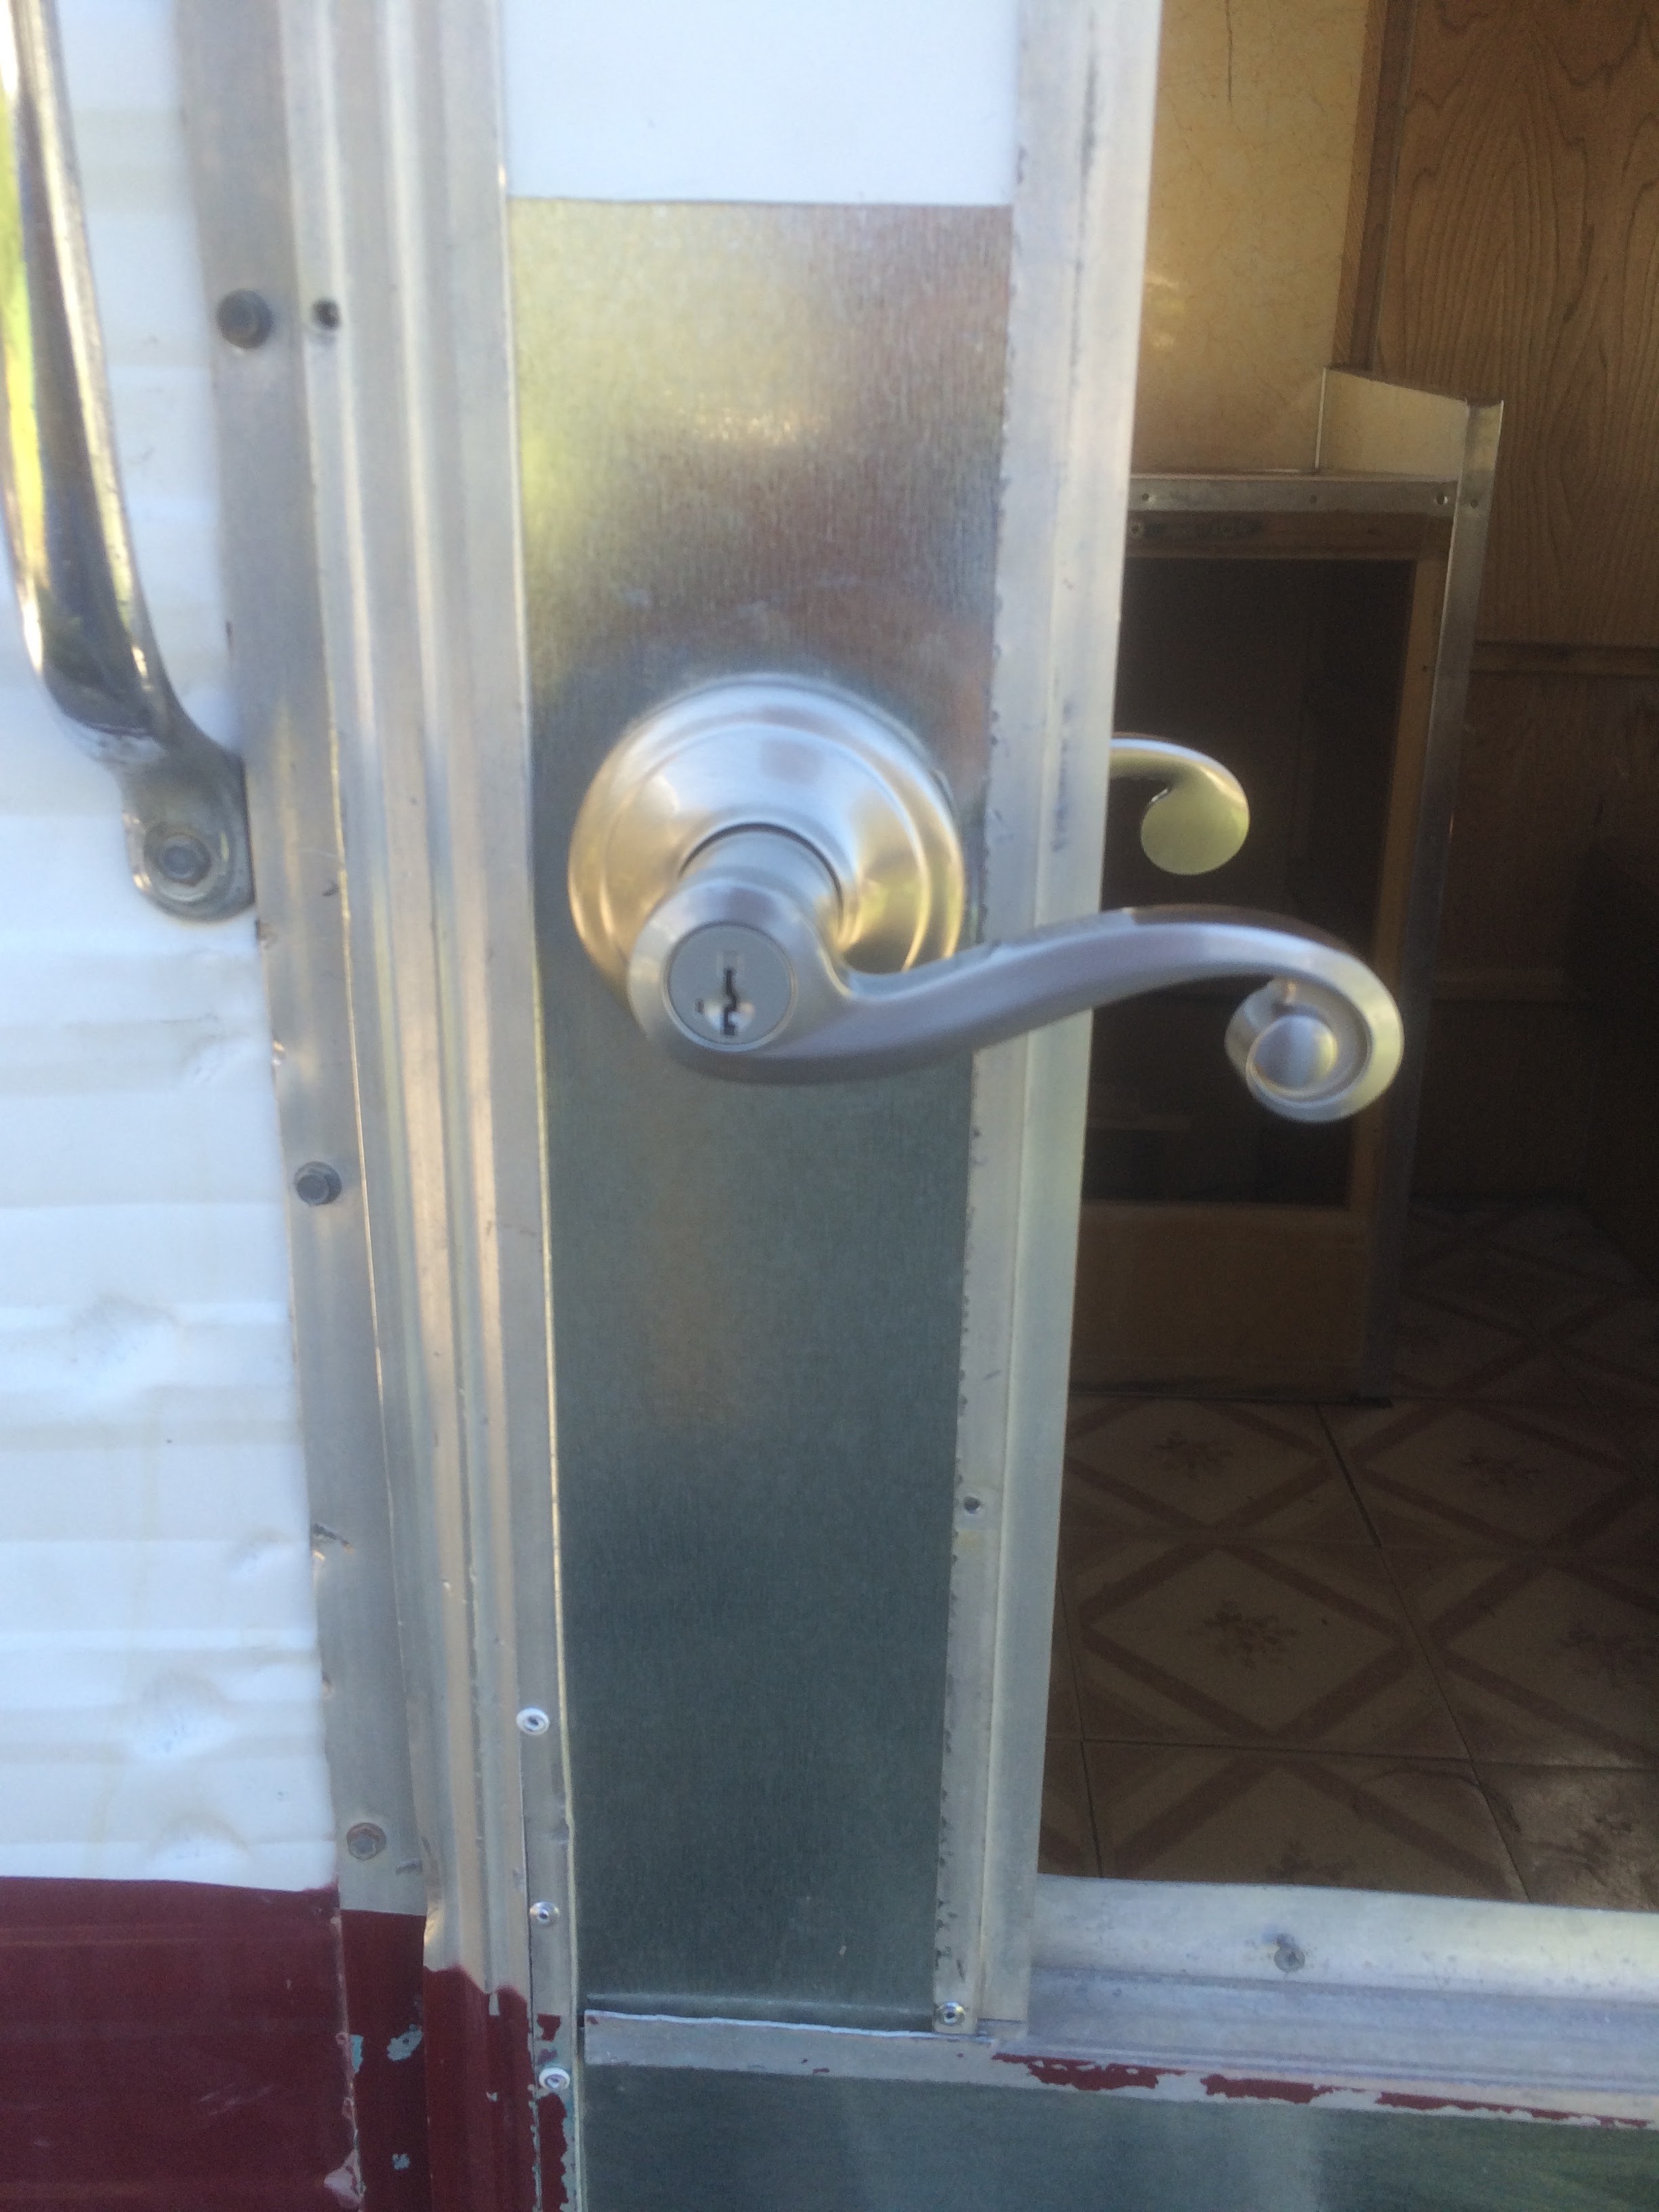
After: Using a 3'x4' sheet of galvanized steel from local Home Depot (in the furnace ducting section) I cut out replacement pieces for the lower door panel and the doorknob area.
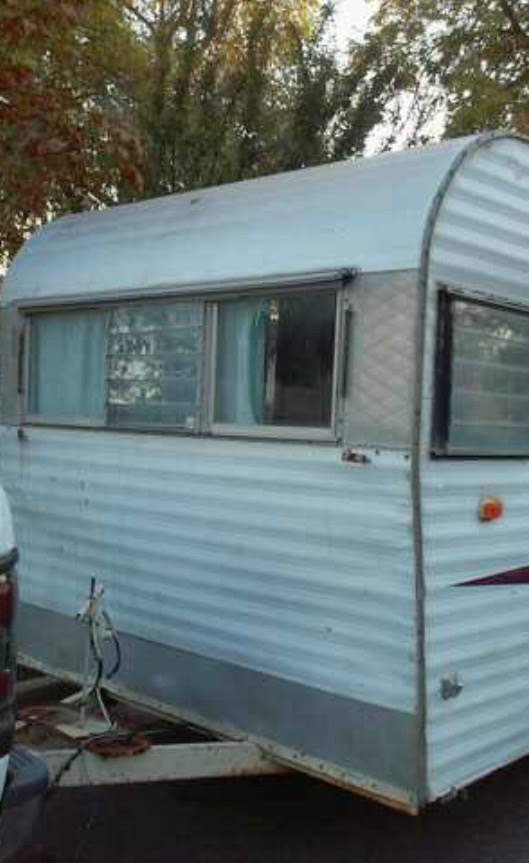
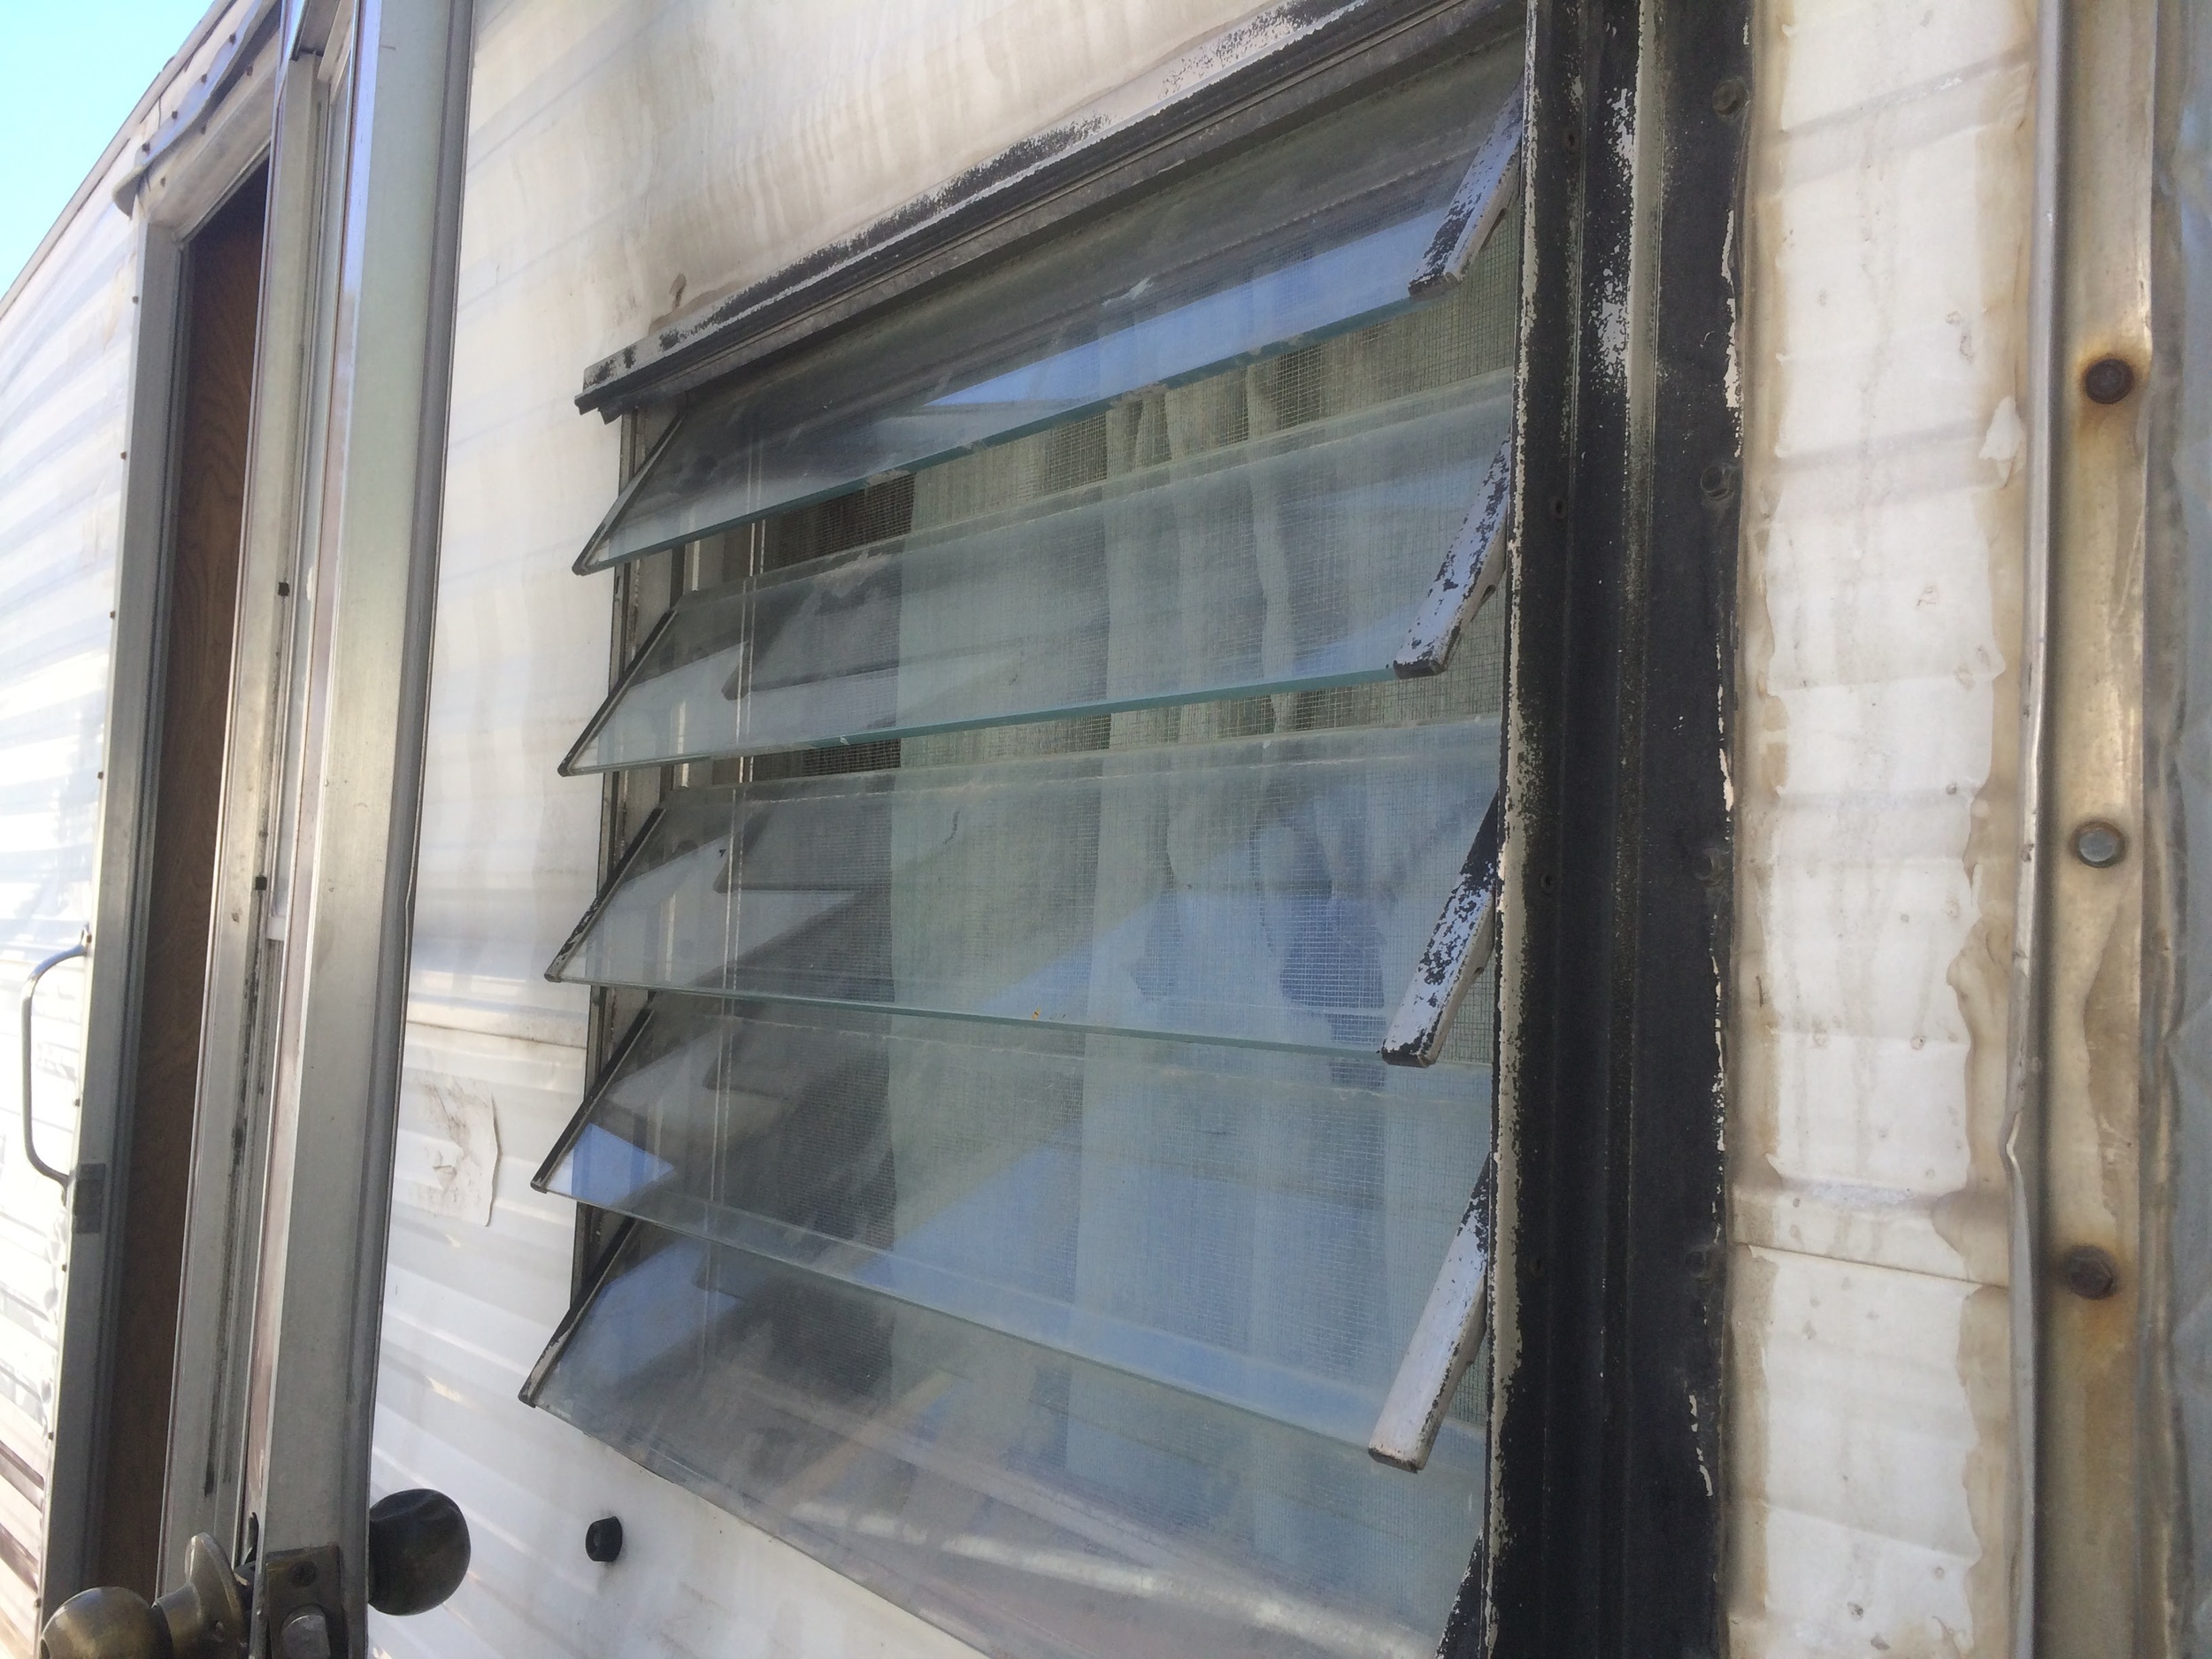
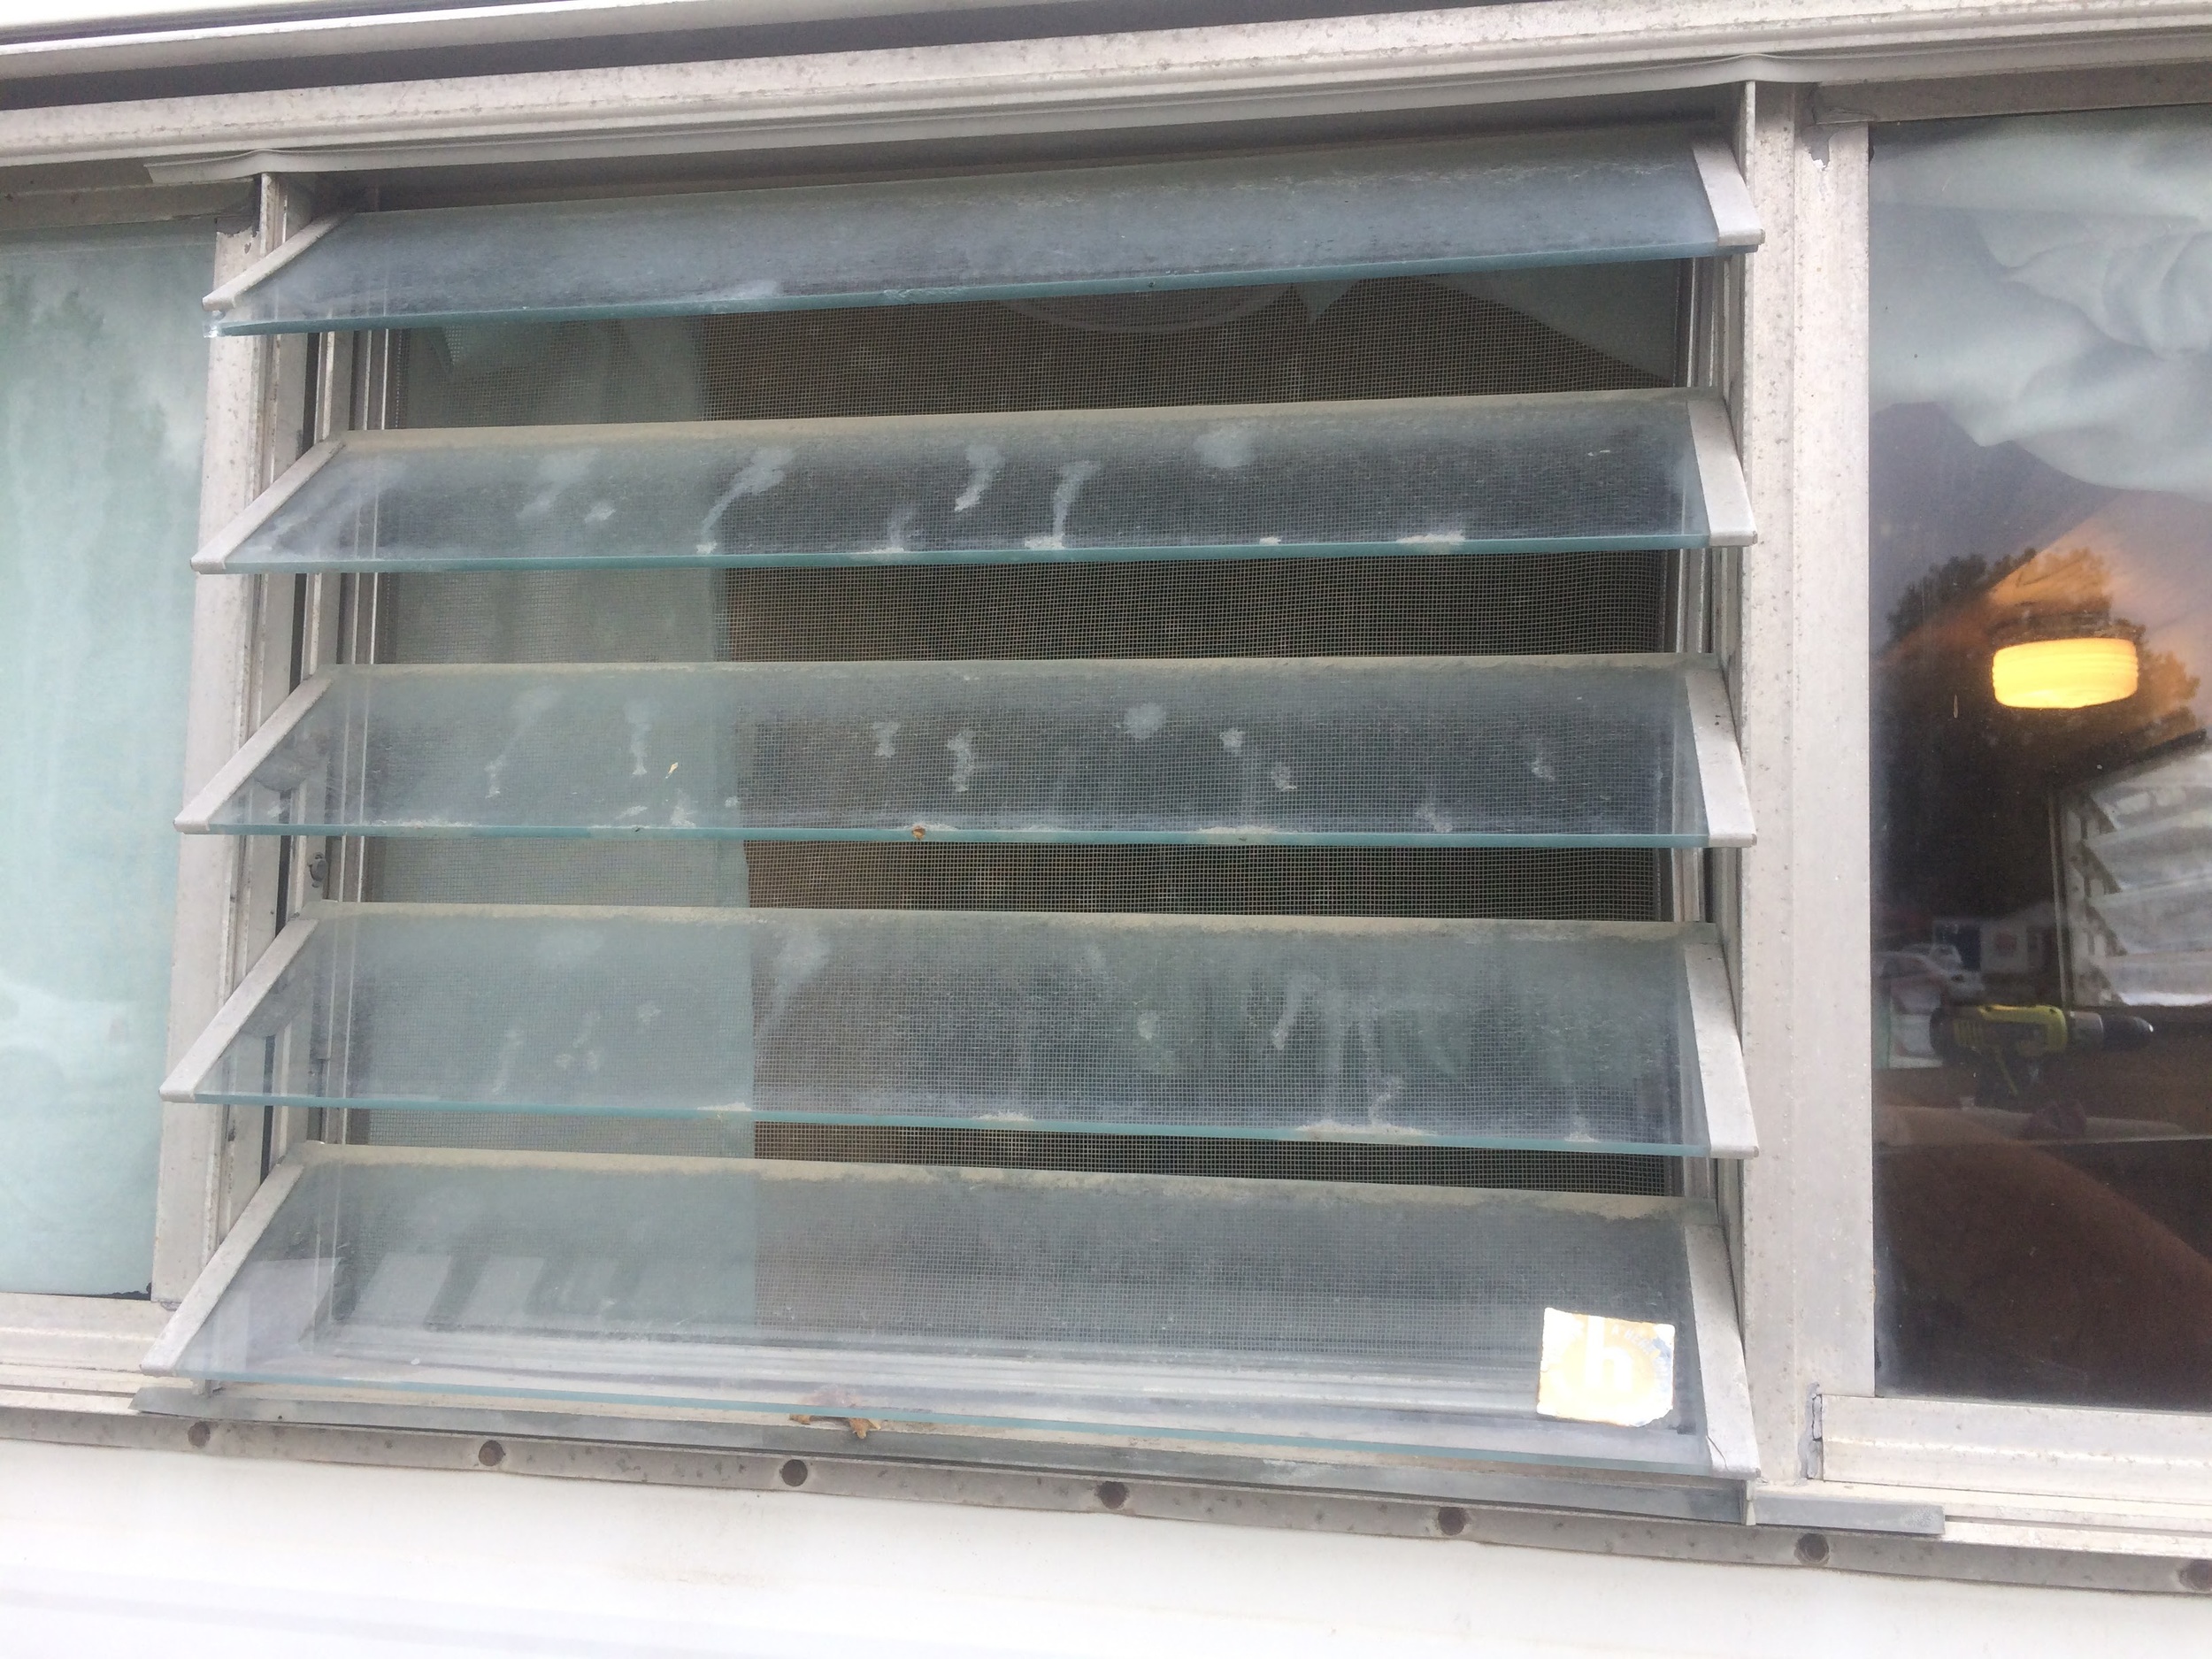
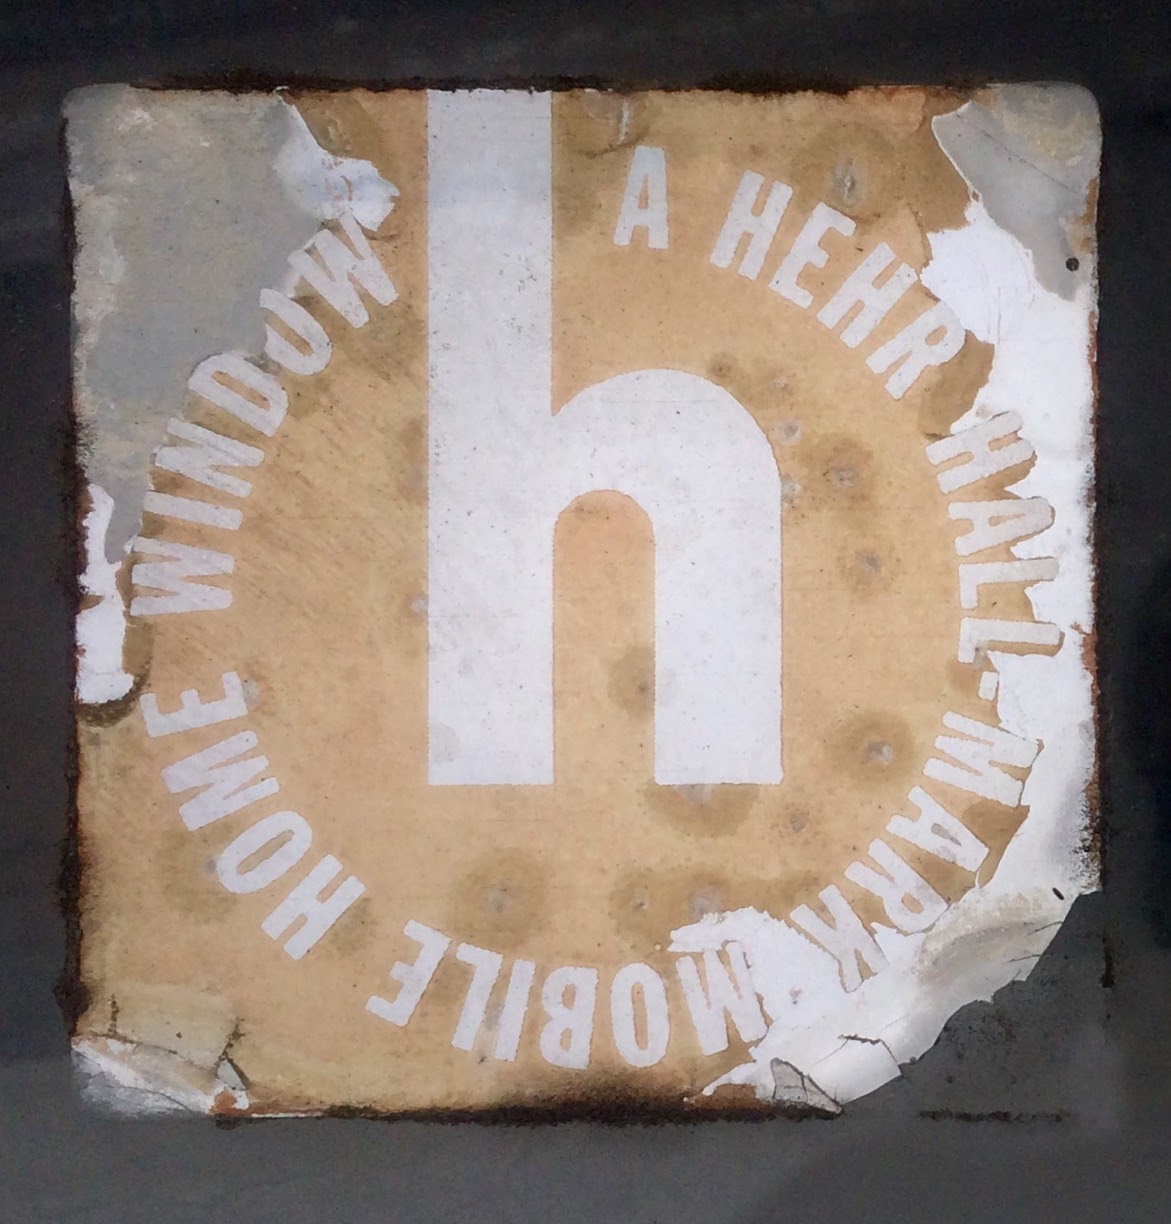
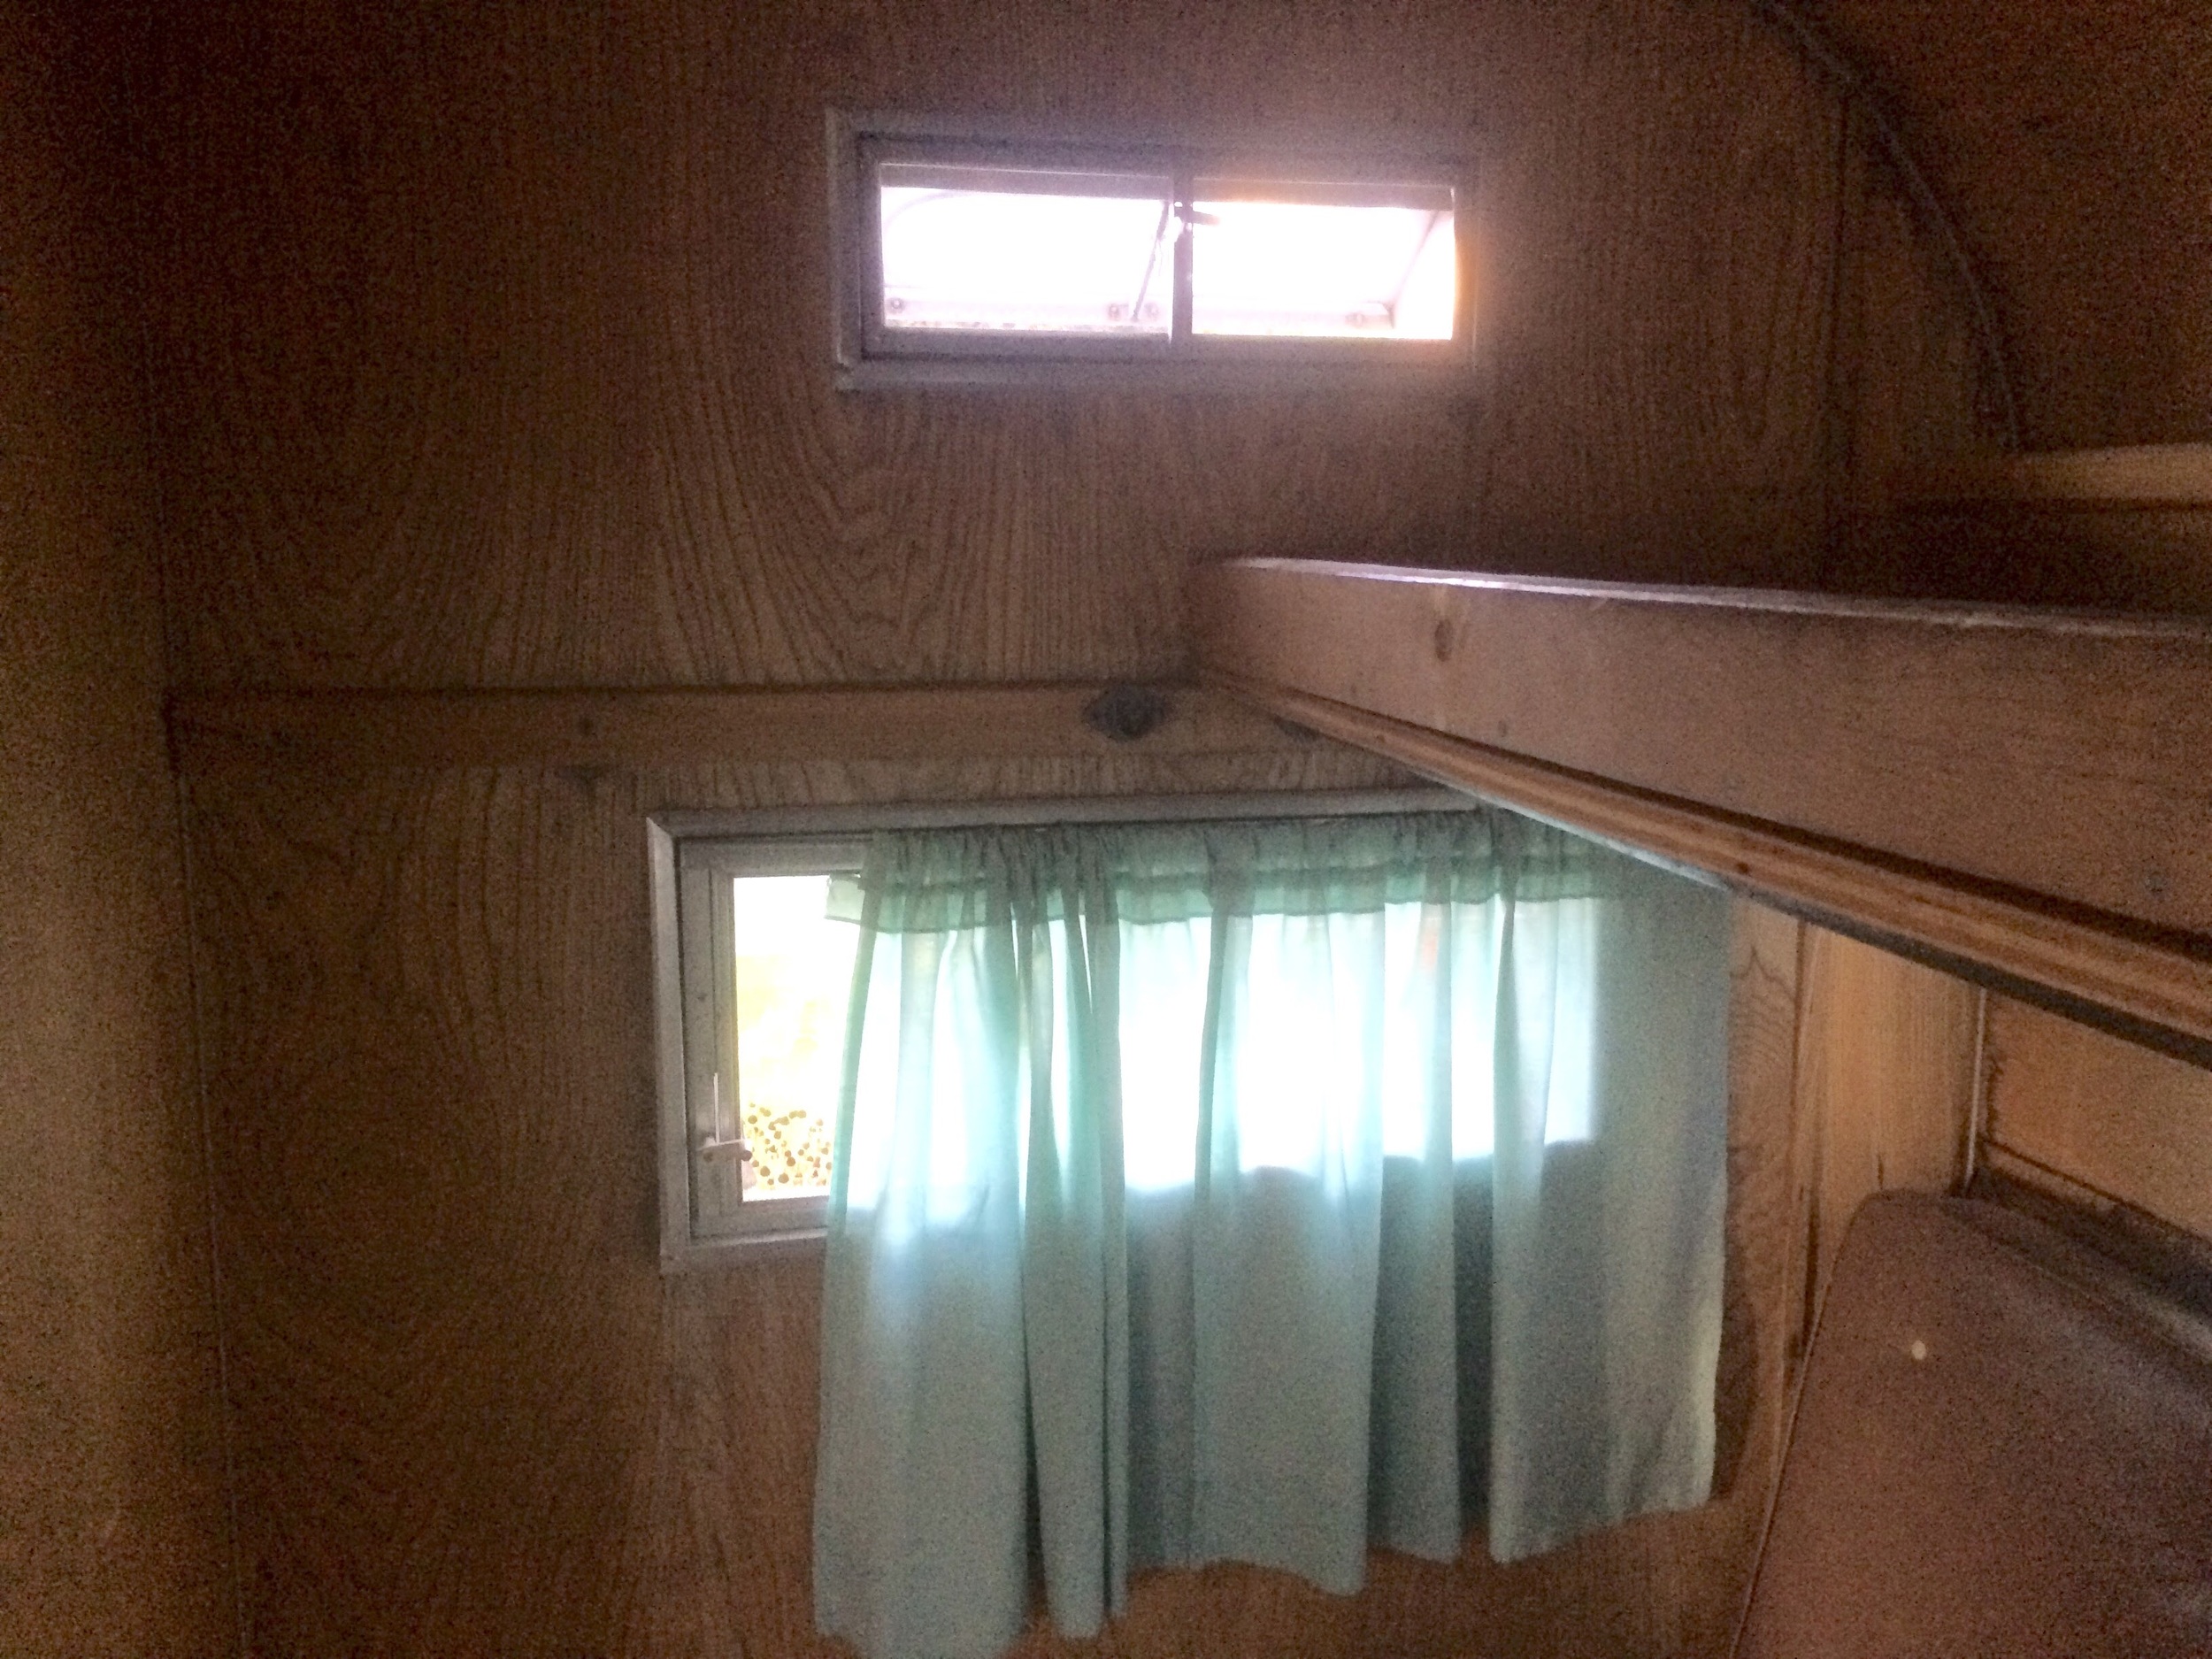
Windows

Step
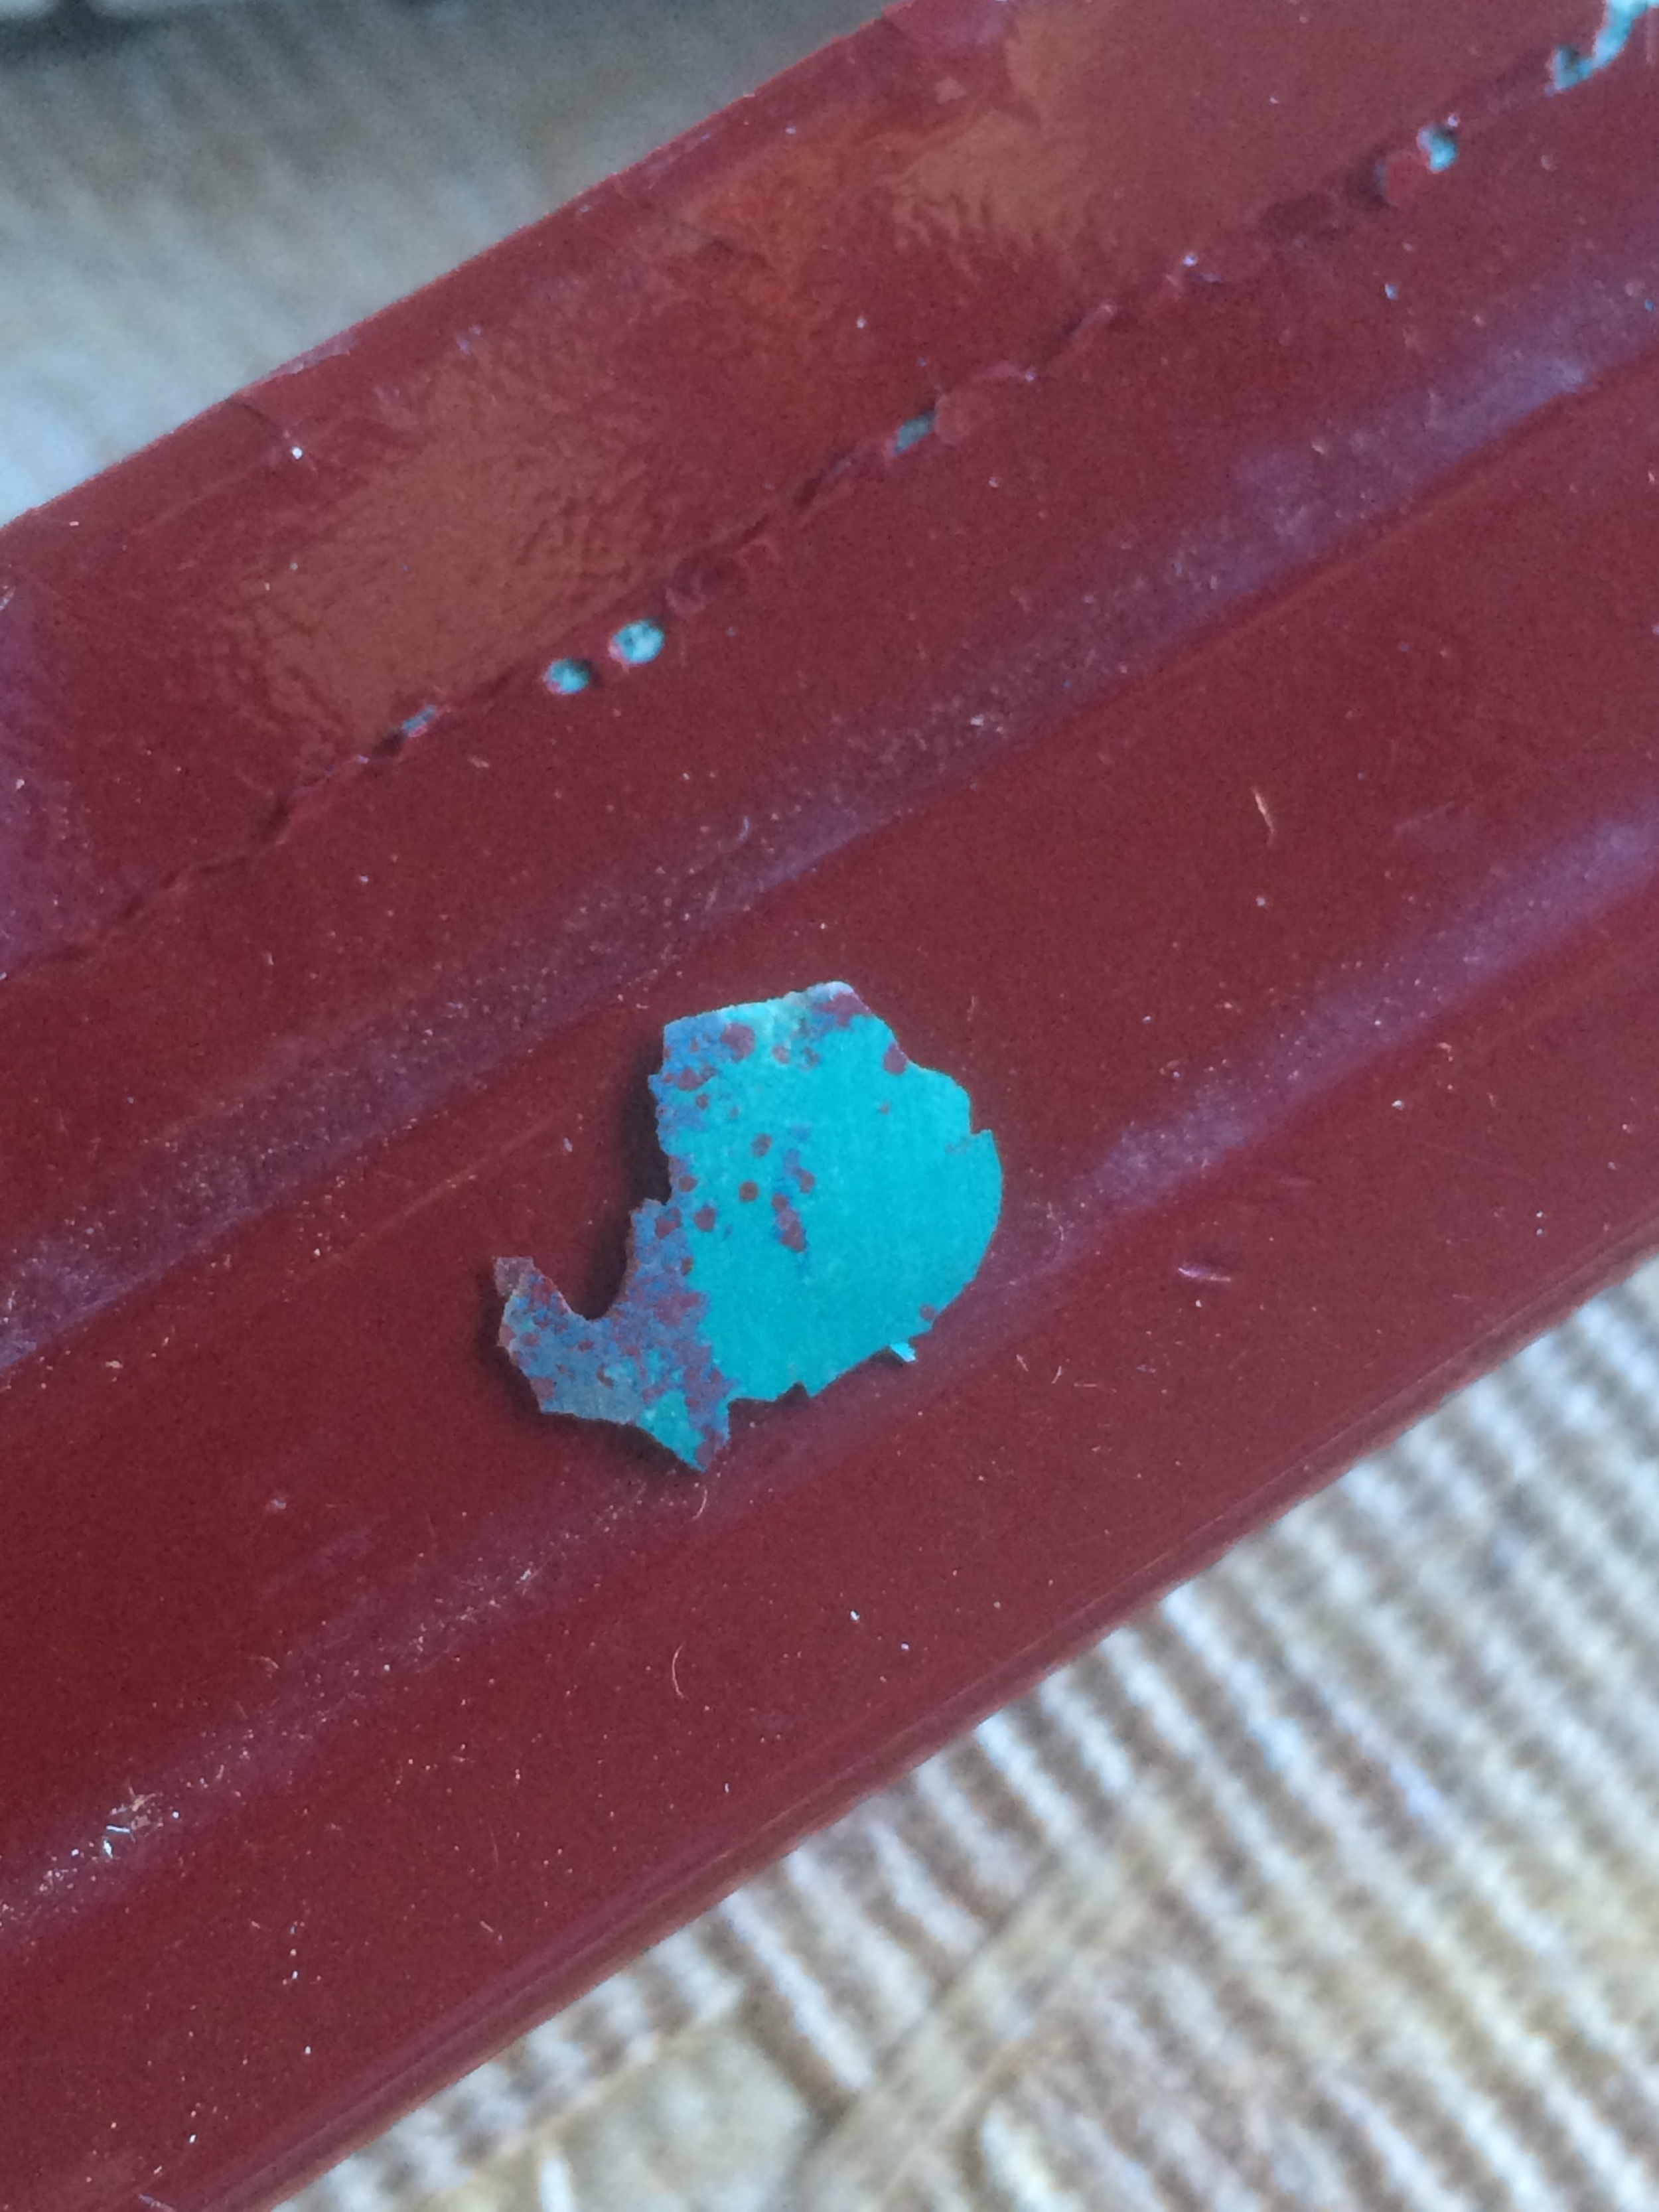
Has RoadRunner logo in raised dots to act as a non-slip tread. This is how I confirmed it was actually a RoadRunner and not another similar type of camper.
Stabilizing Jacks
Researching what will be best/most cost-effective.
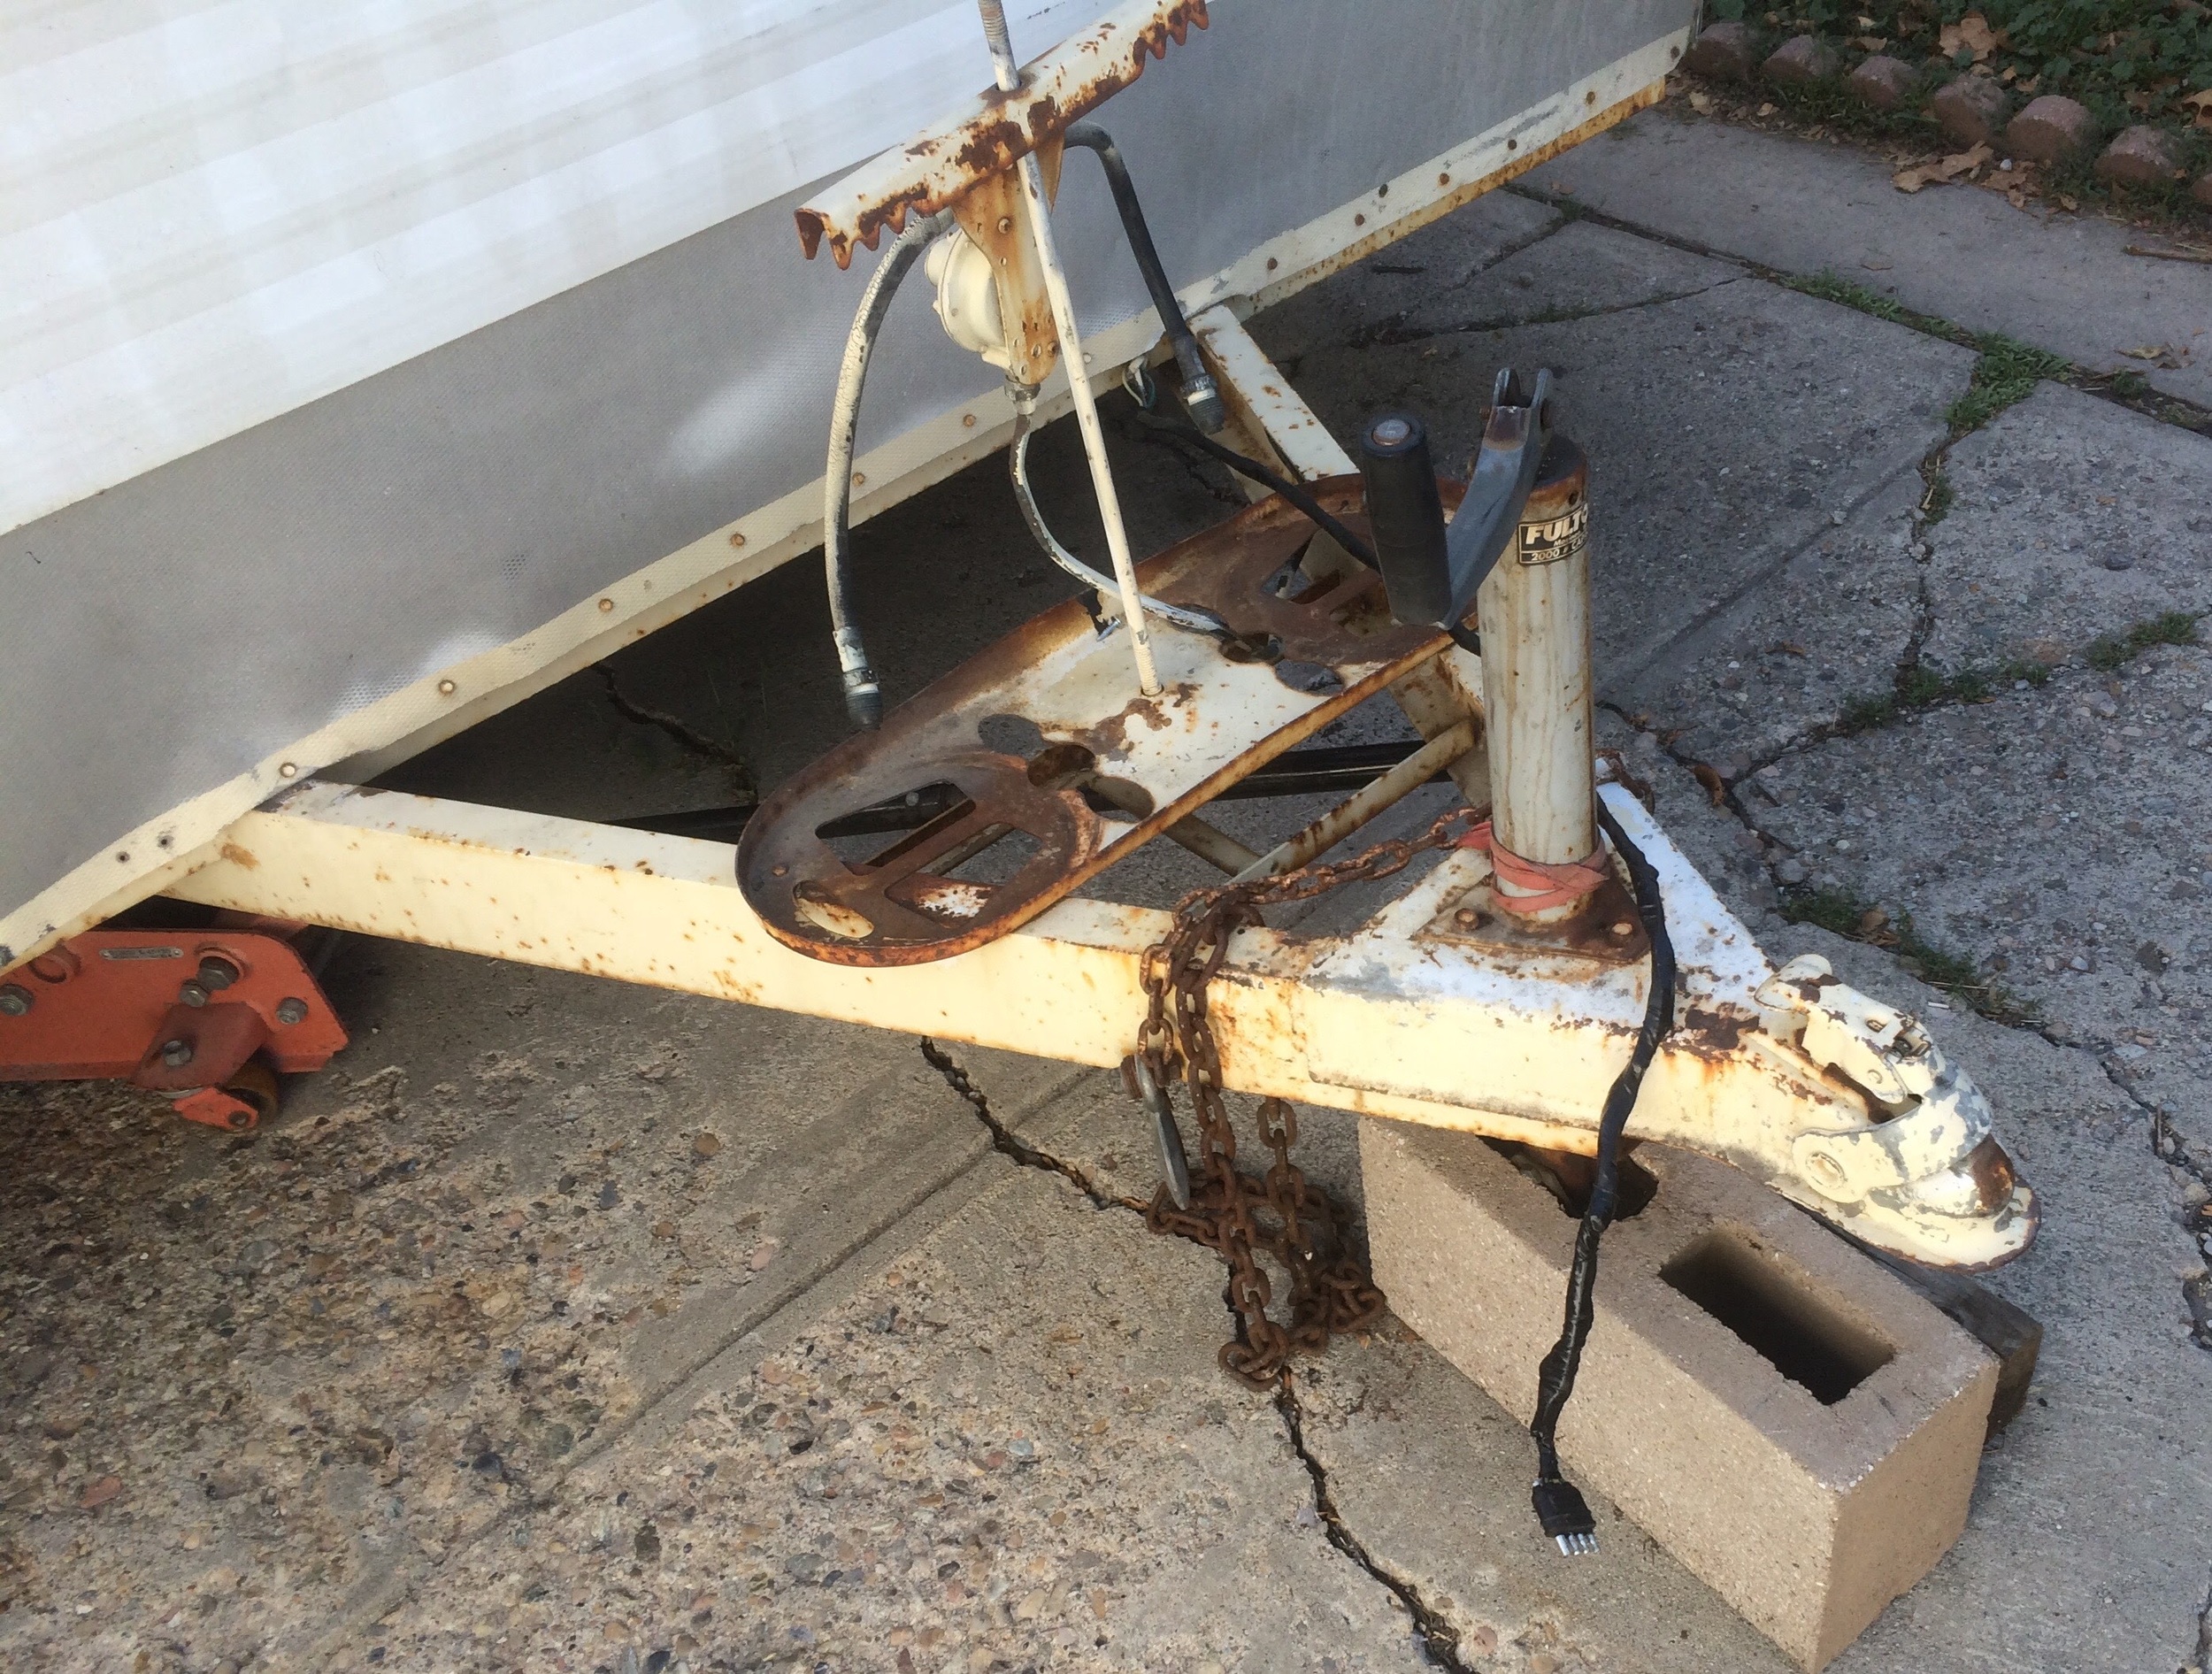
Hitch and Jack
hitch locks
Yoke-style coupler
- https://www.etrailer.com/Trailer-Coupler/Atwood/AT80072.html
- doesnt latch tightly.
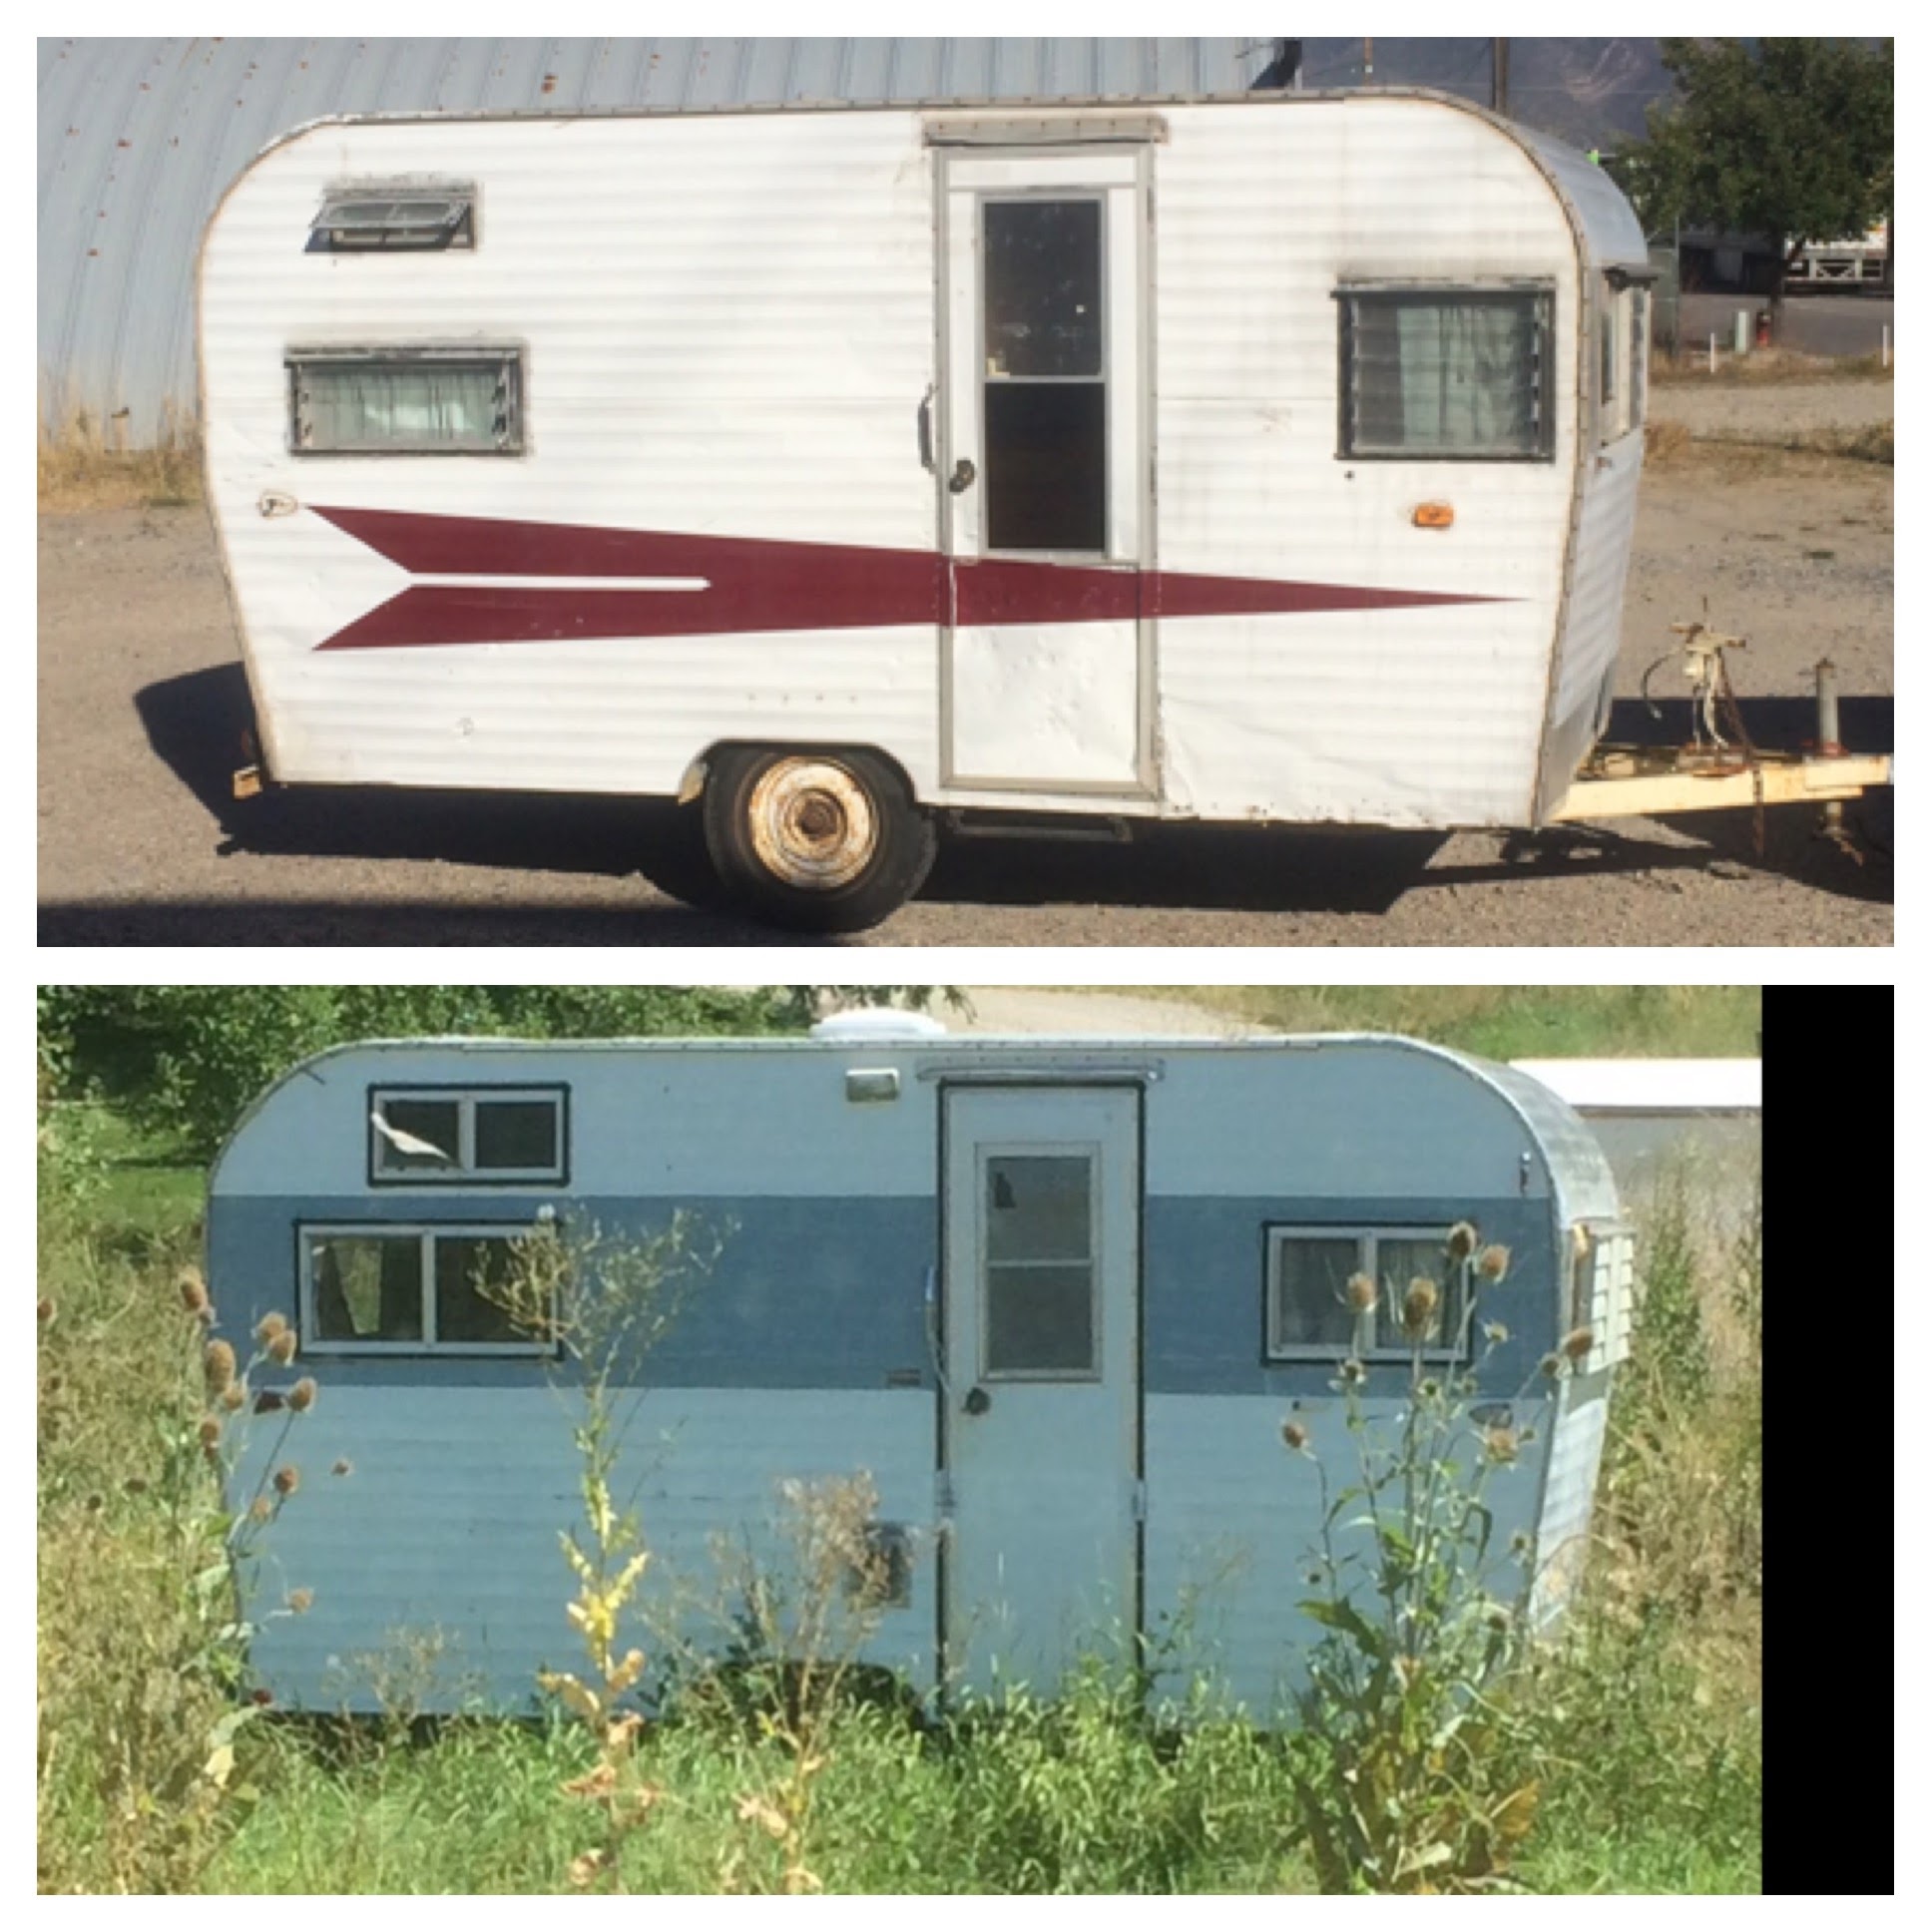
Exterior Paint
Finding the VIN
Can anyone help me decode my VIN? 17-7-933. This is on a RoadRunner travel trailer. I don't have a title or other paperwork and don't know the exact year. I was hoping the VIN would make it obvious like some other trailers do, but I don't know how to decode it. An interior cabinet has a stamp from the cabinet manufacturer with the date 1965 stamped on it--that's my only real clue, but they doesn't mean that's the year the camper was made, though it's likely close.
i finally located the VIN by spraying the tongue with paint stripper: it was on the passenger side of the tongue (which, from what I hear it was commonly stamped on that side--so there's a clue for any in the same boat) and it was on the top.

The nice peeps at Rollin' Oldies Vintage Trailers have been very helpful (see their answers here). So far it's been identified that the 17 refers to the length of the trailer which is 17' long.
Update: The DMV fortunately had the this VIN in their database and informed me it was a 1965. So, yay! That mystery is now solved and we now have a fully identified, bonafide trailer with a brand spanking new title, registration and license plate.
Wheels
- Repack bearings
Leaf springs and other safety issues
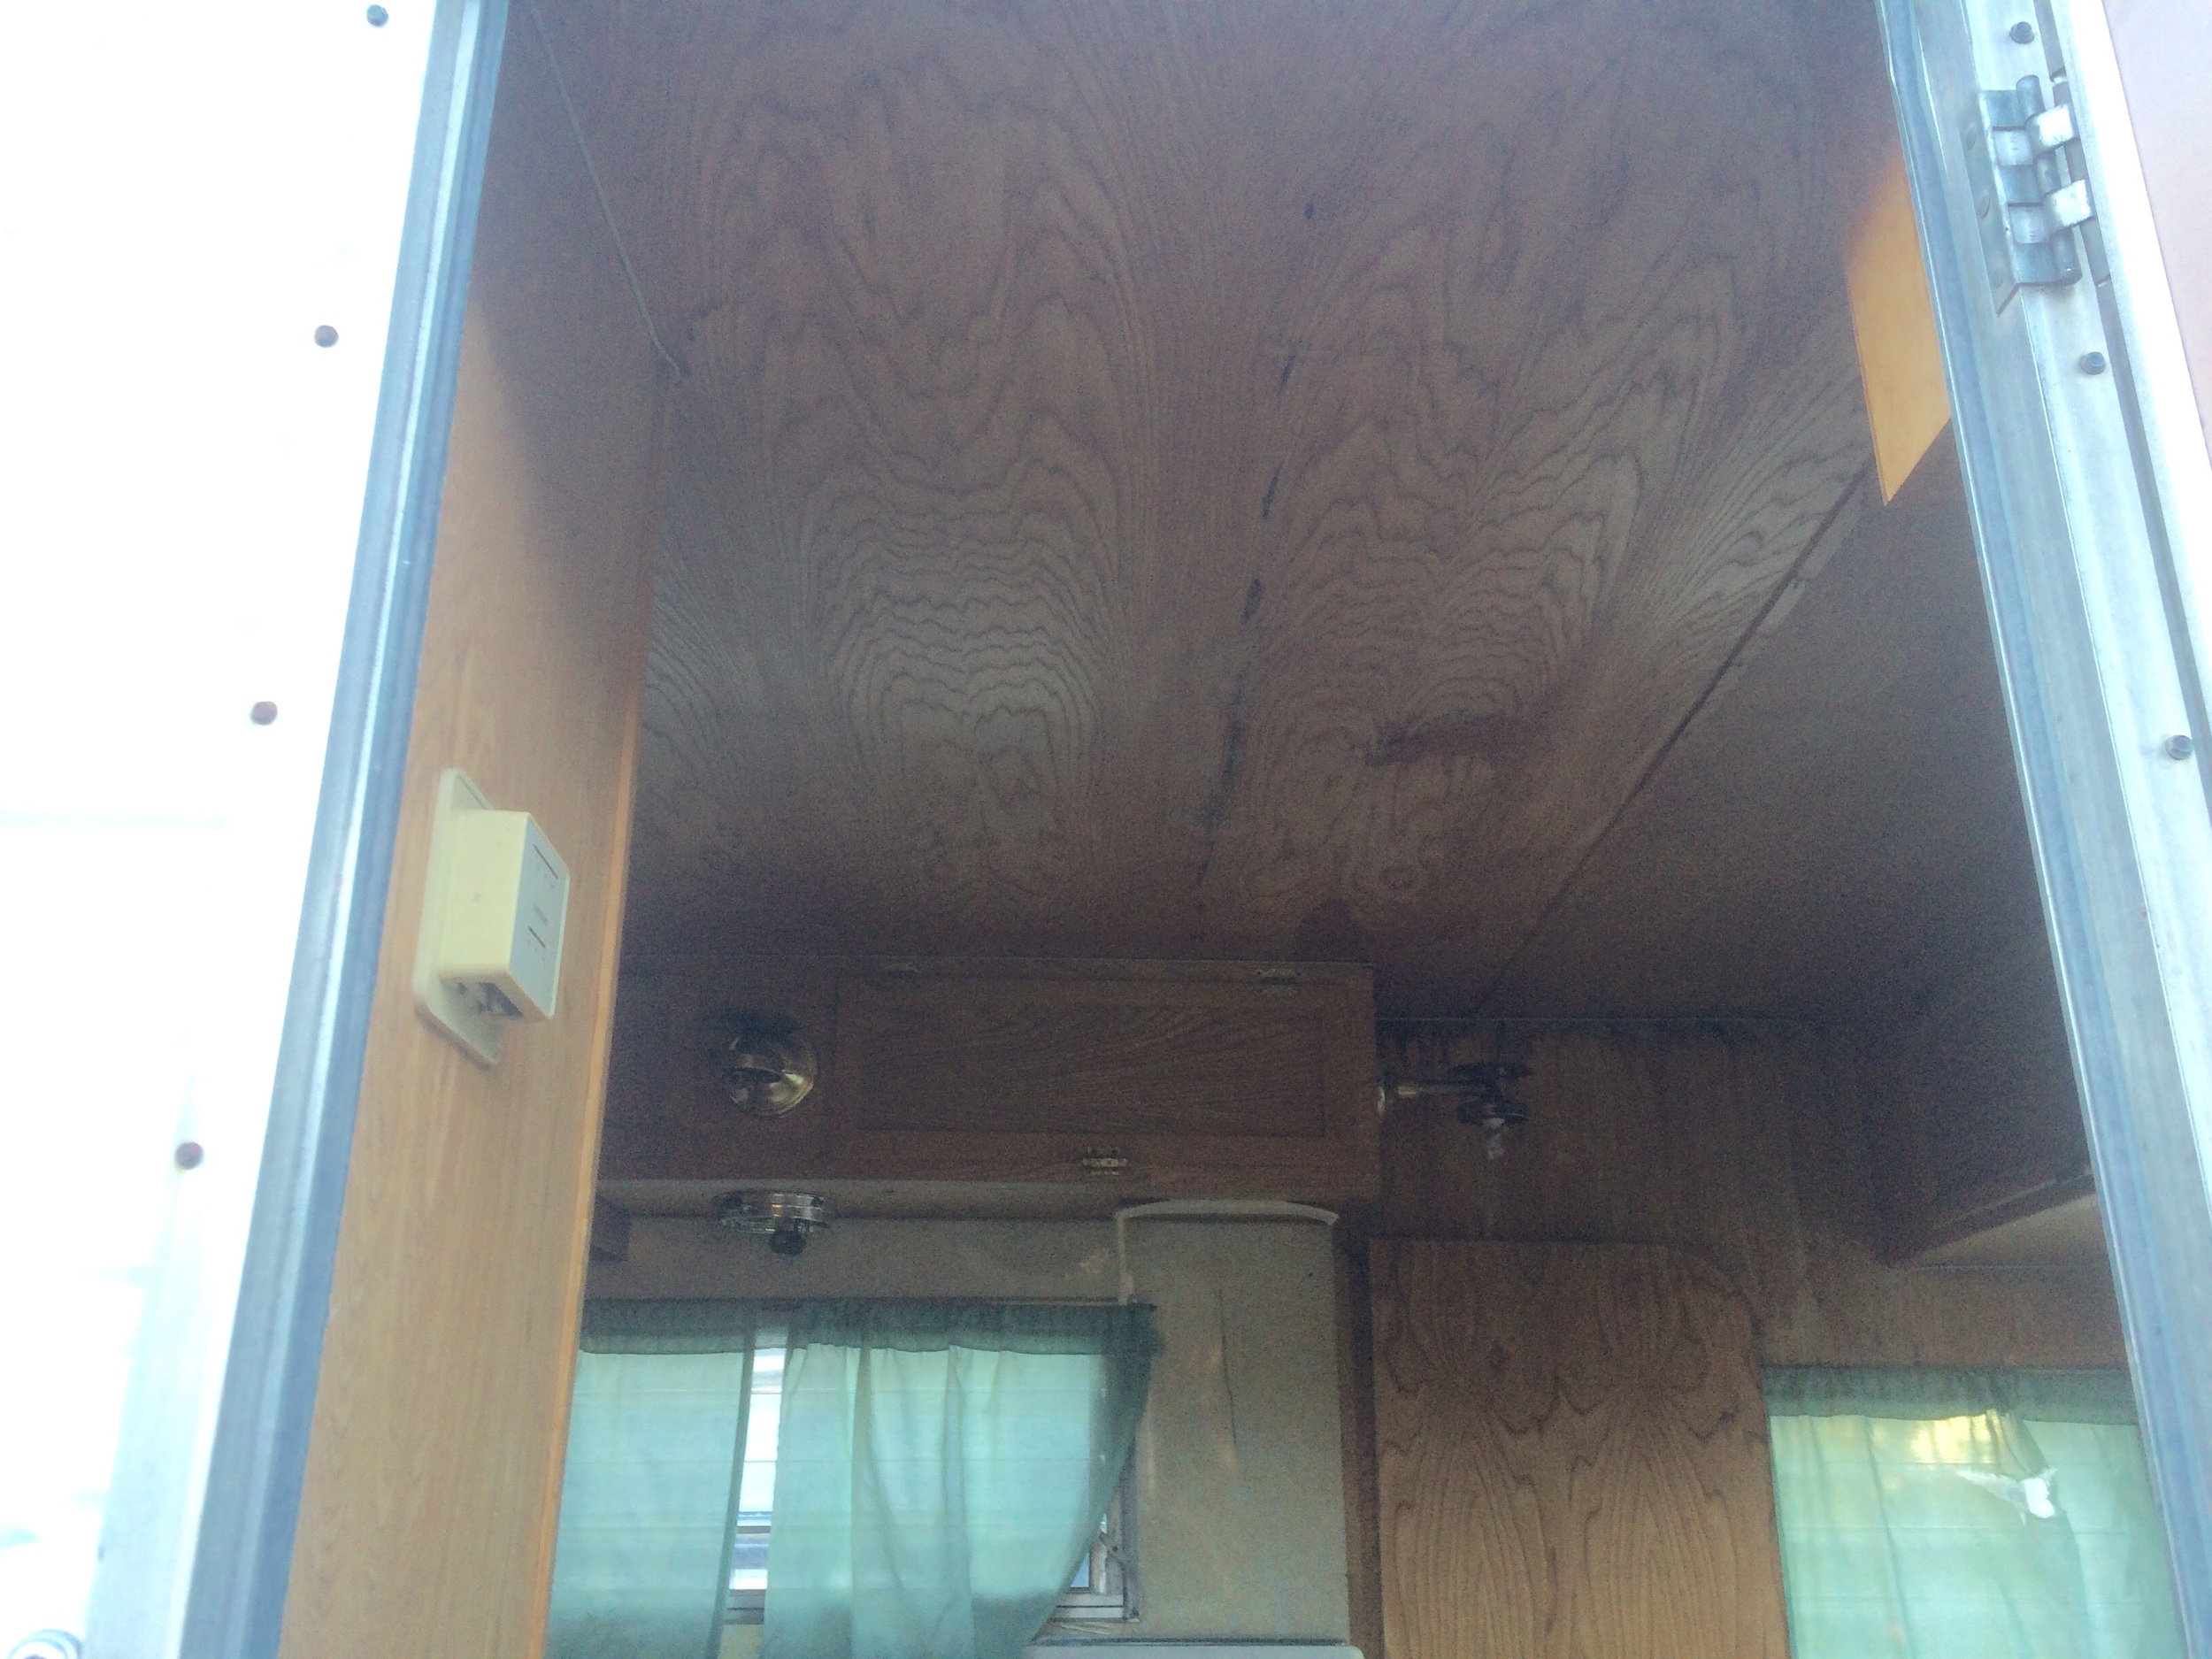
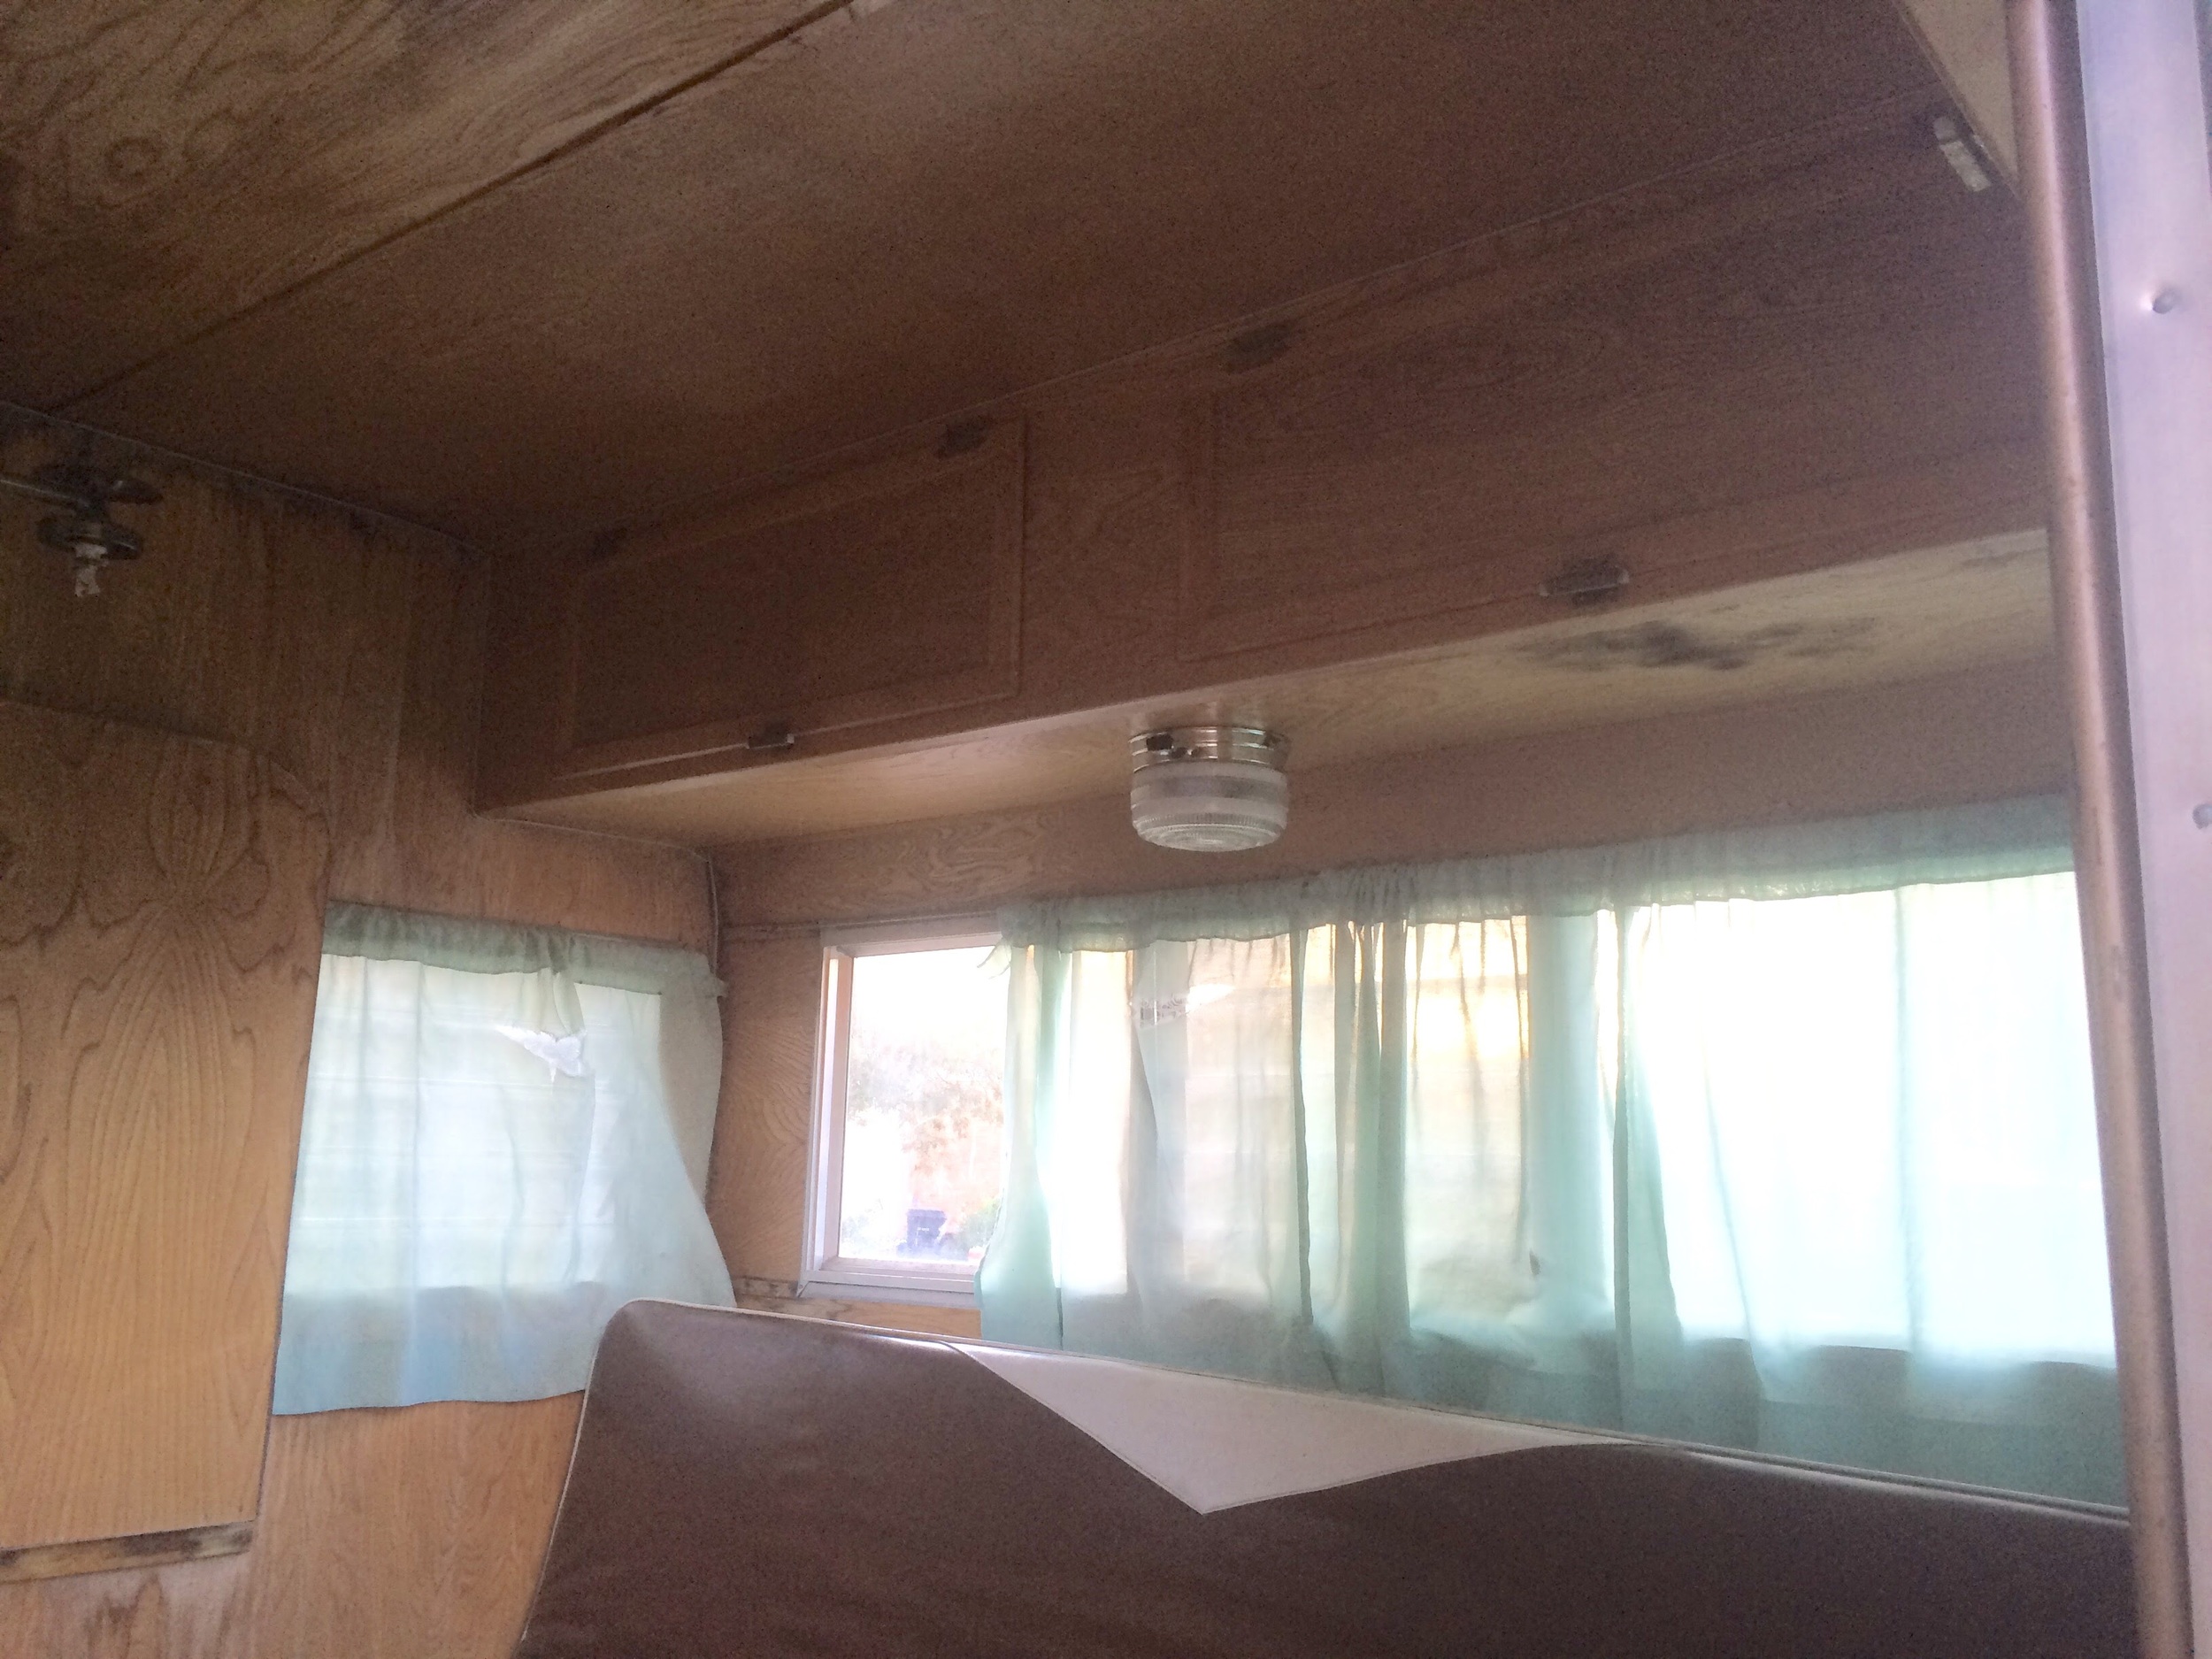
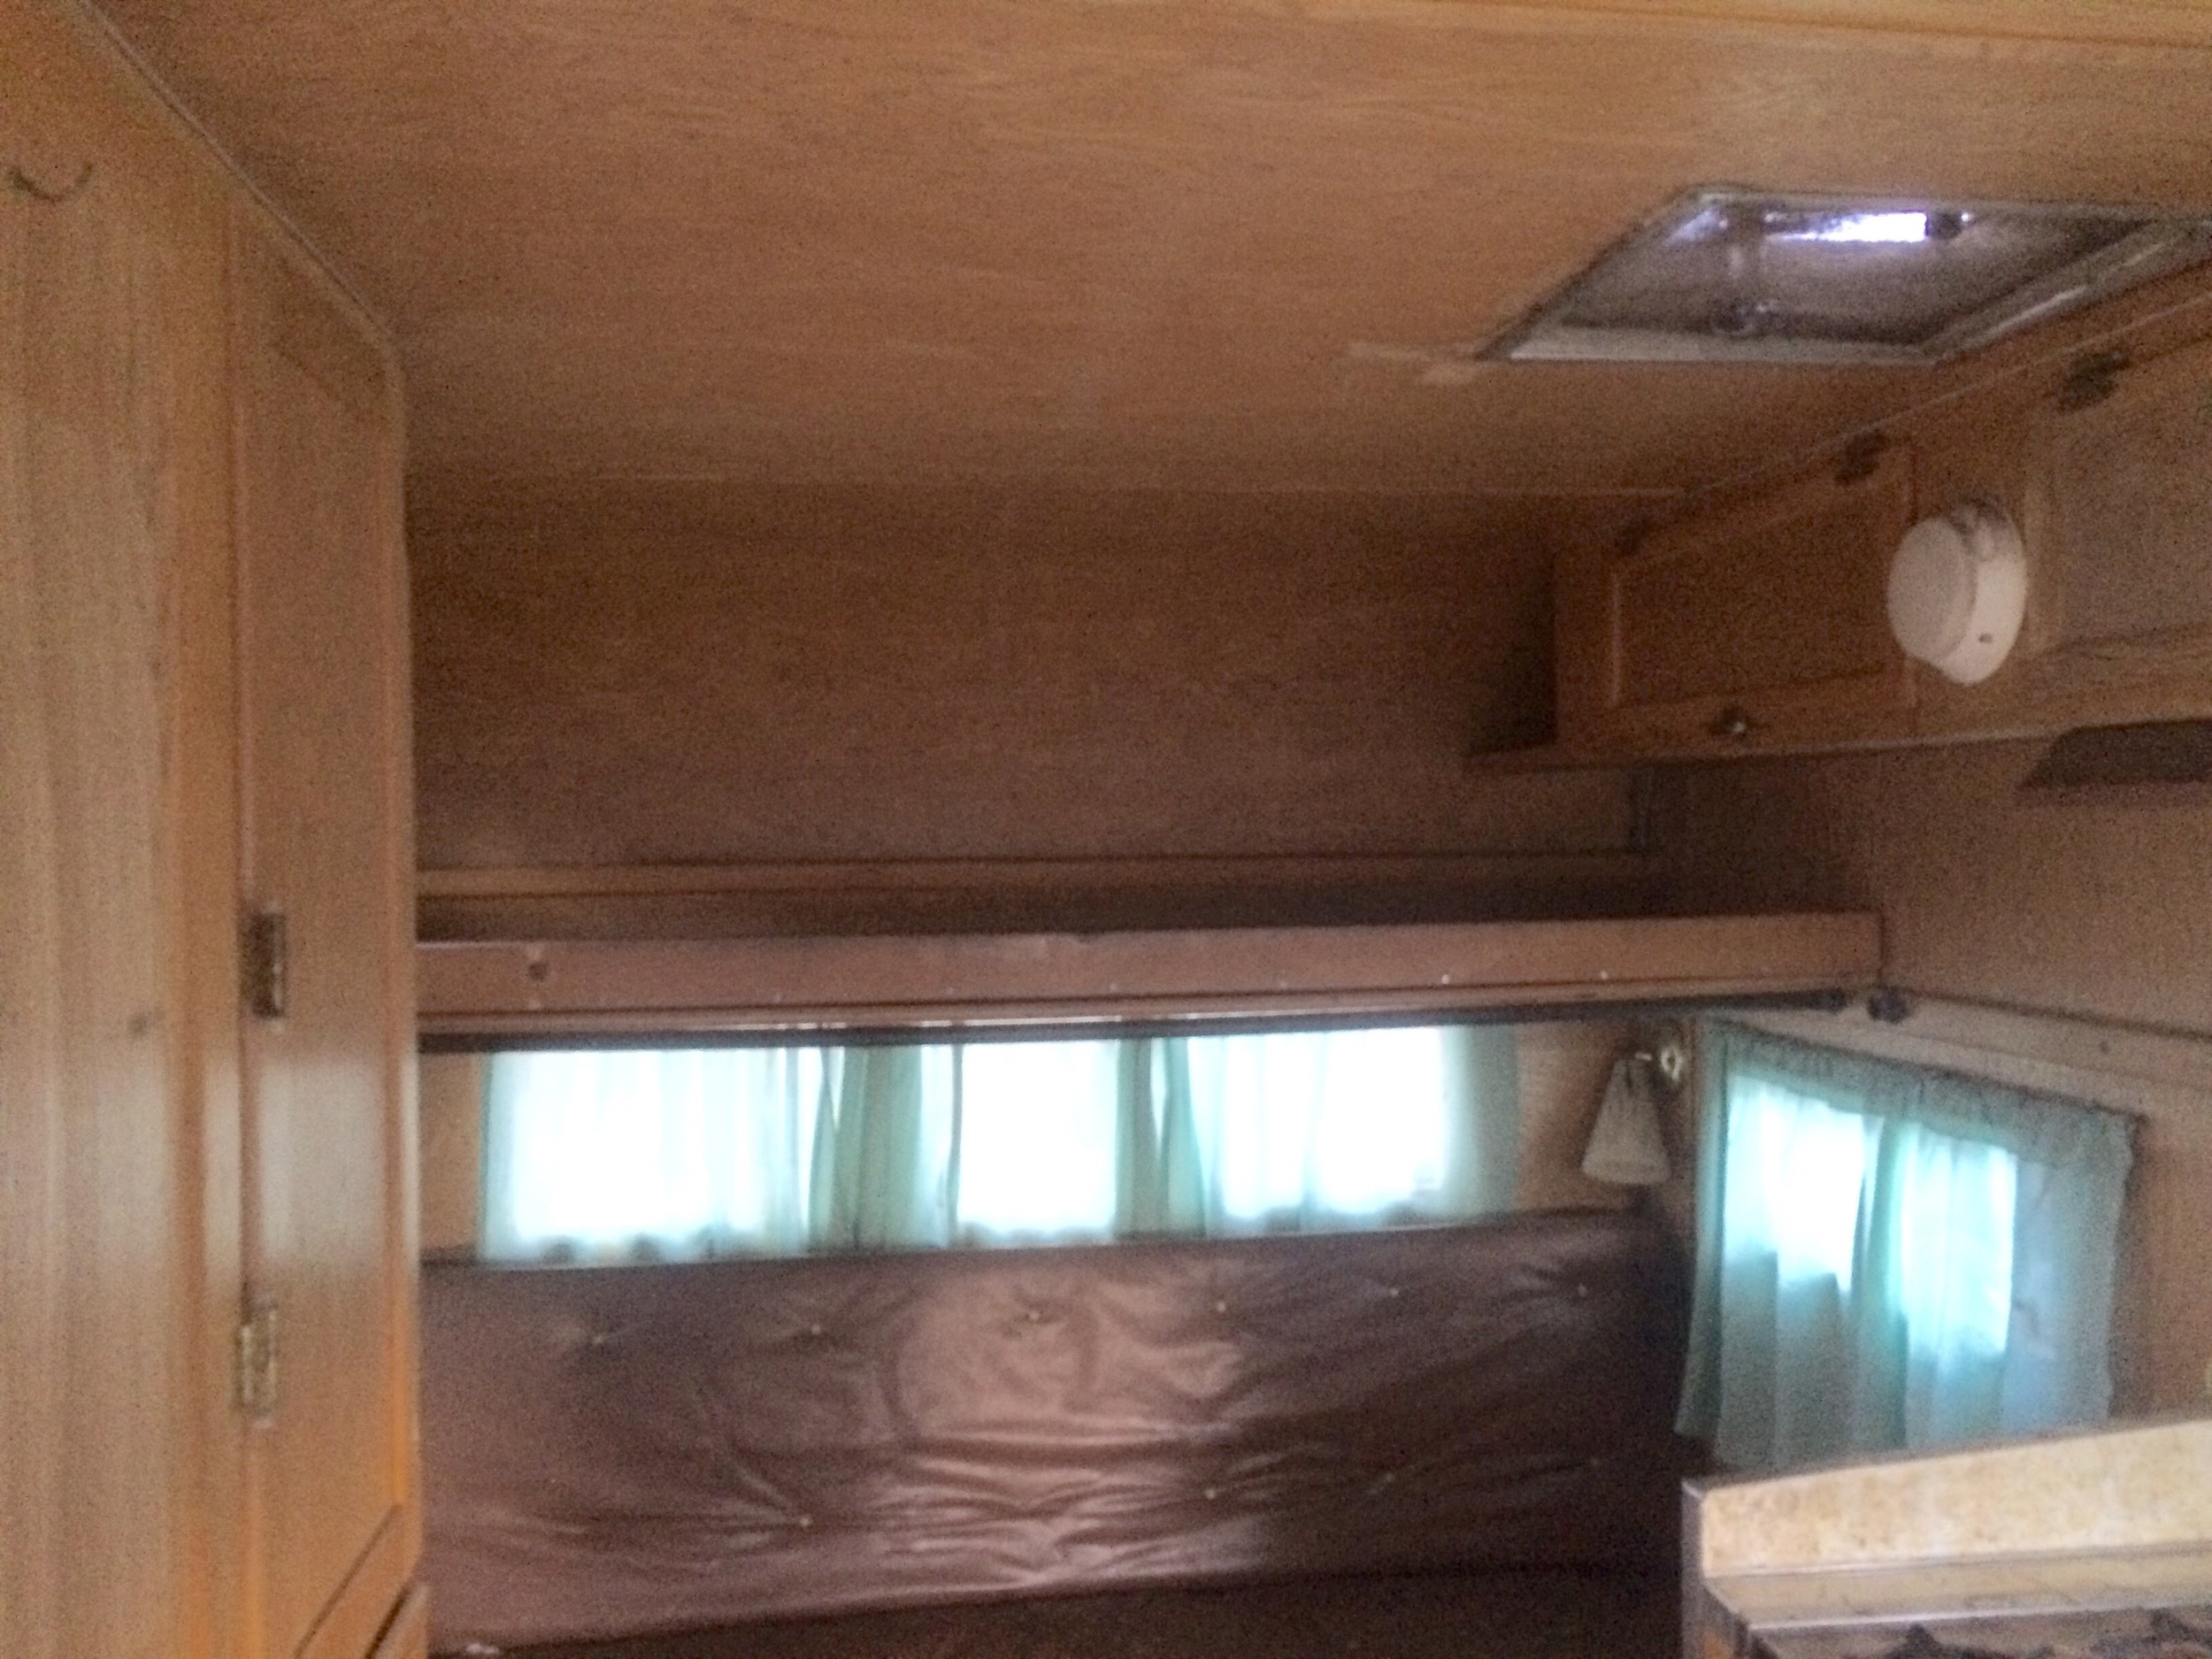
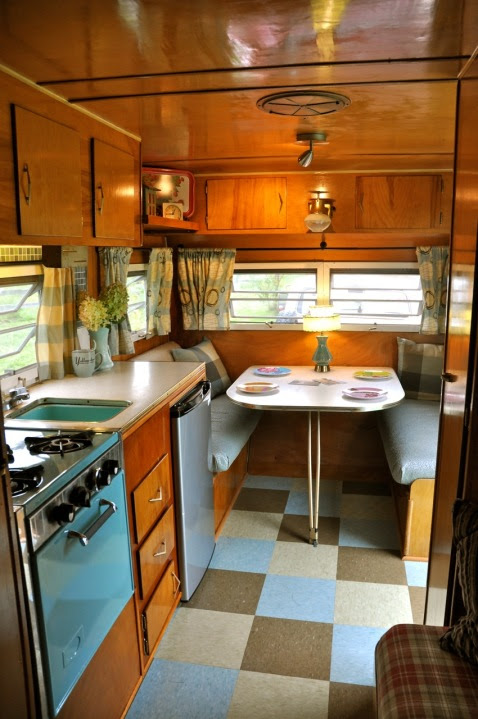
Remodel: Interior
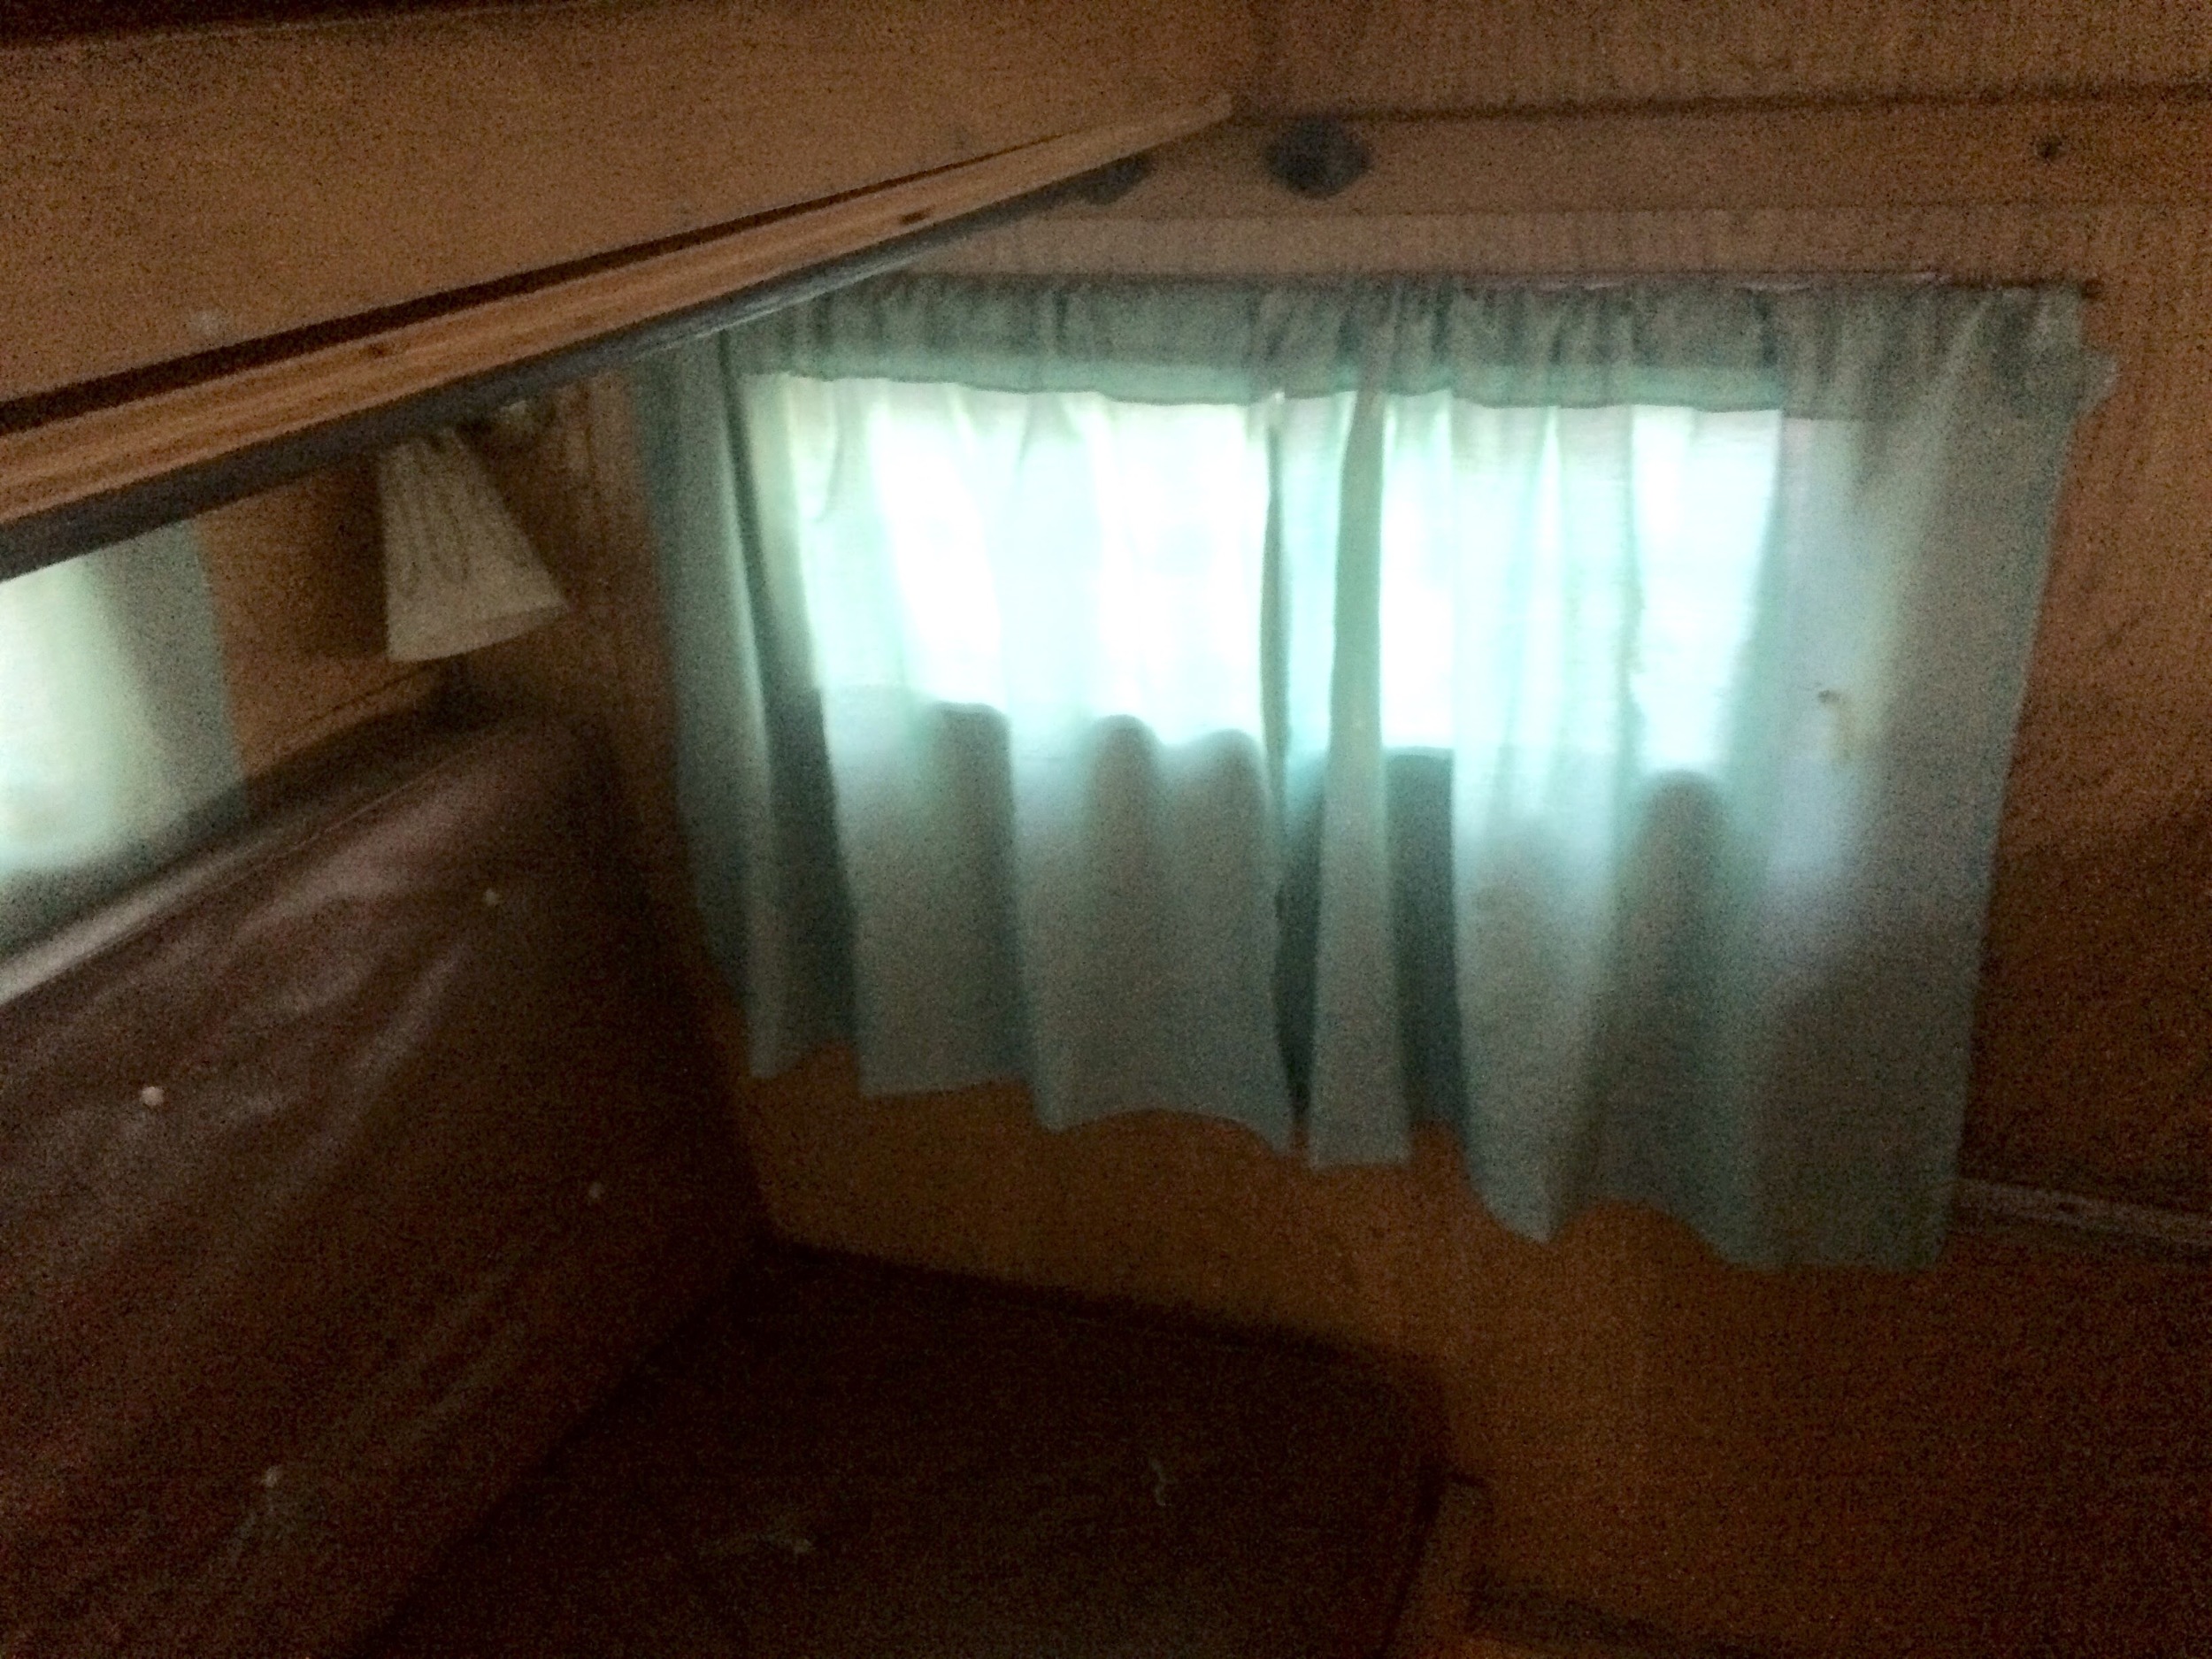
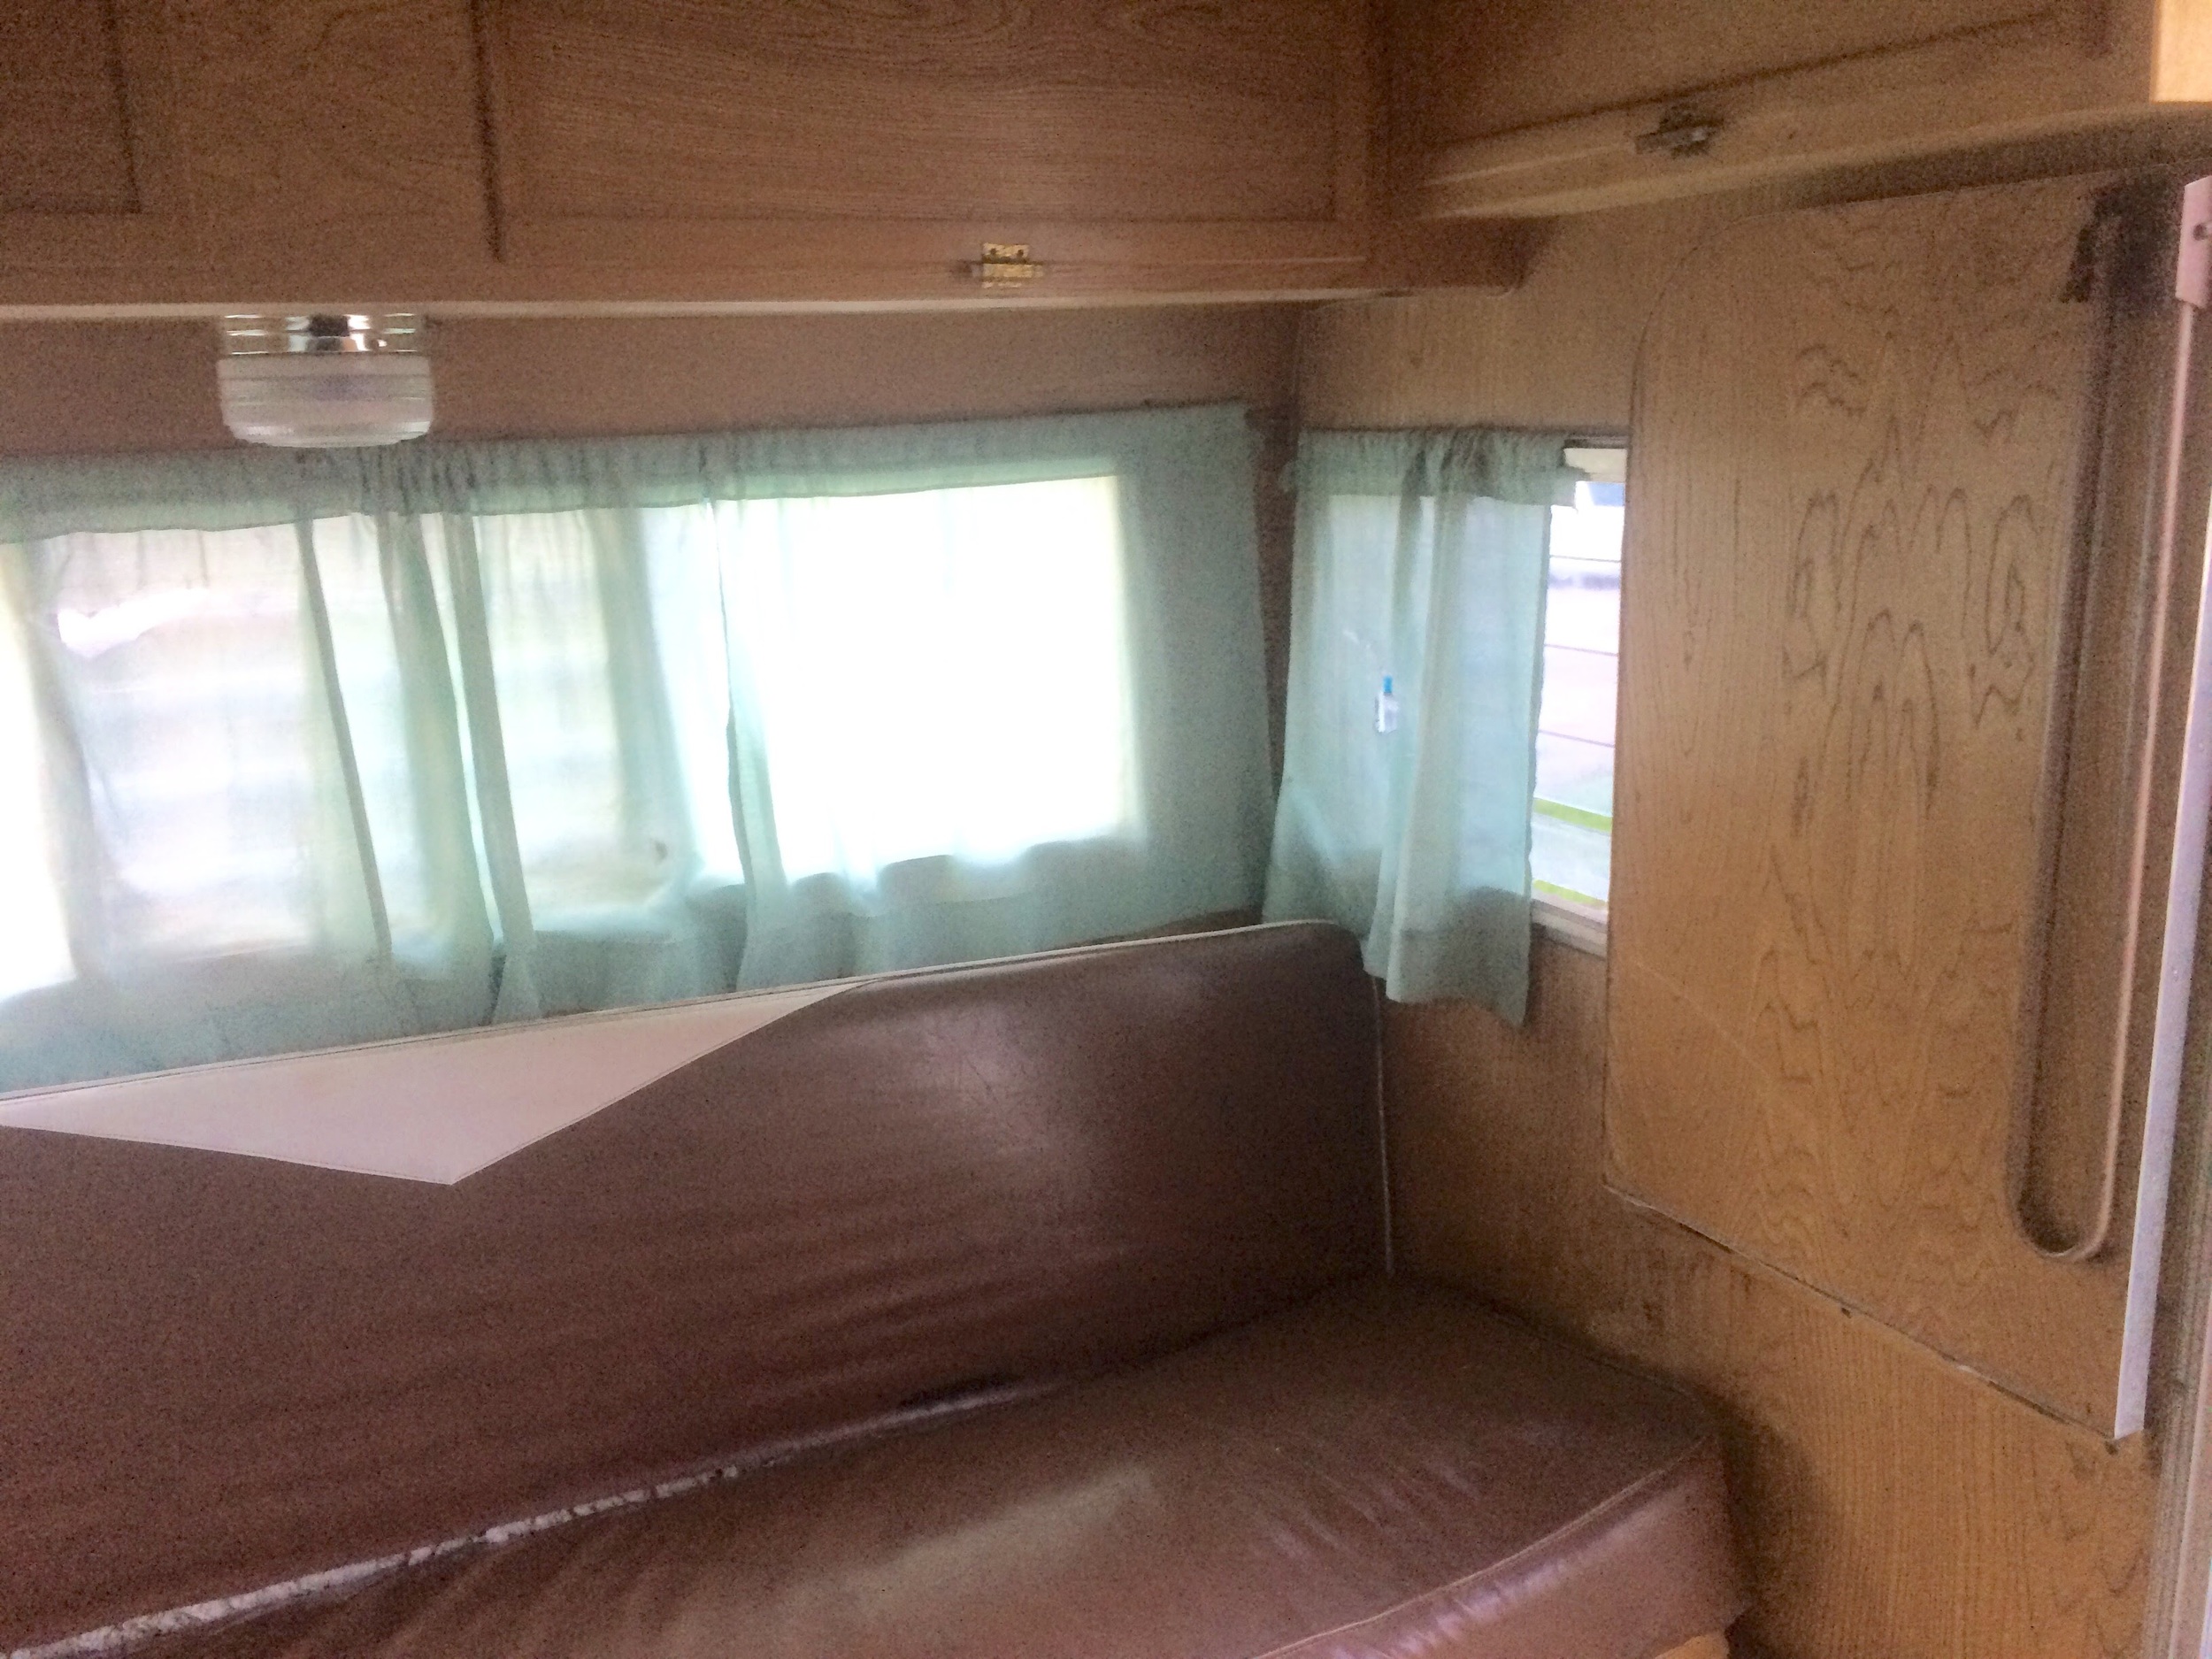
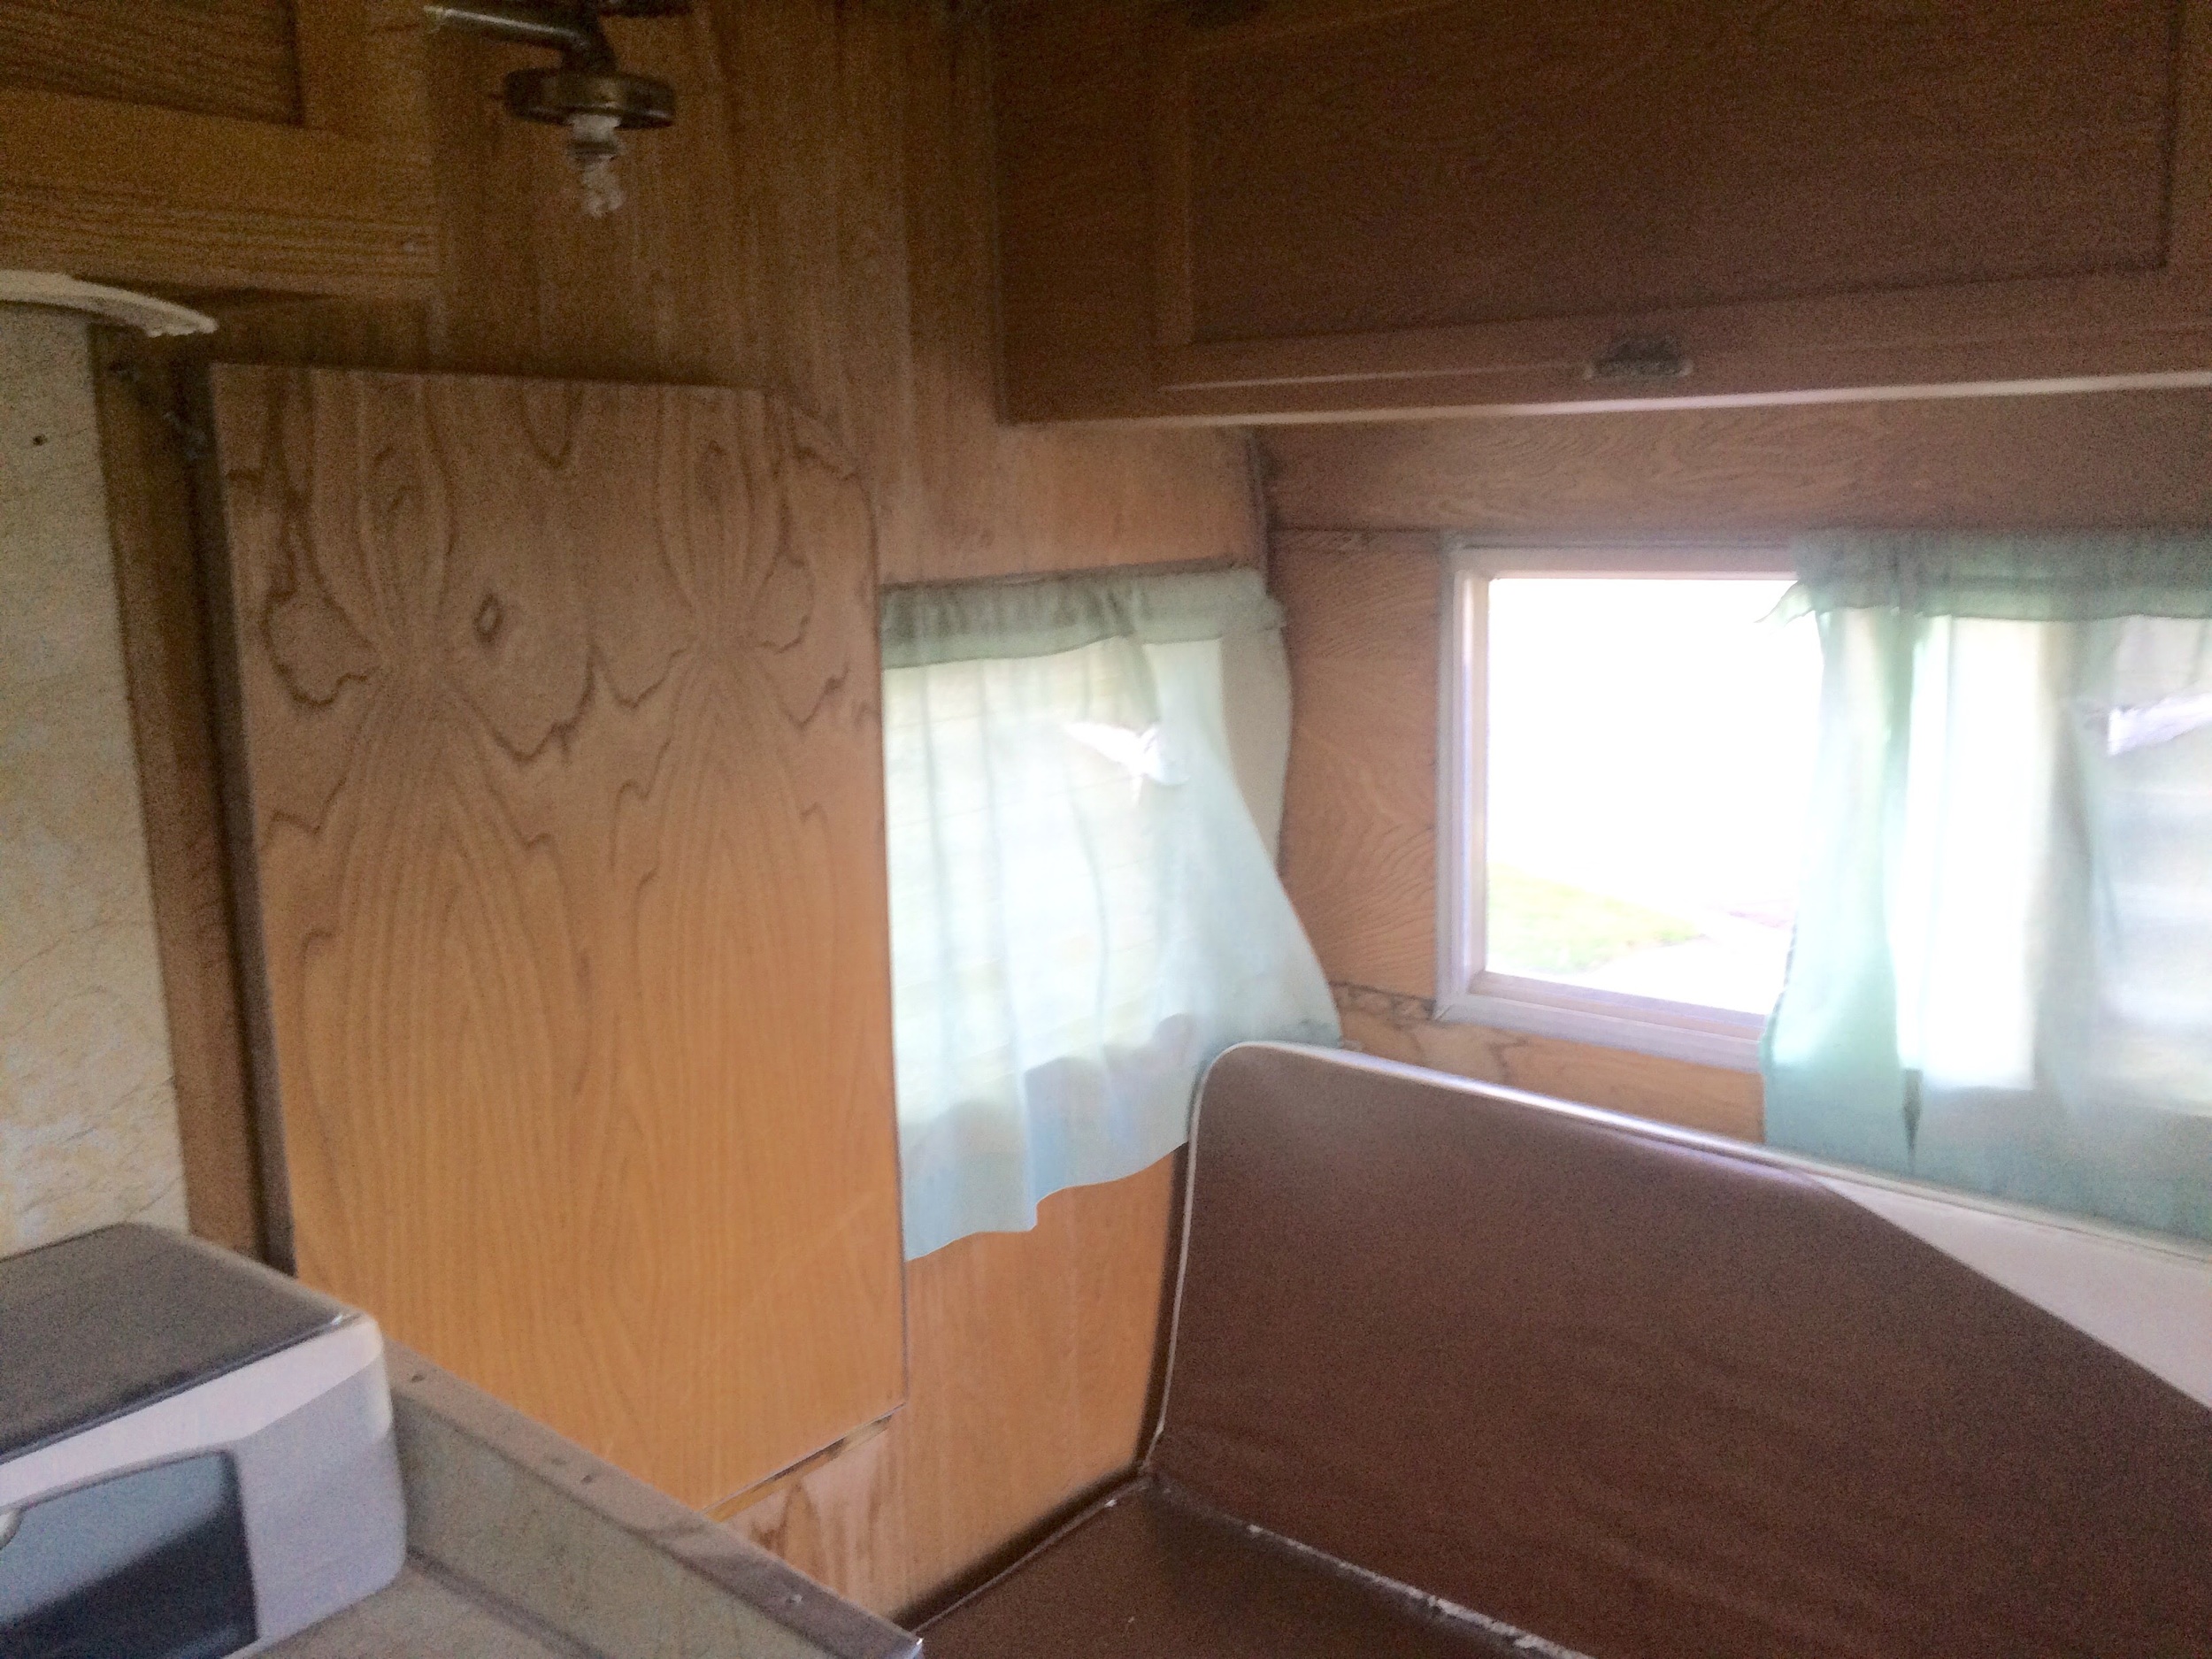
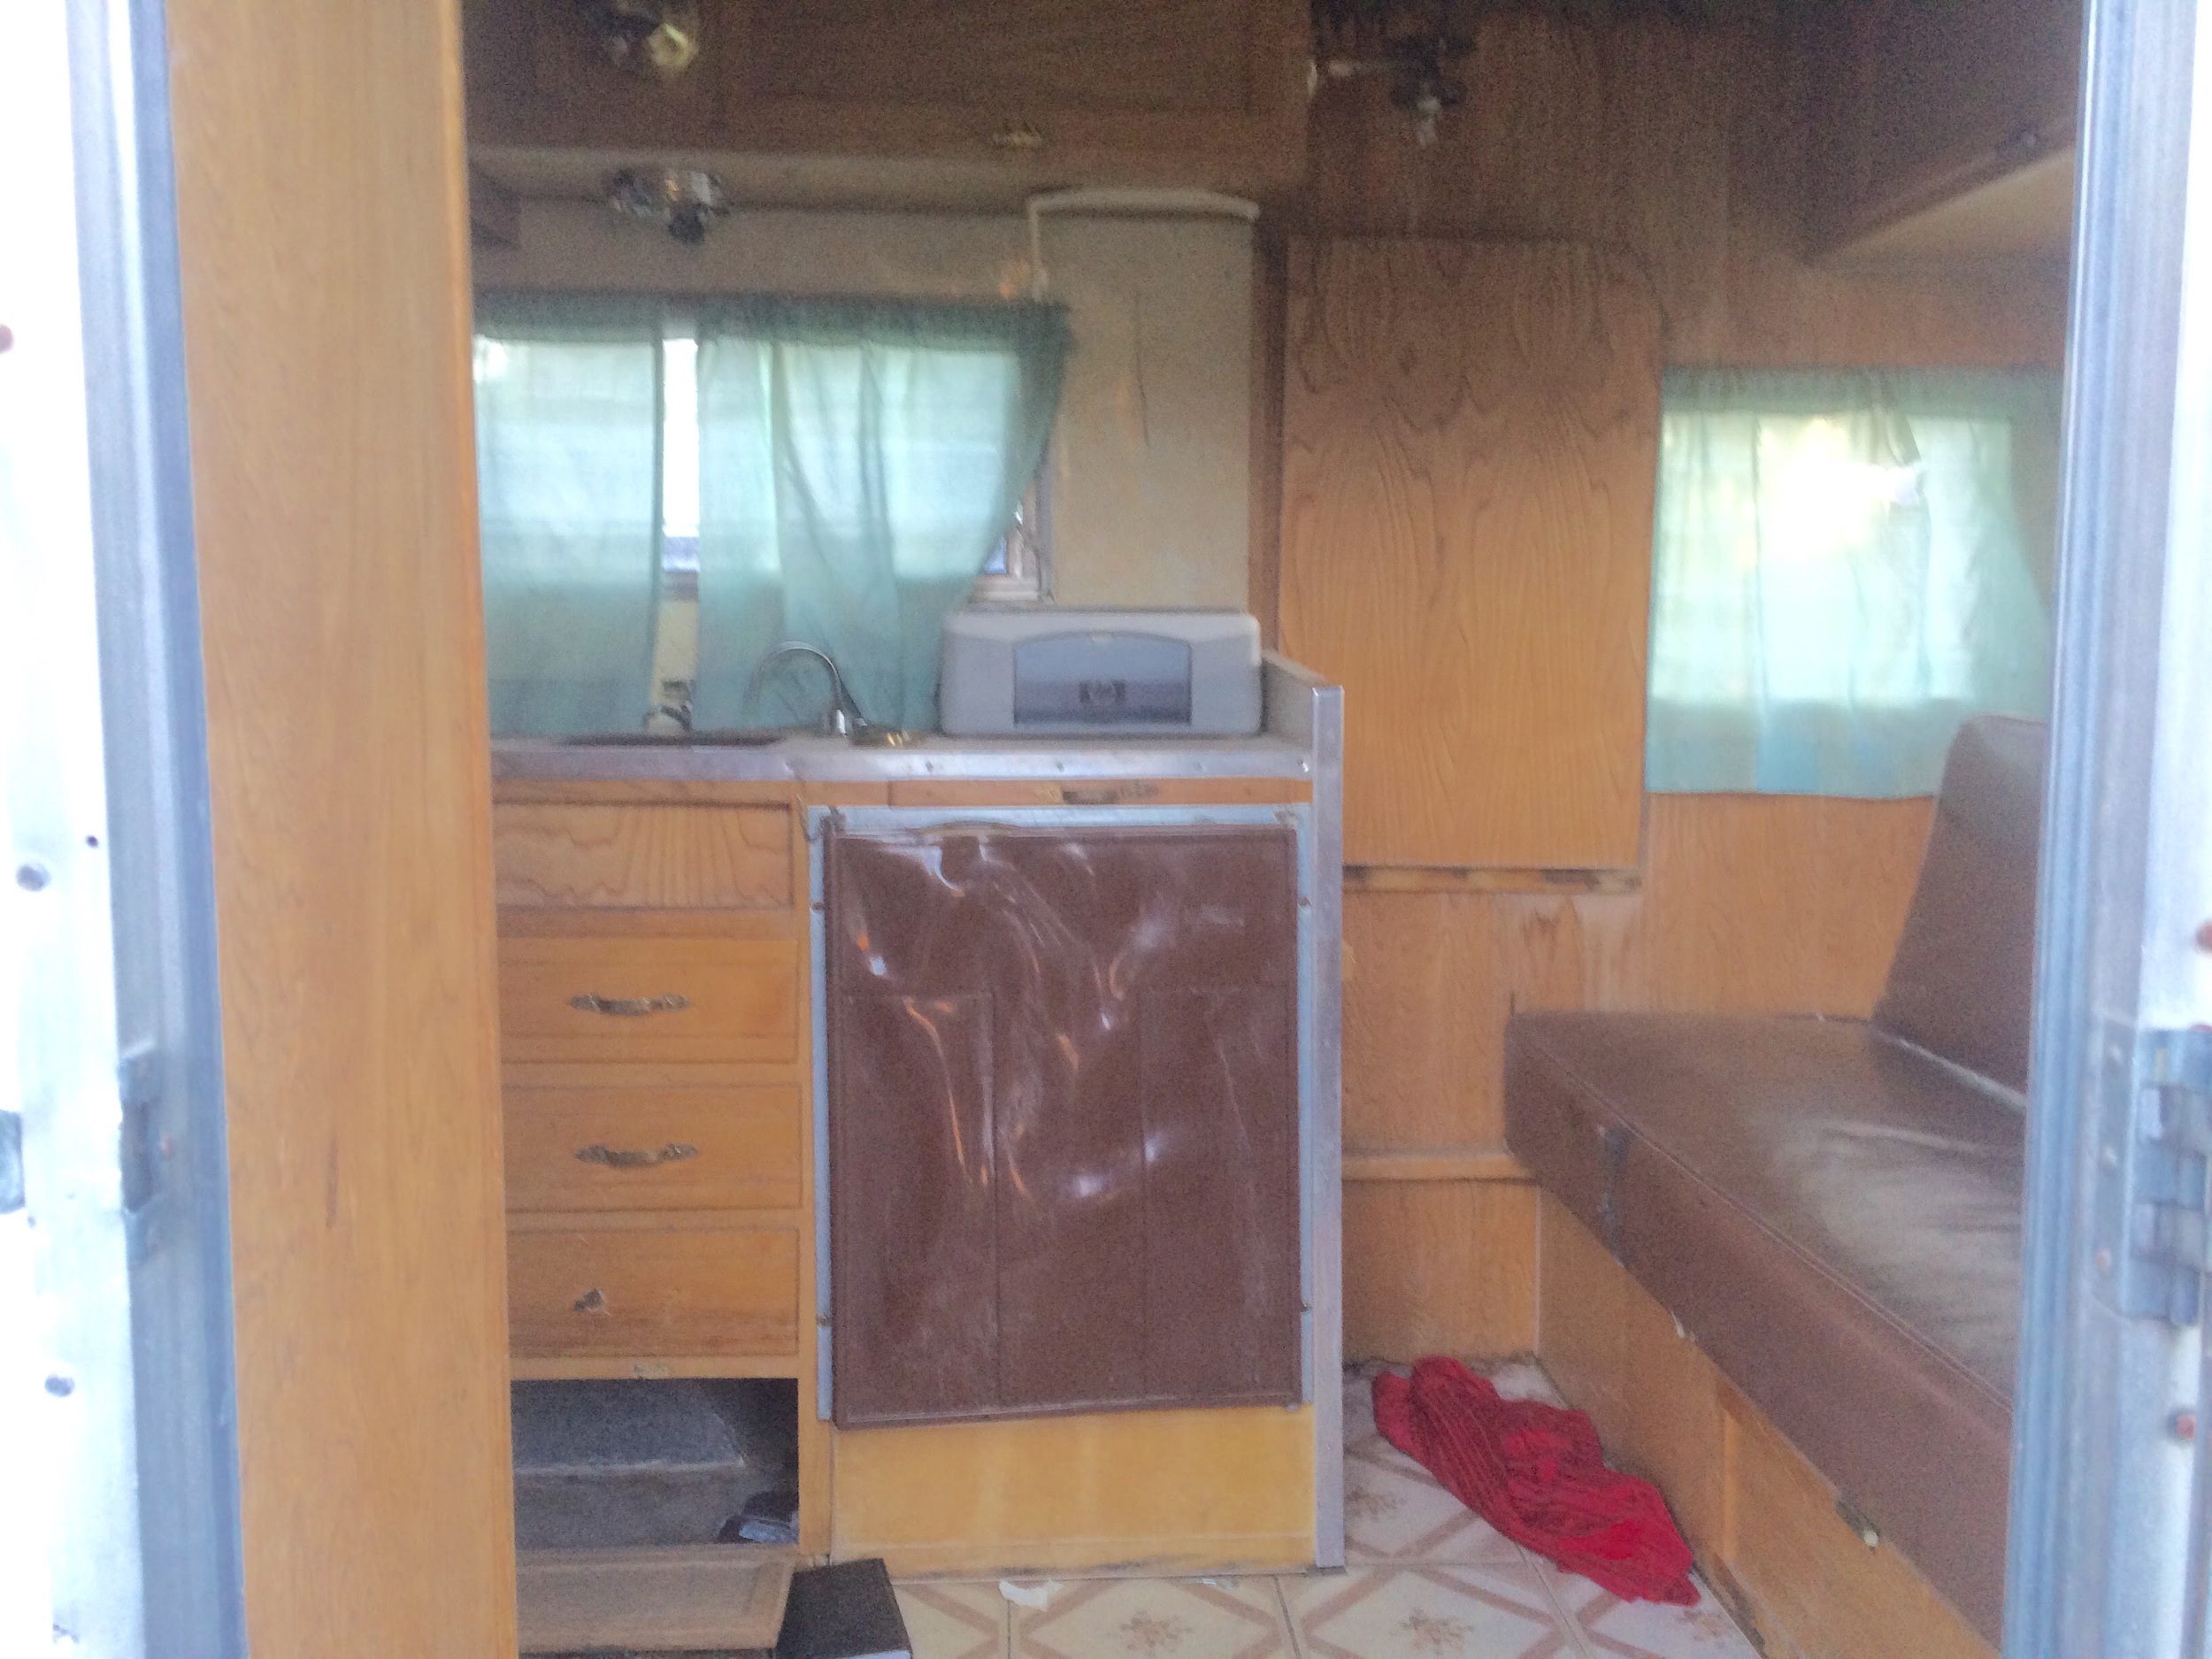
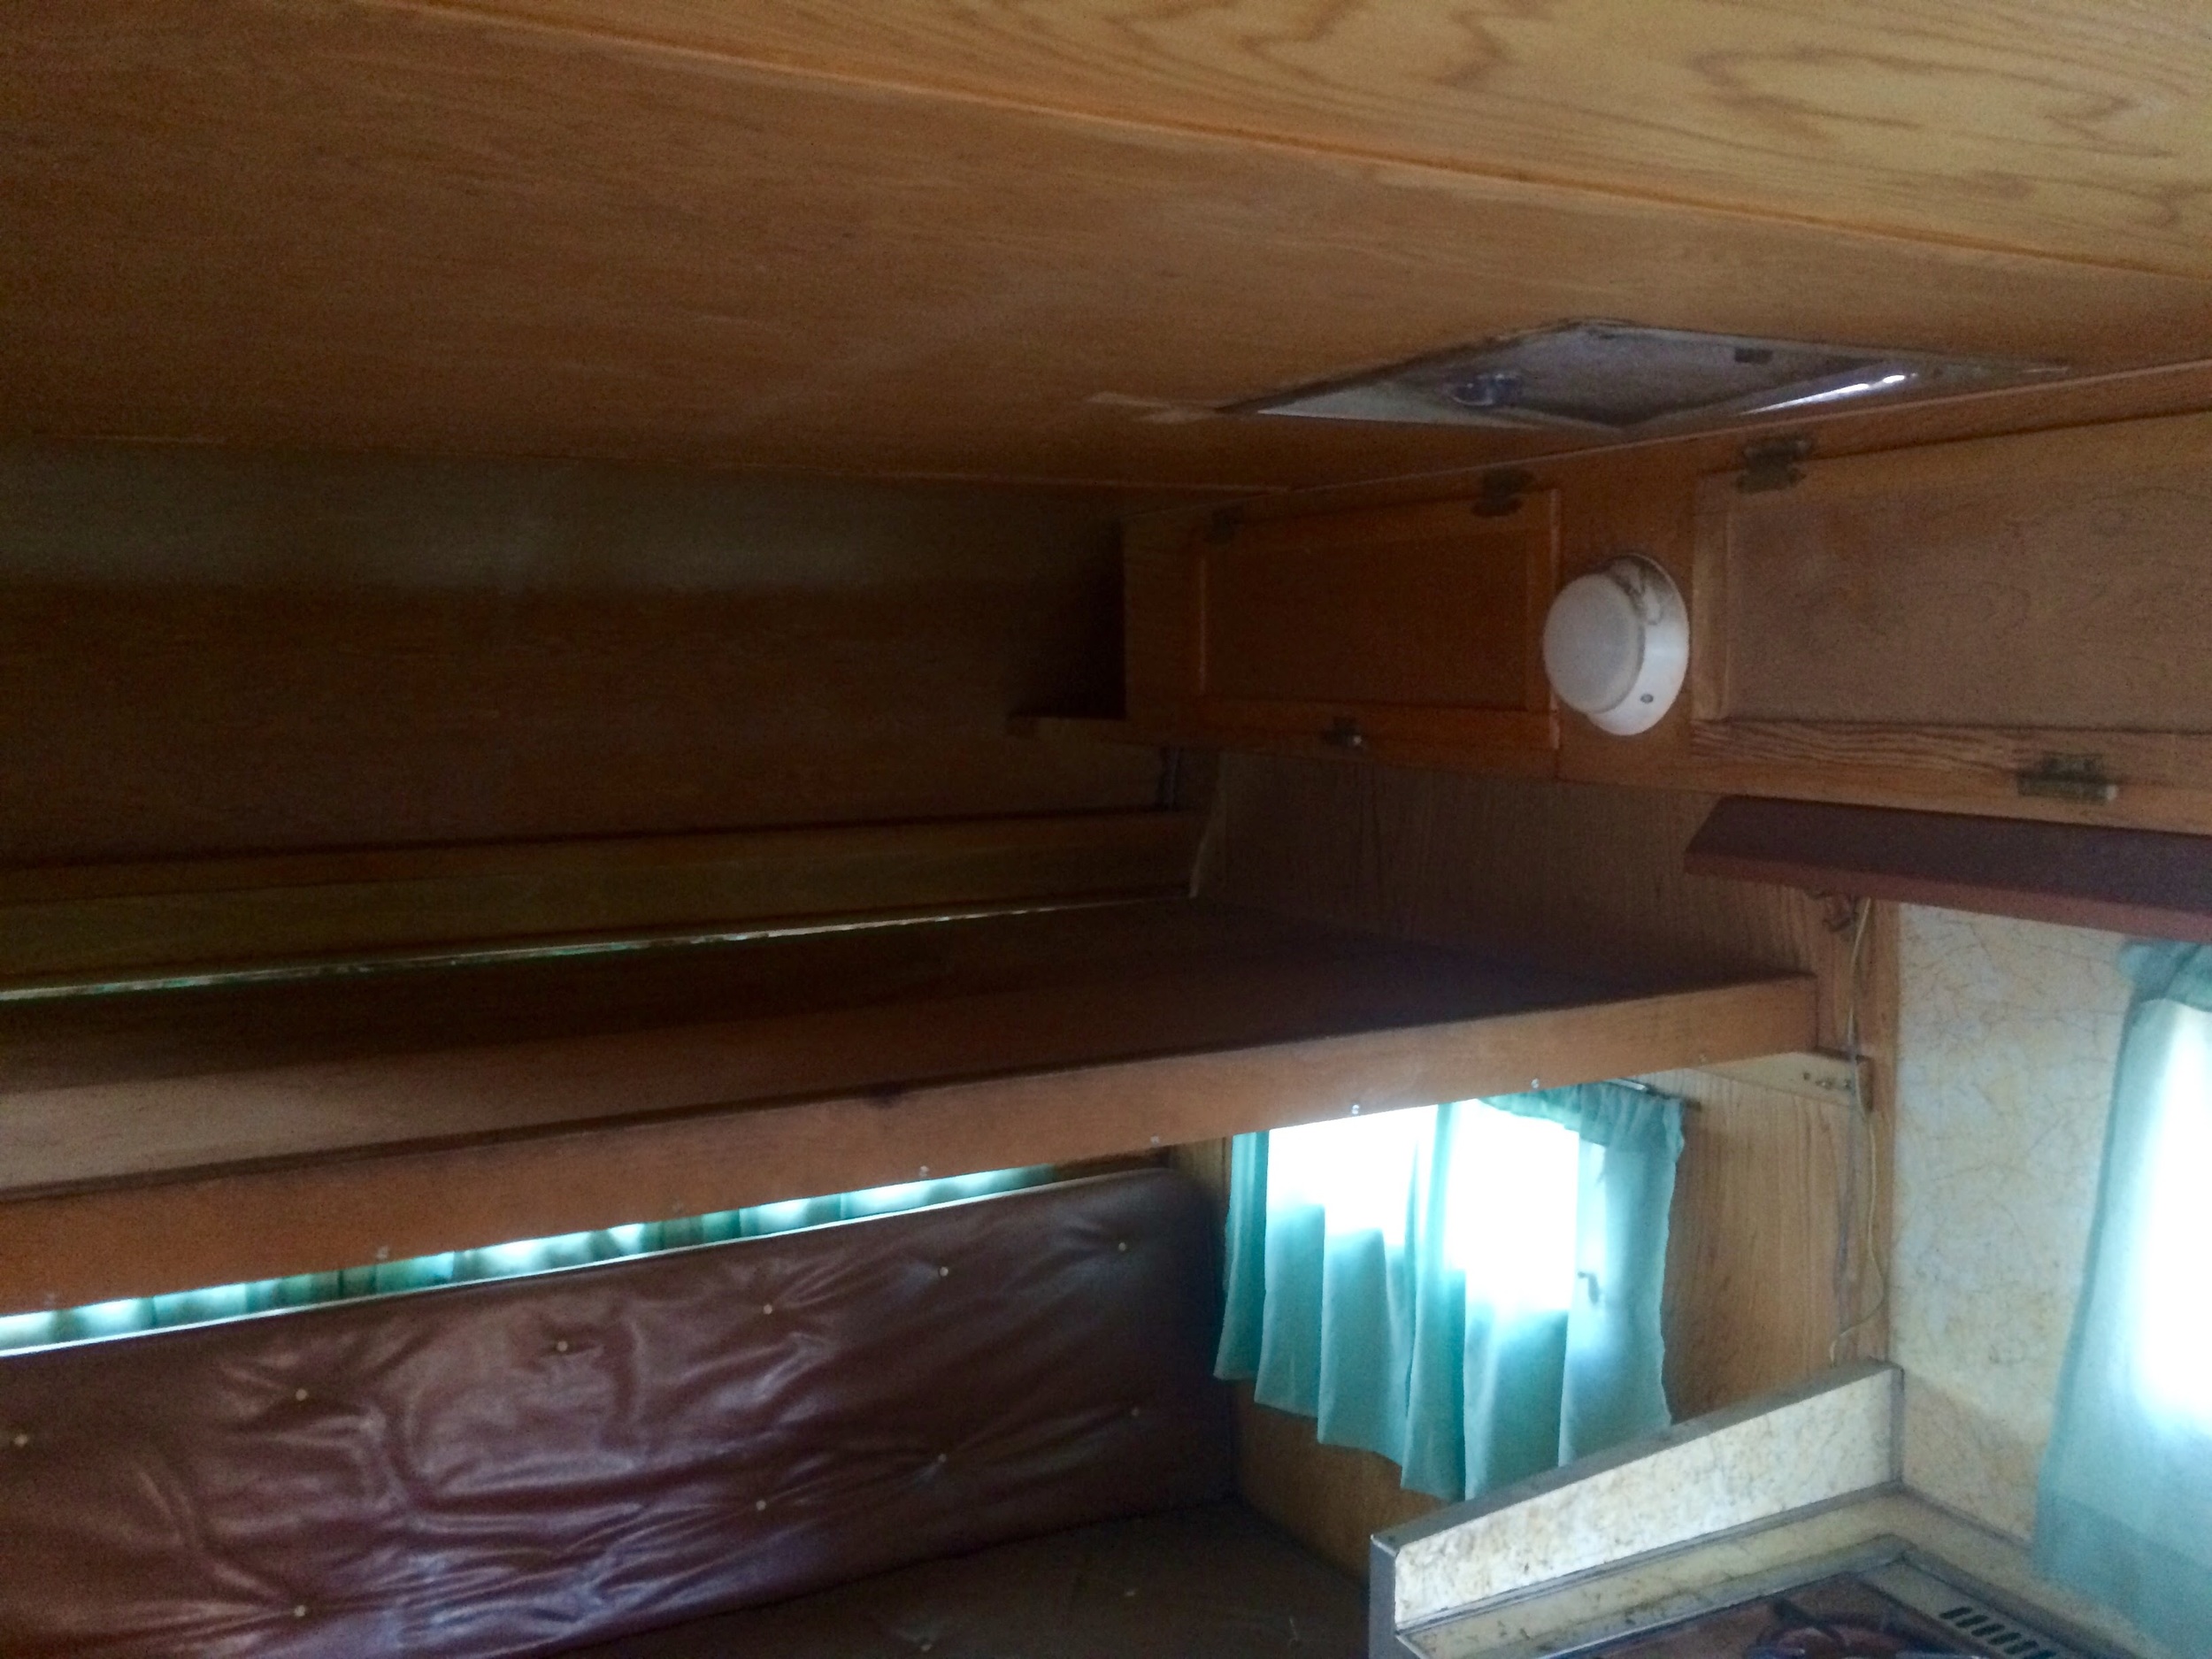
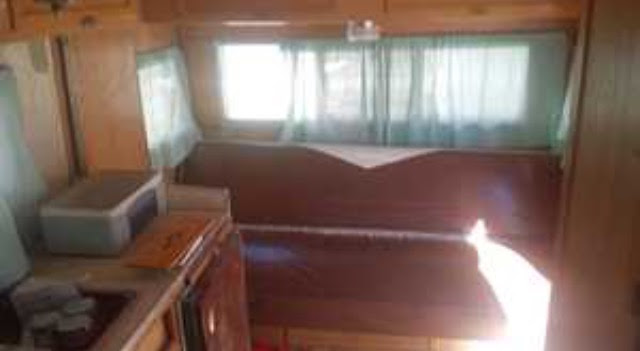
Interior Walk-through
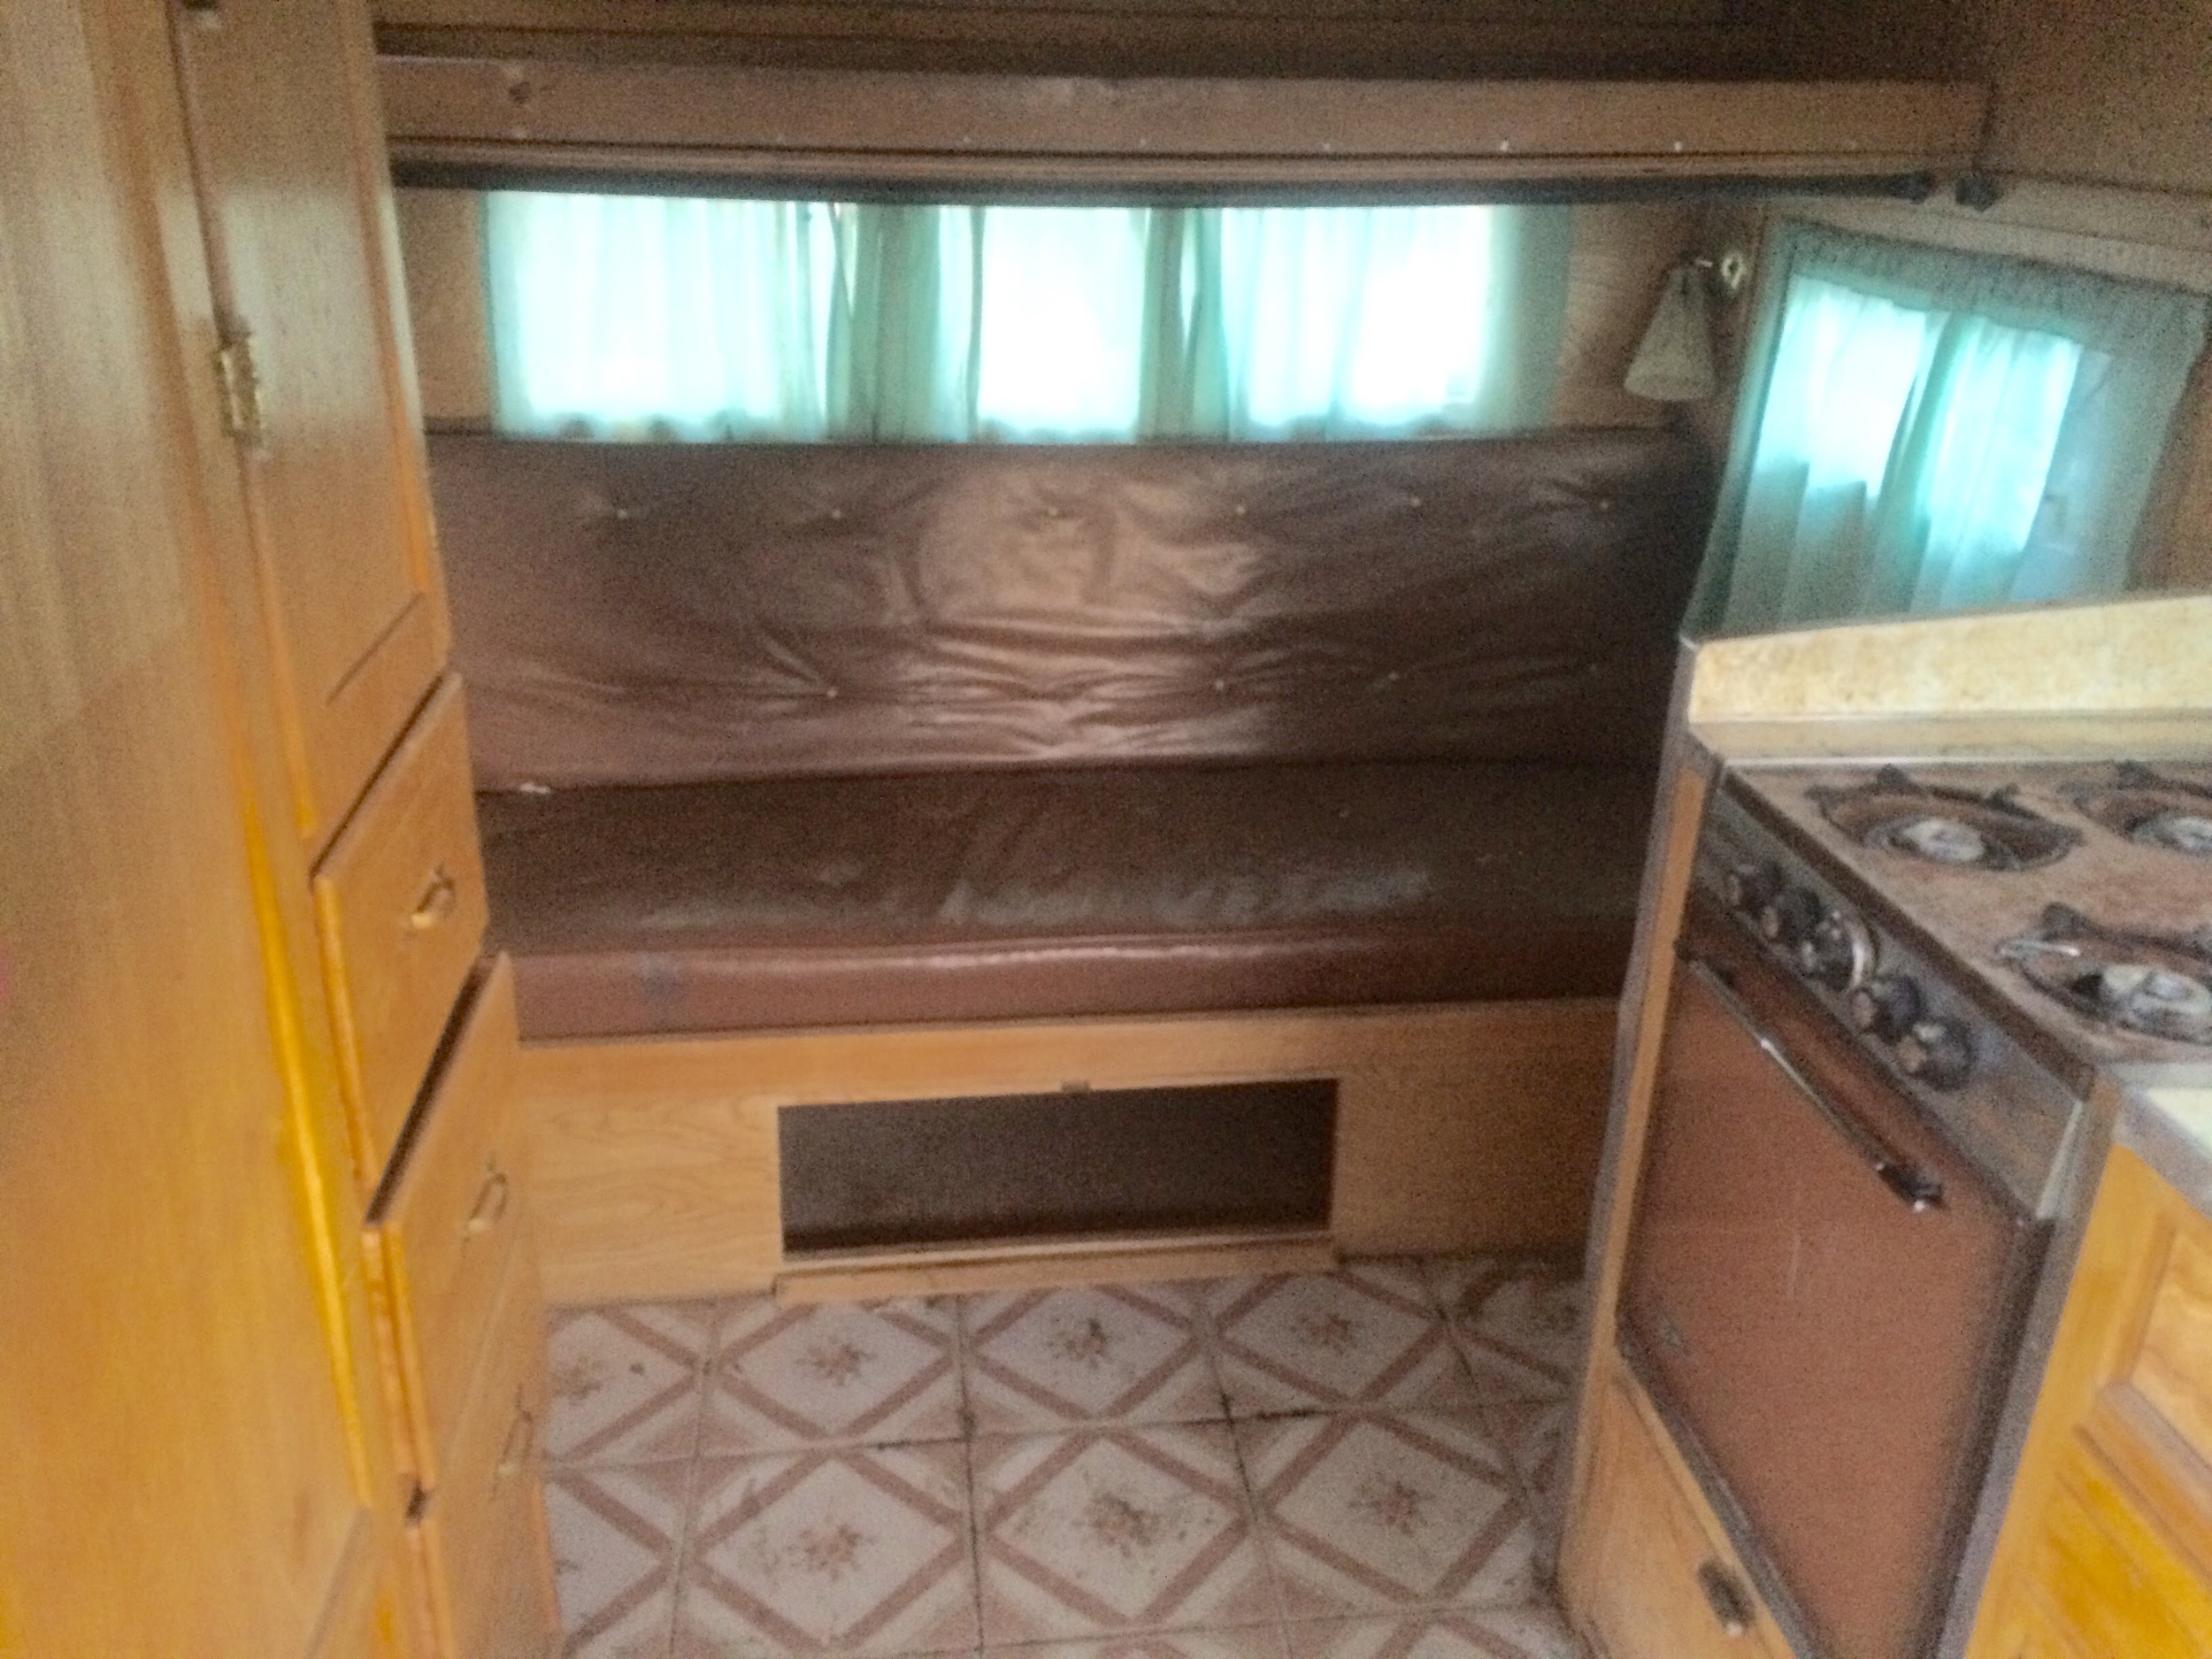
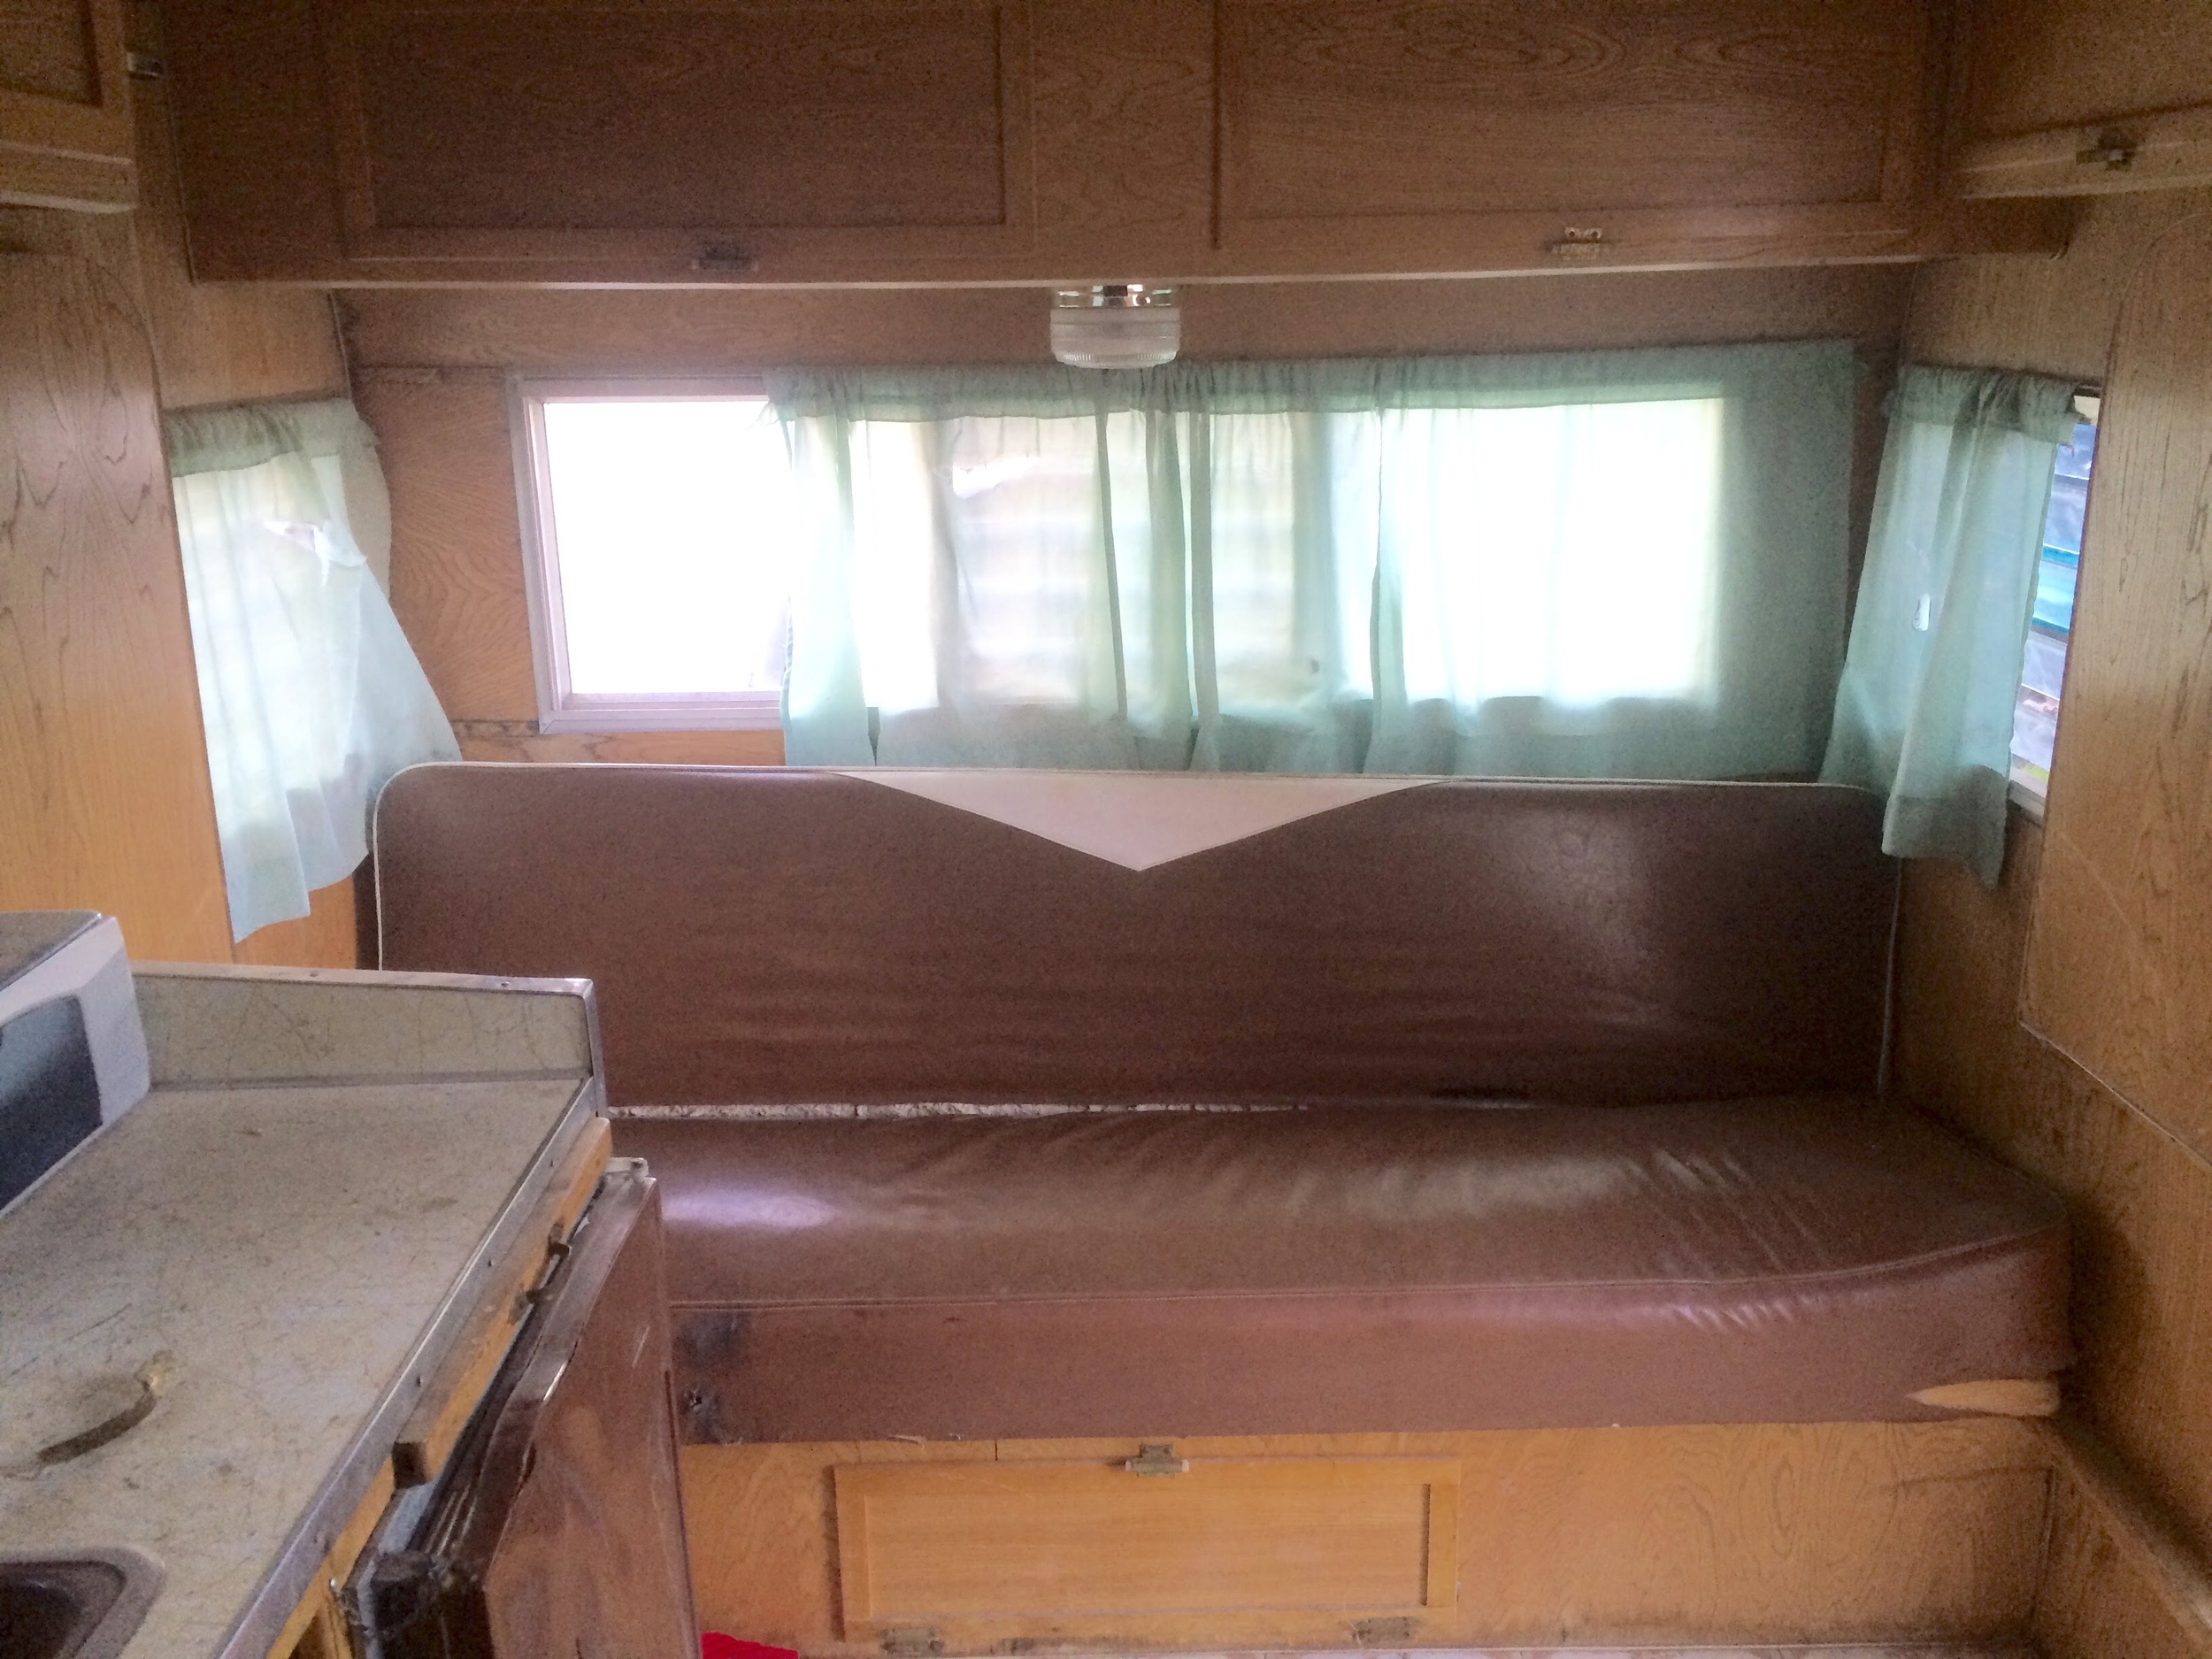
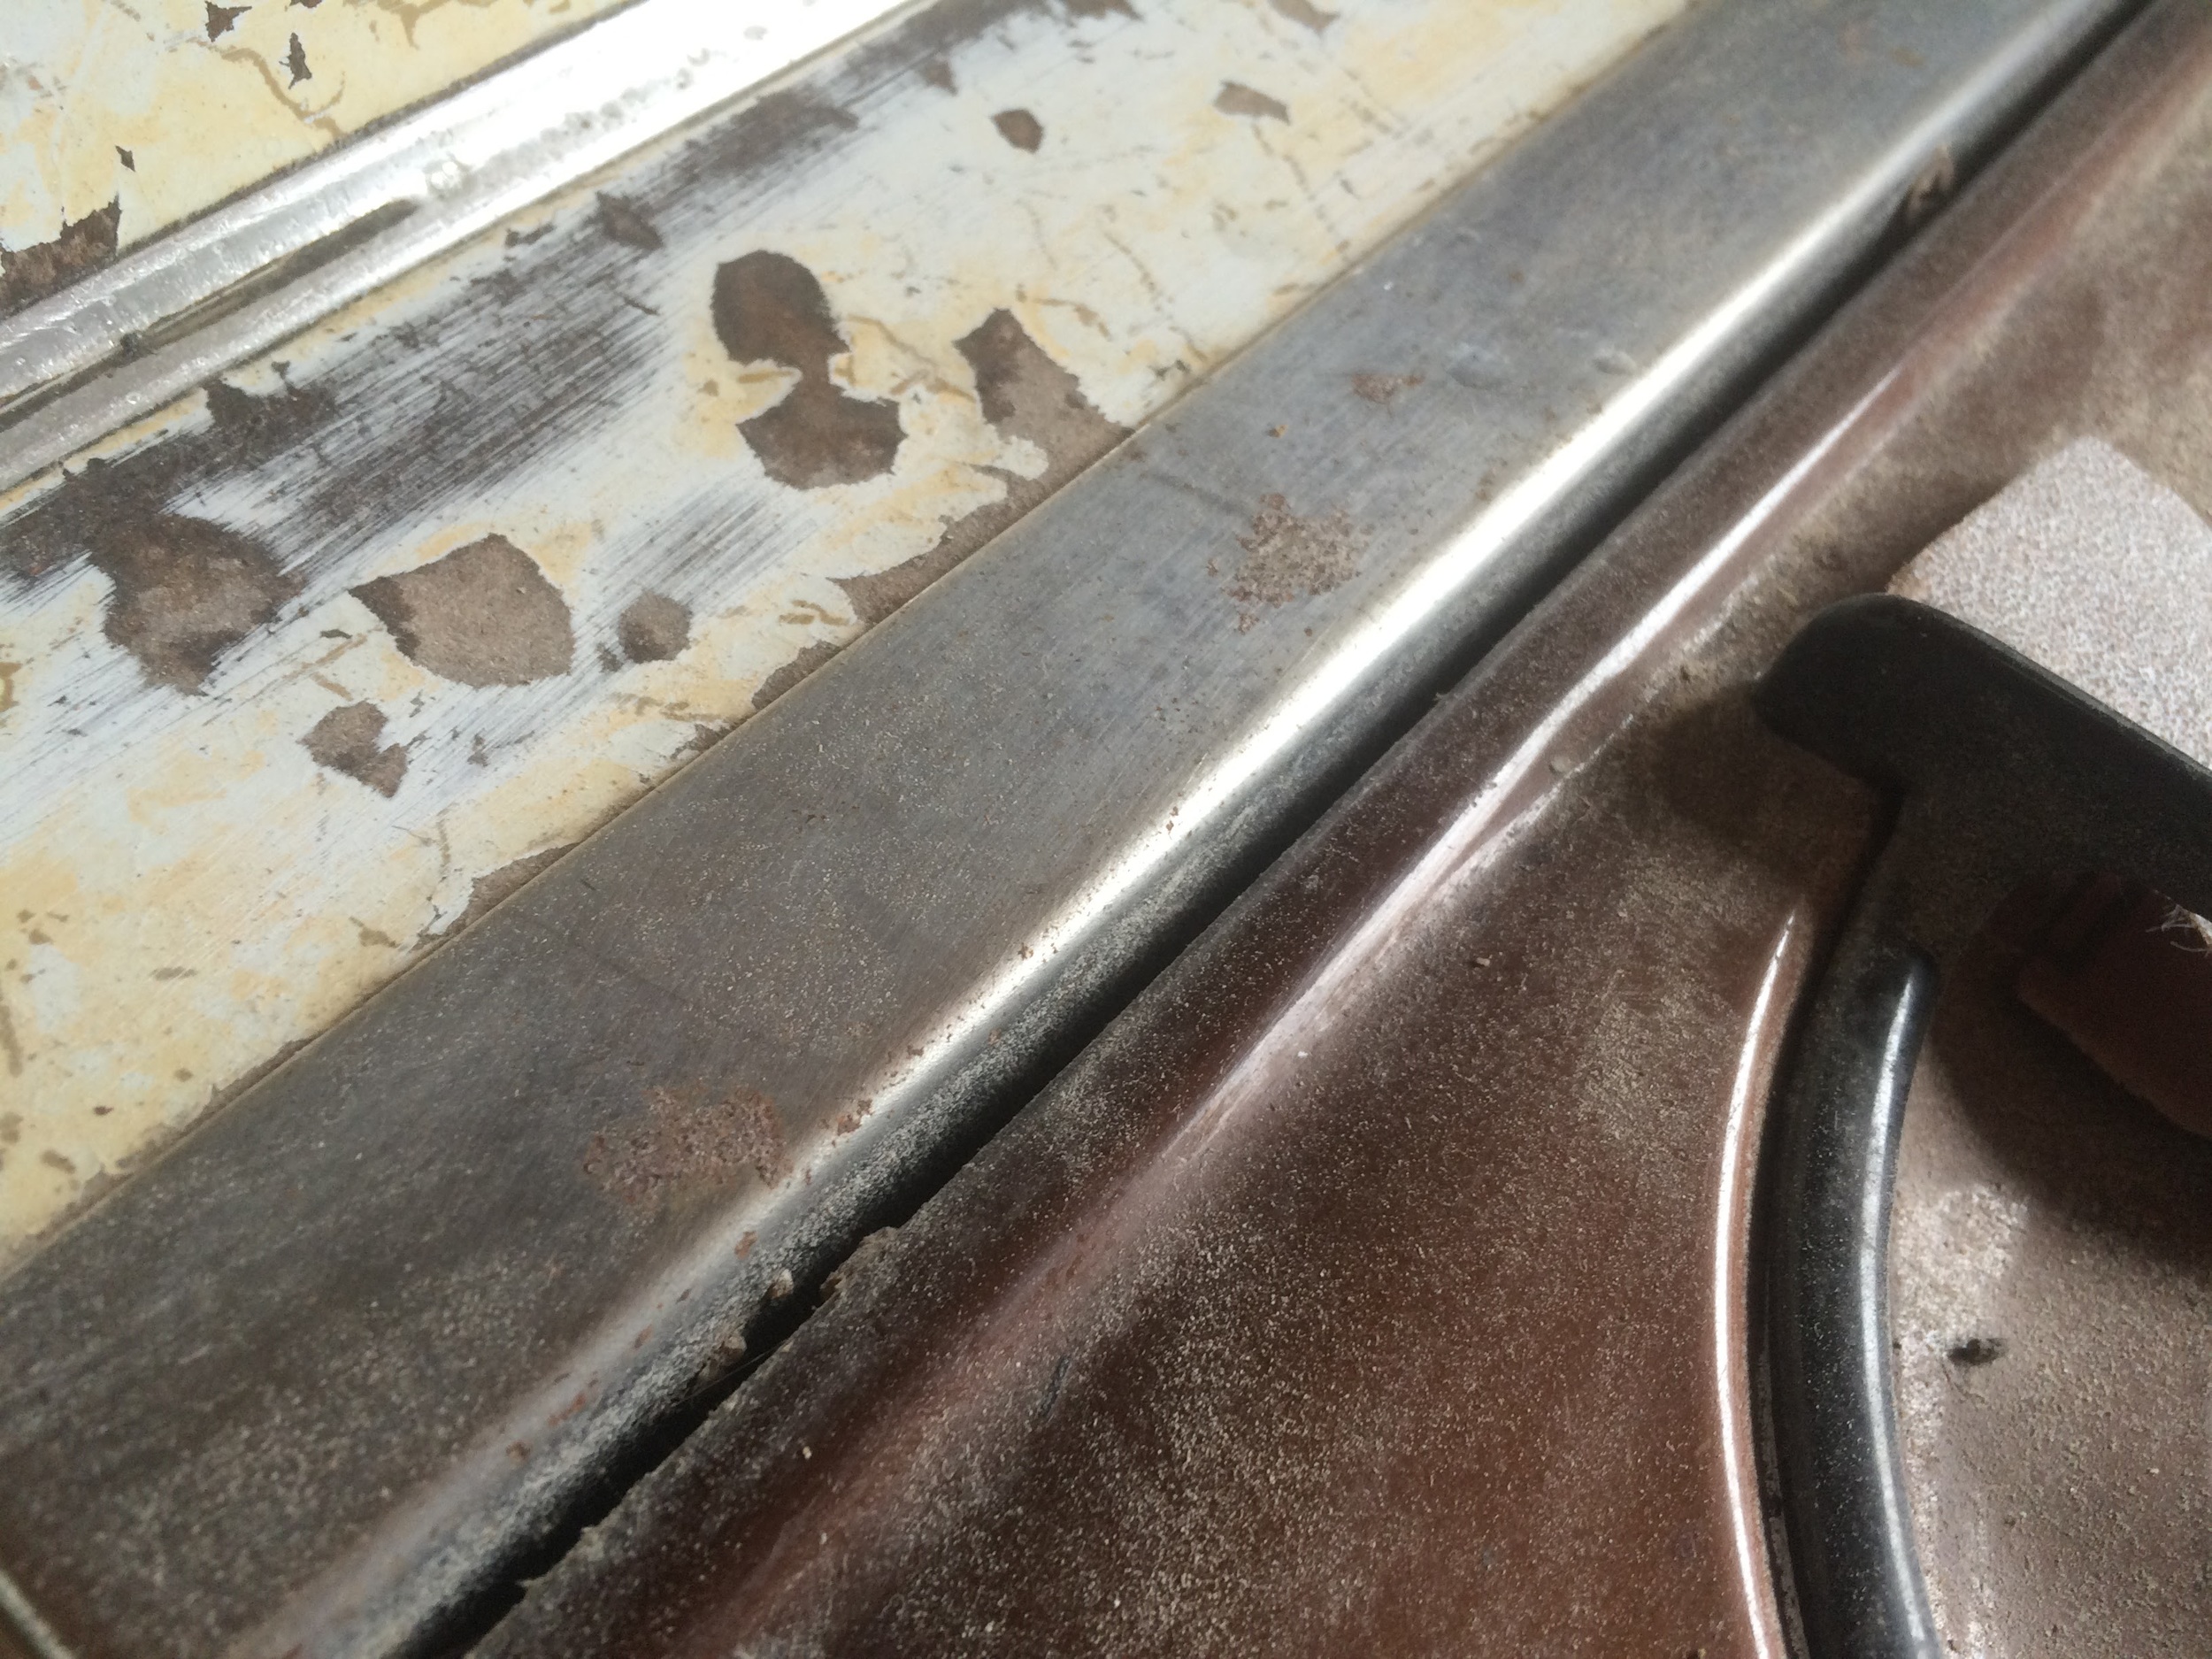
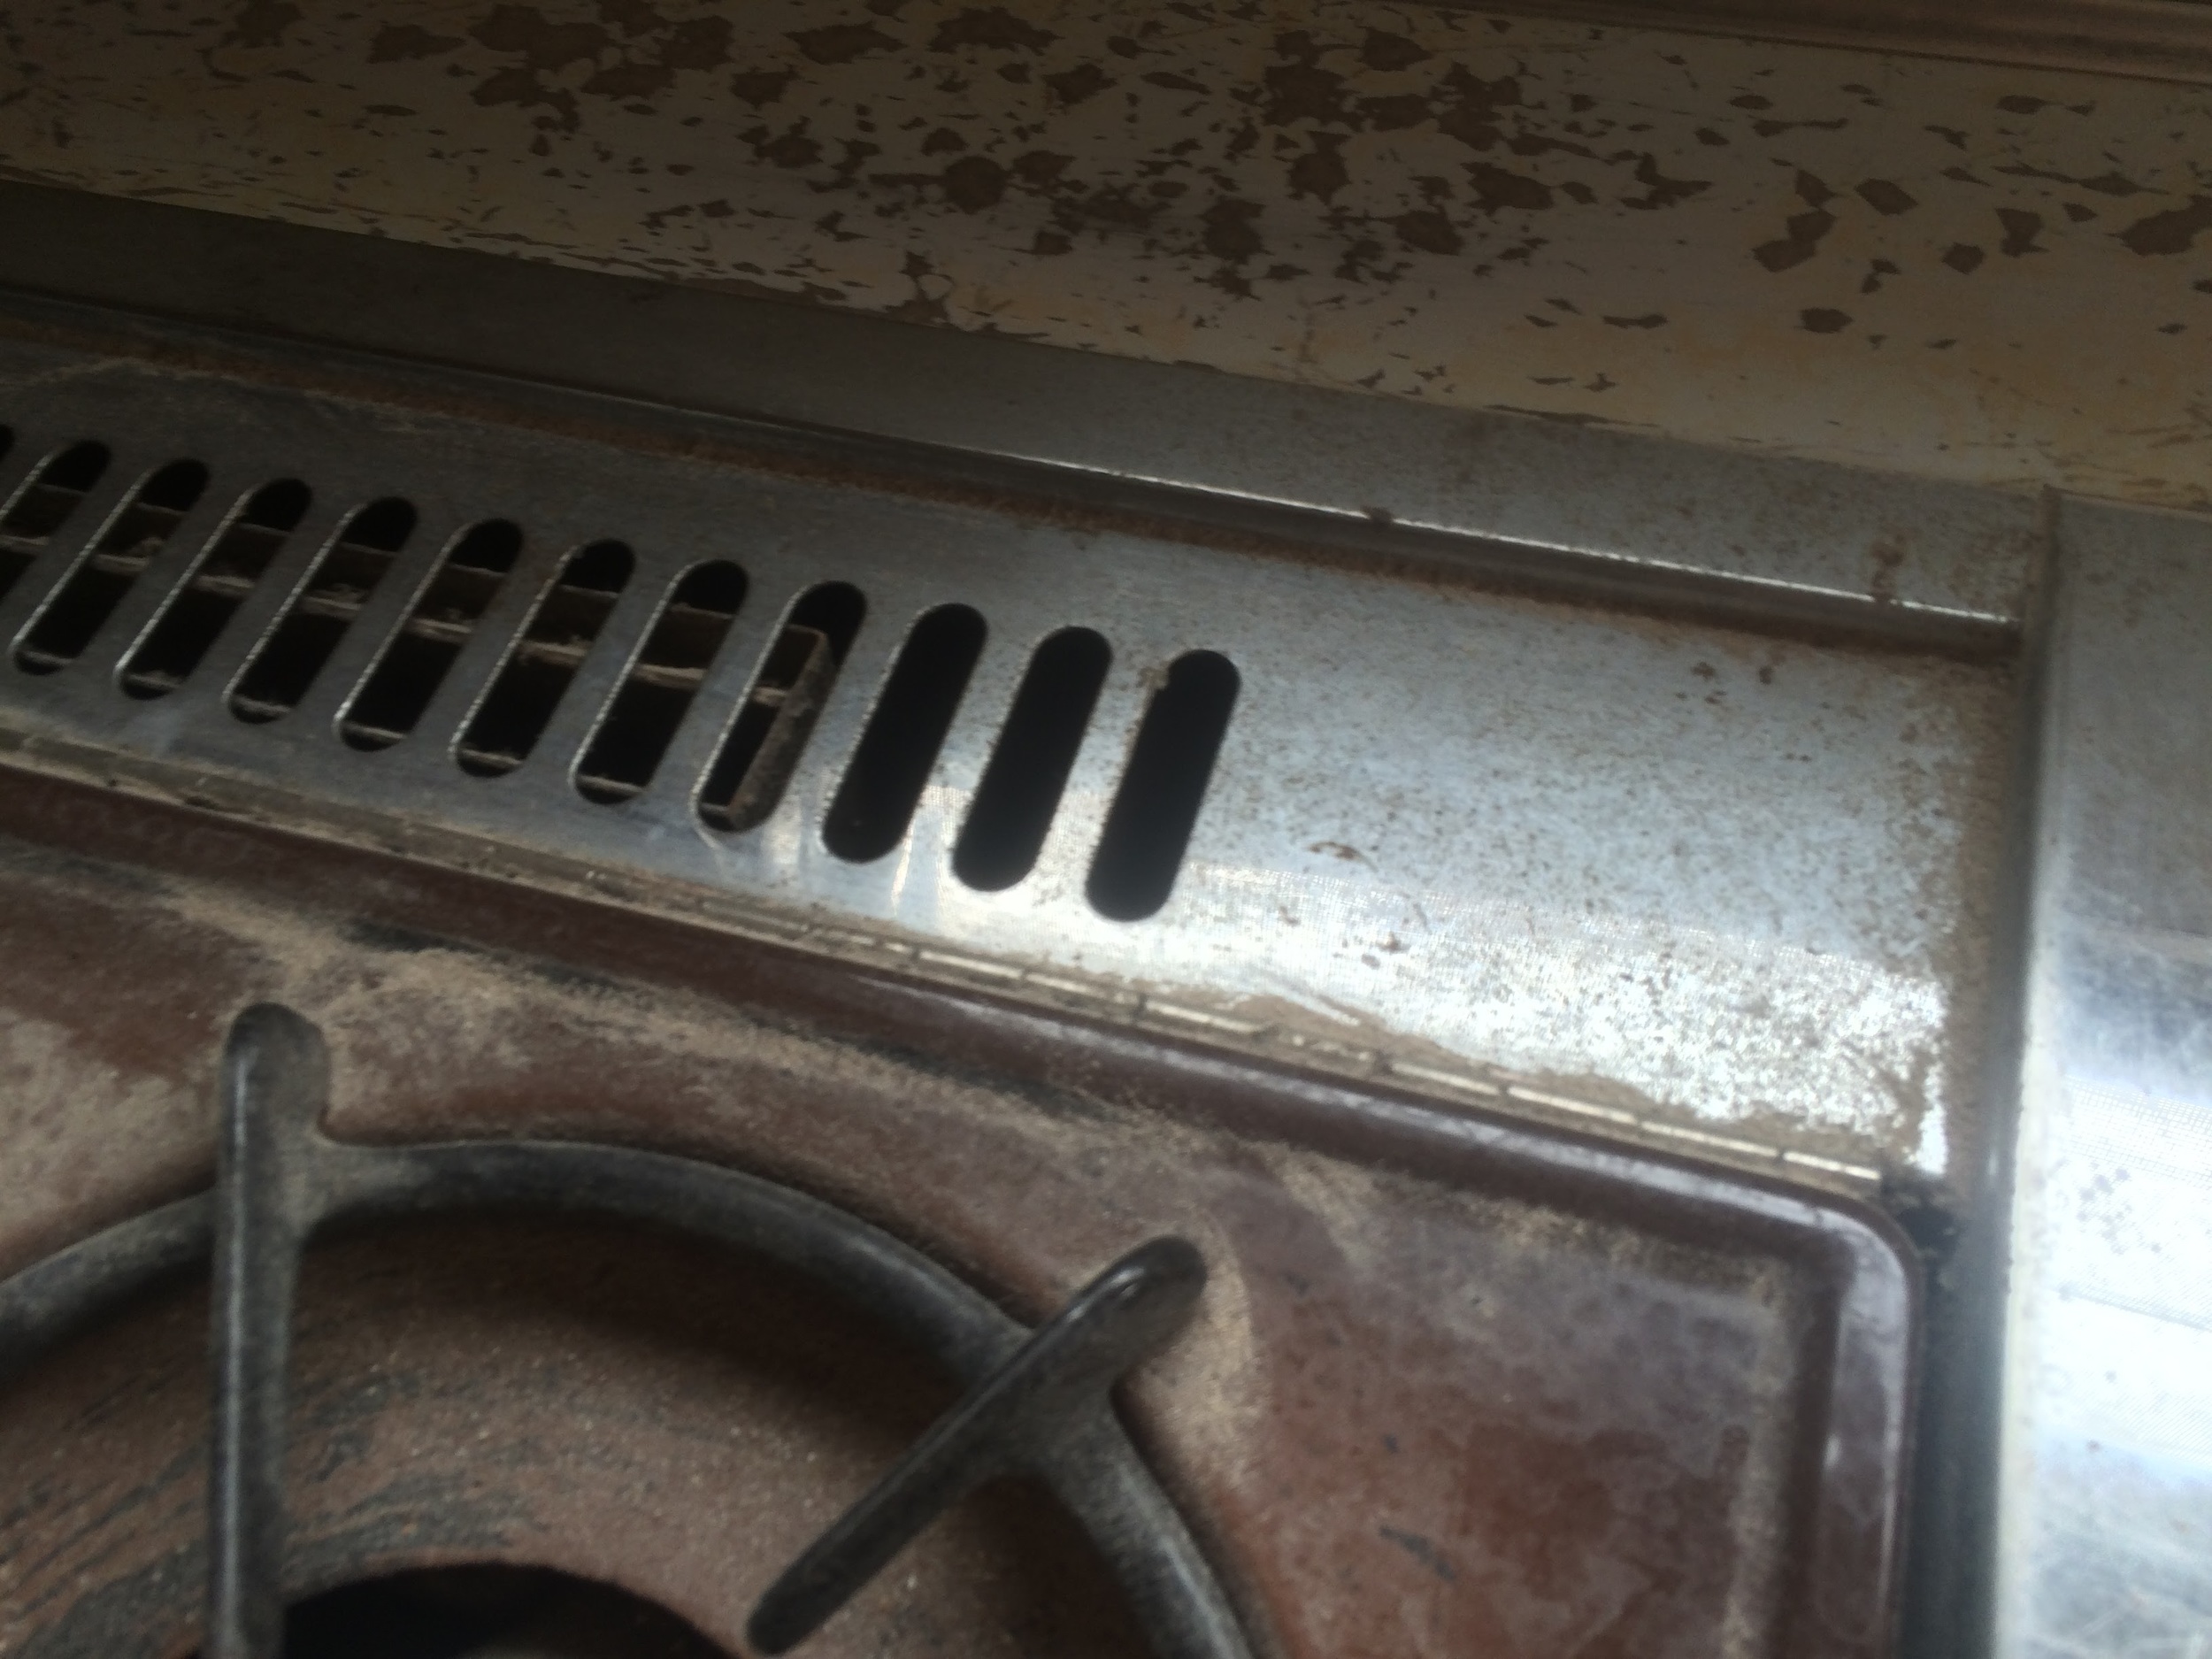
Kitchenette
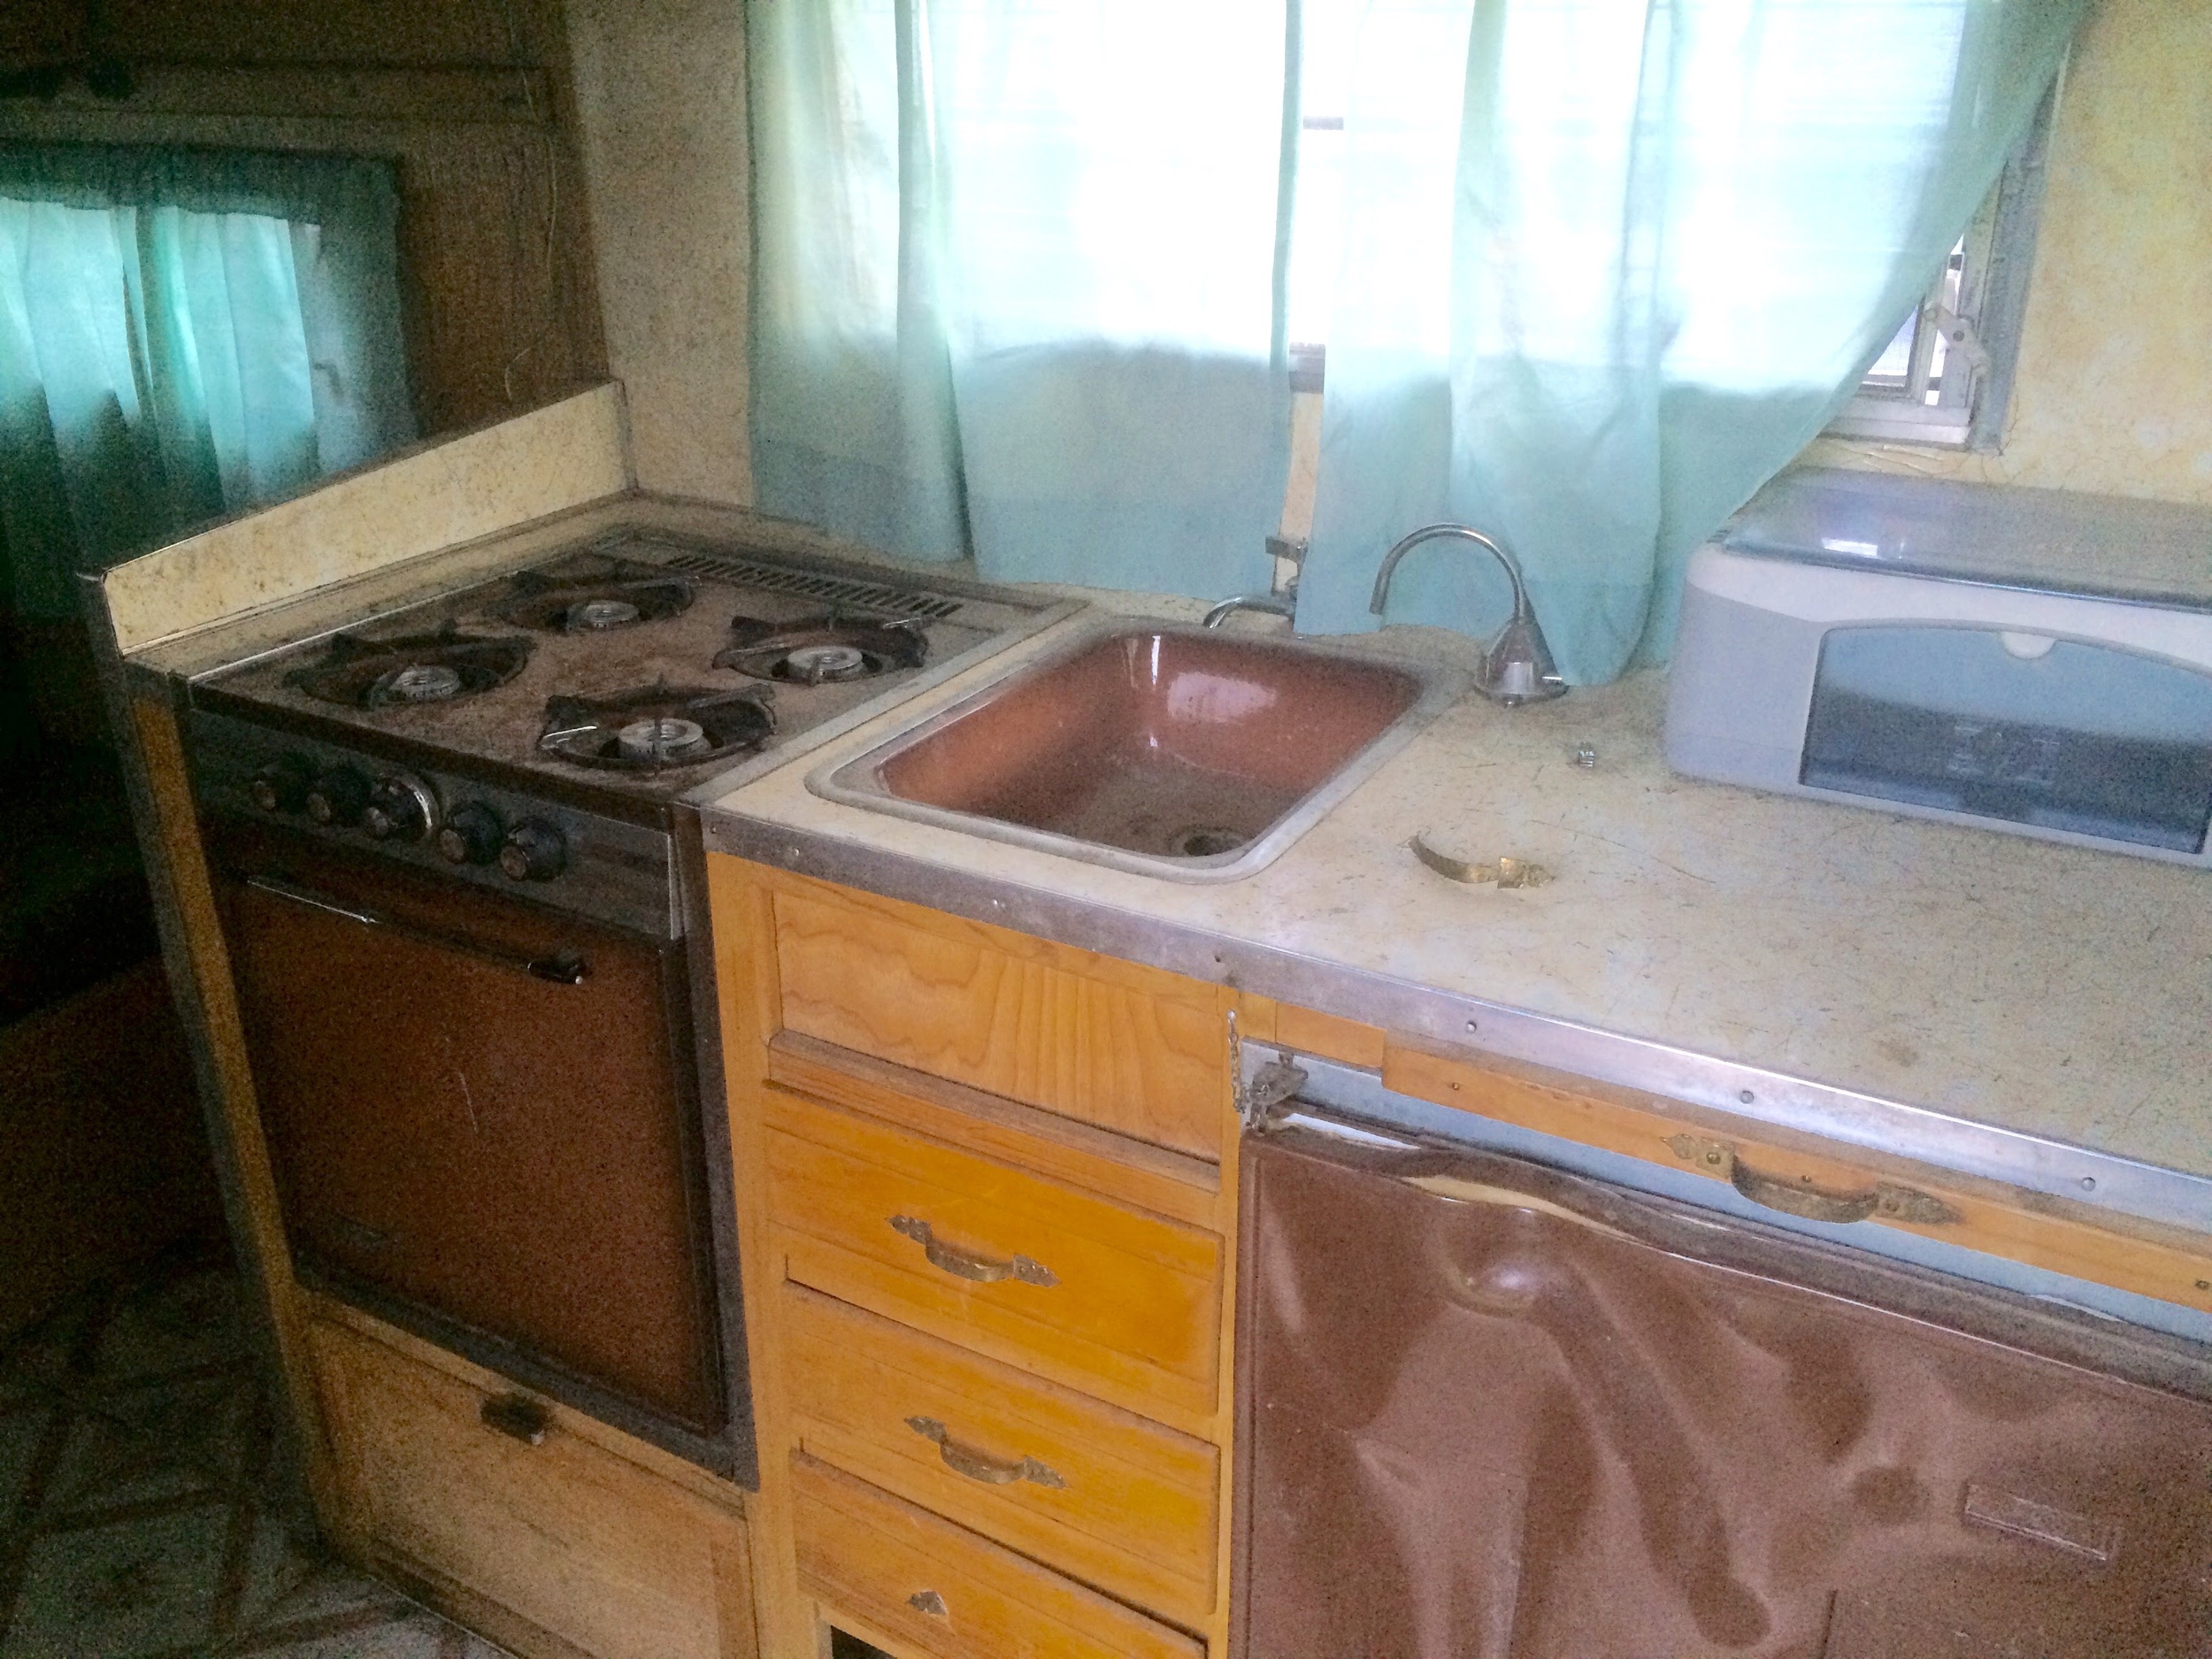
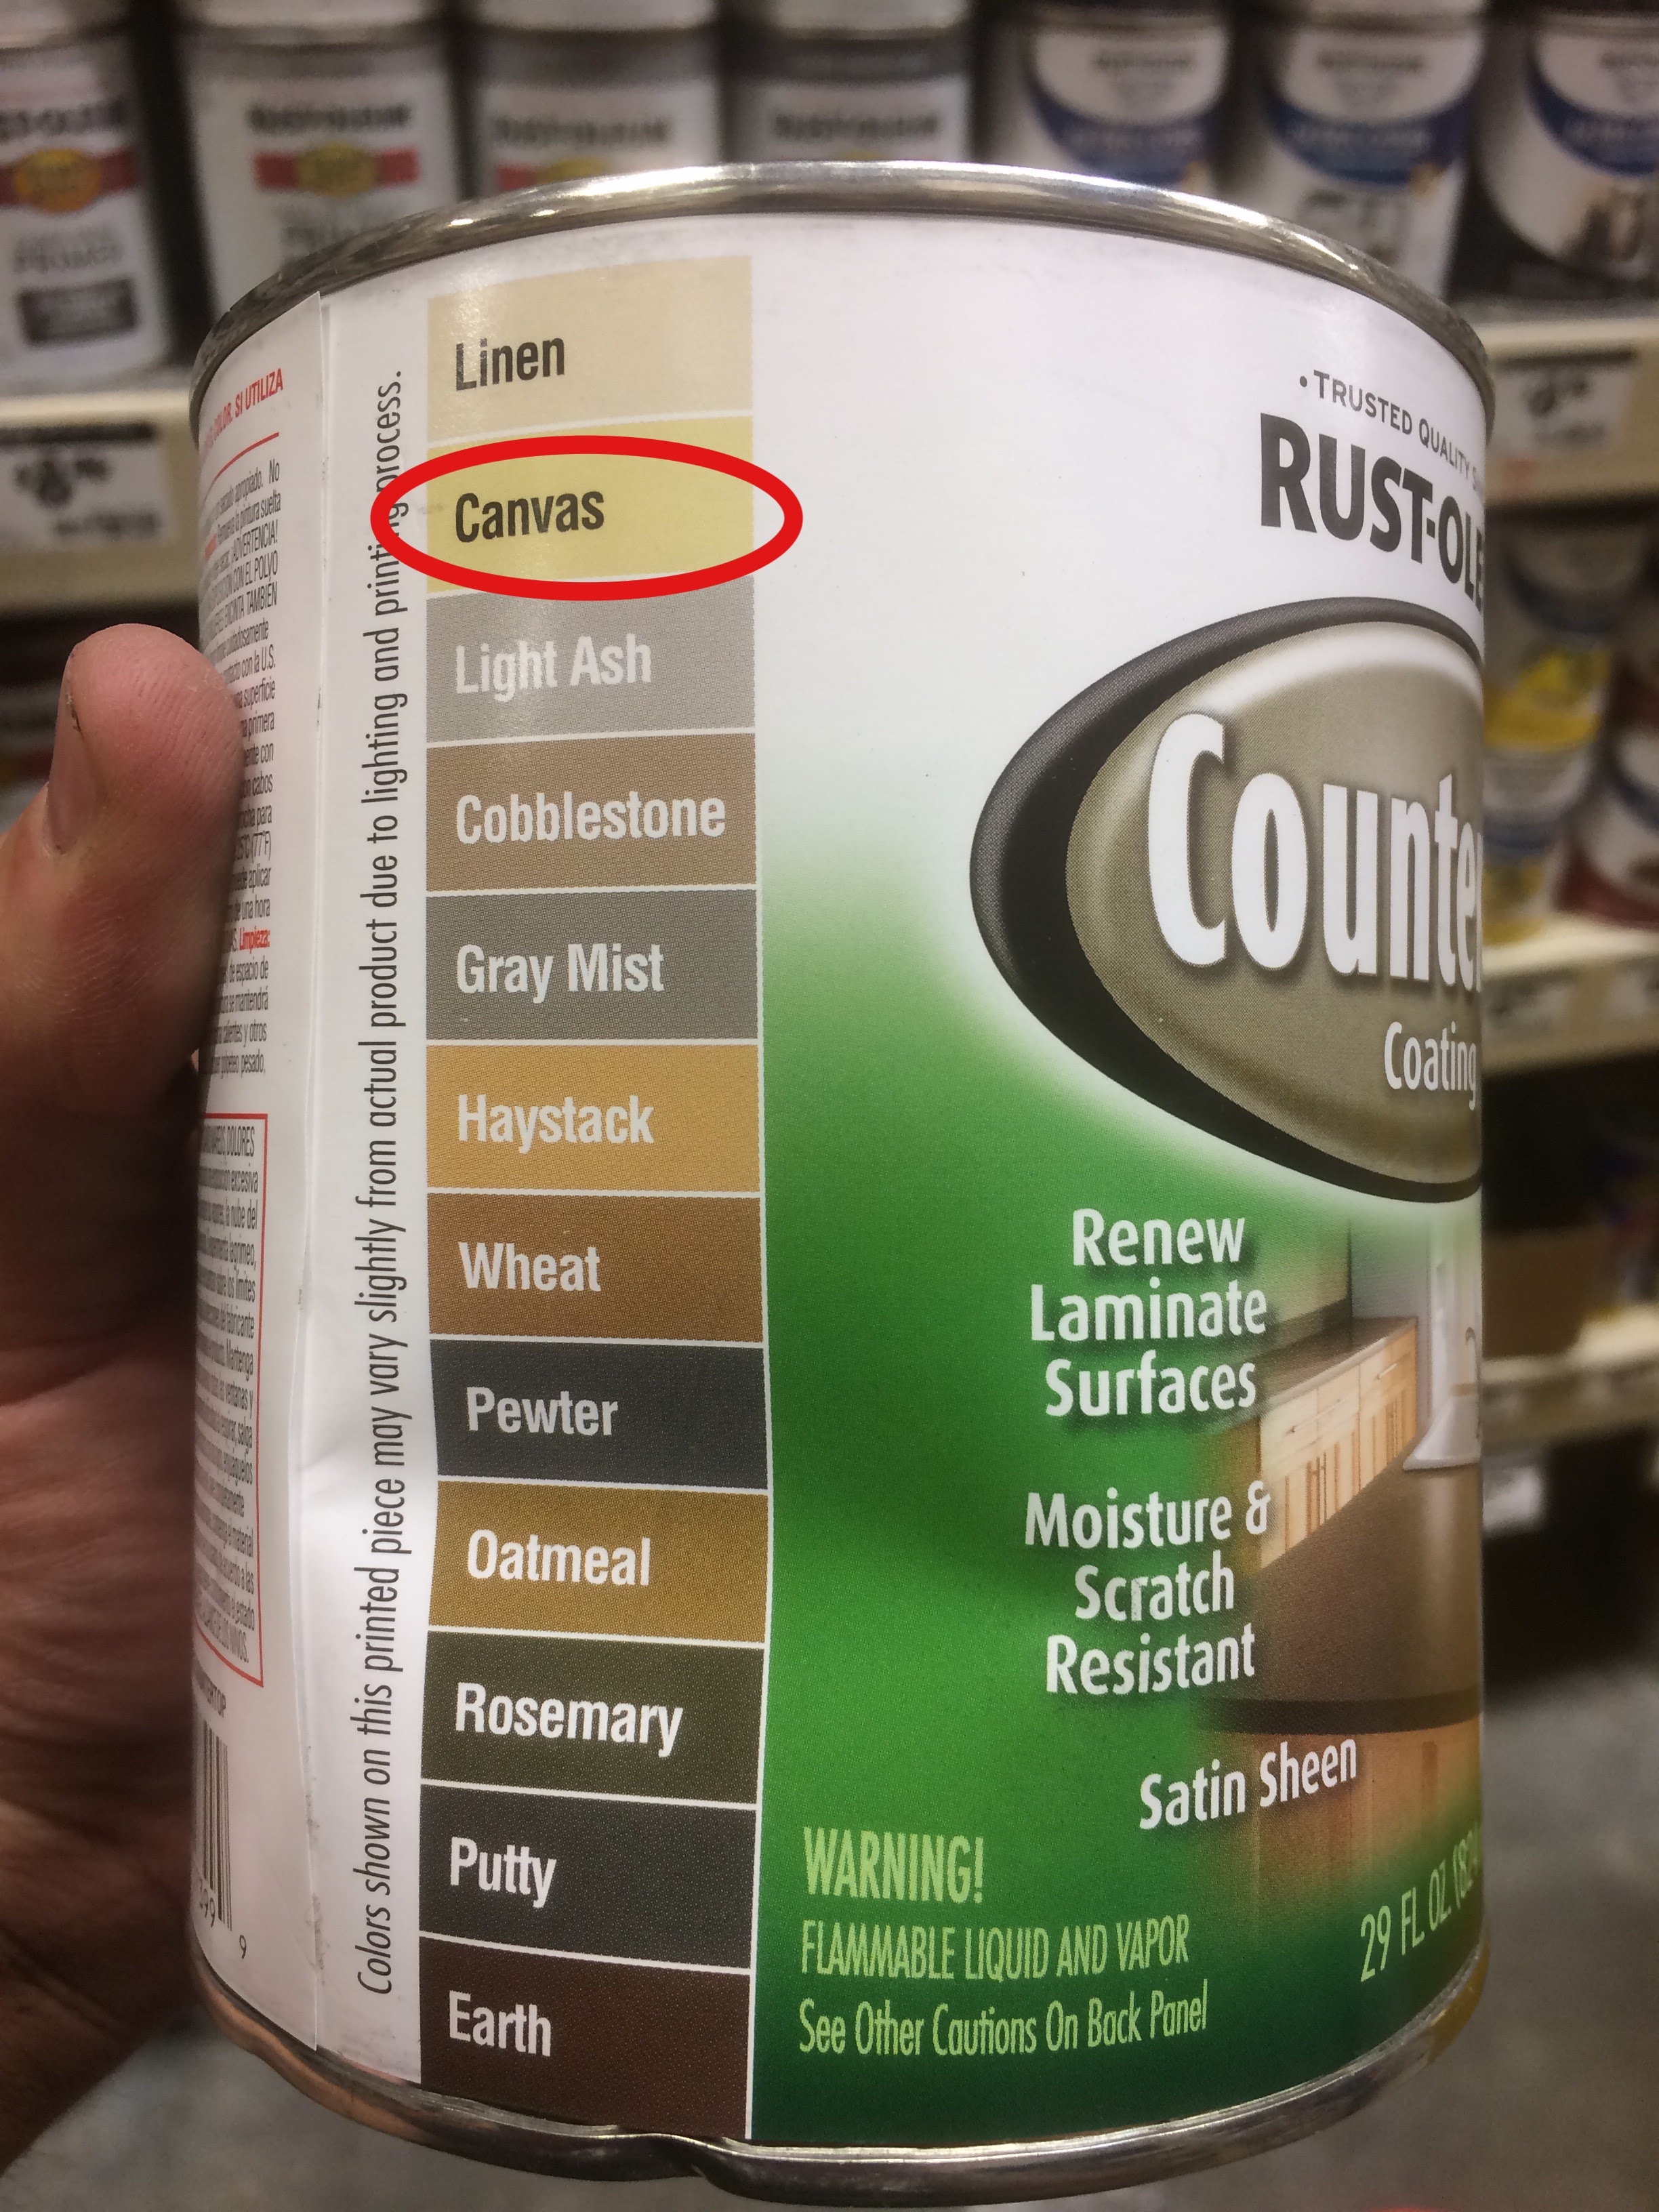
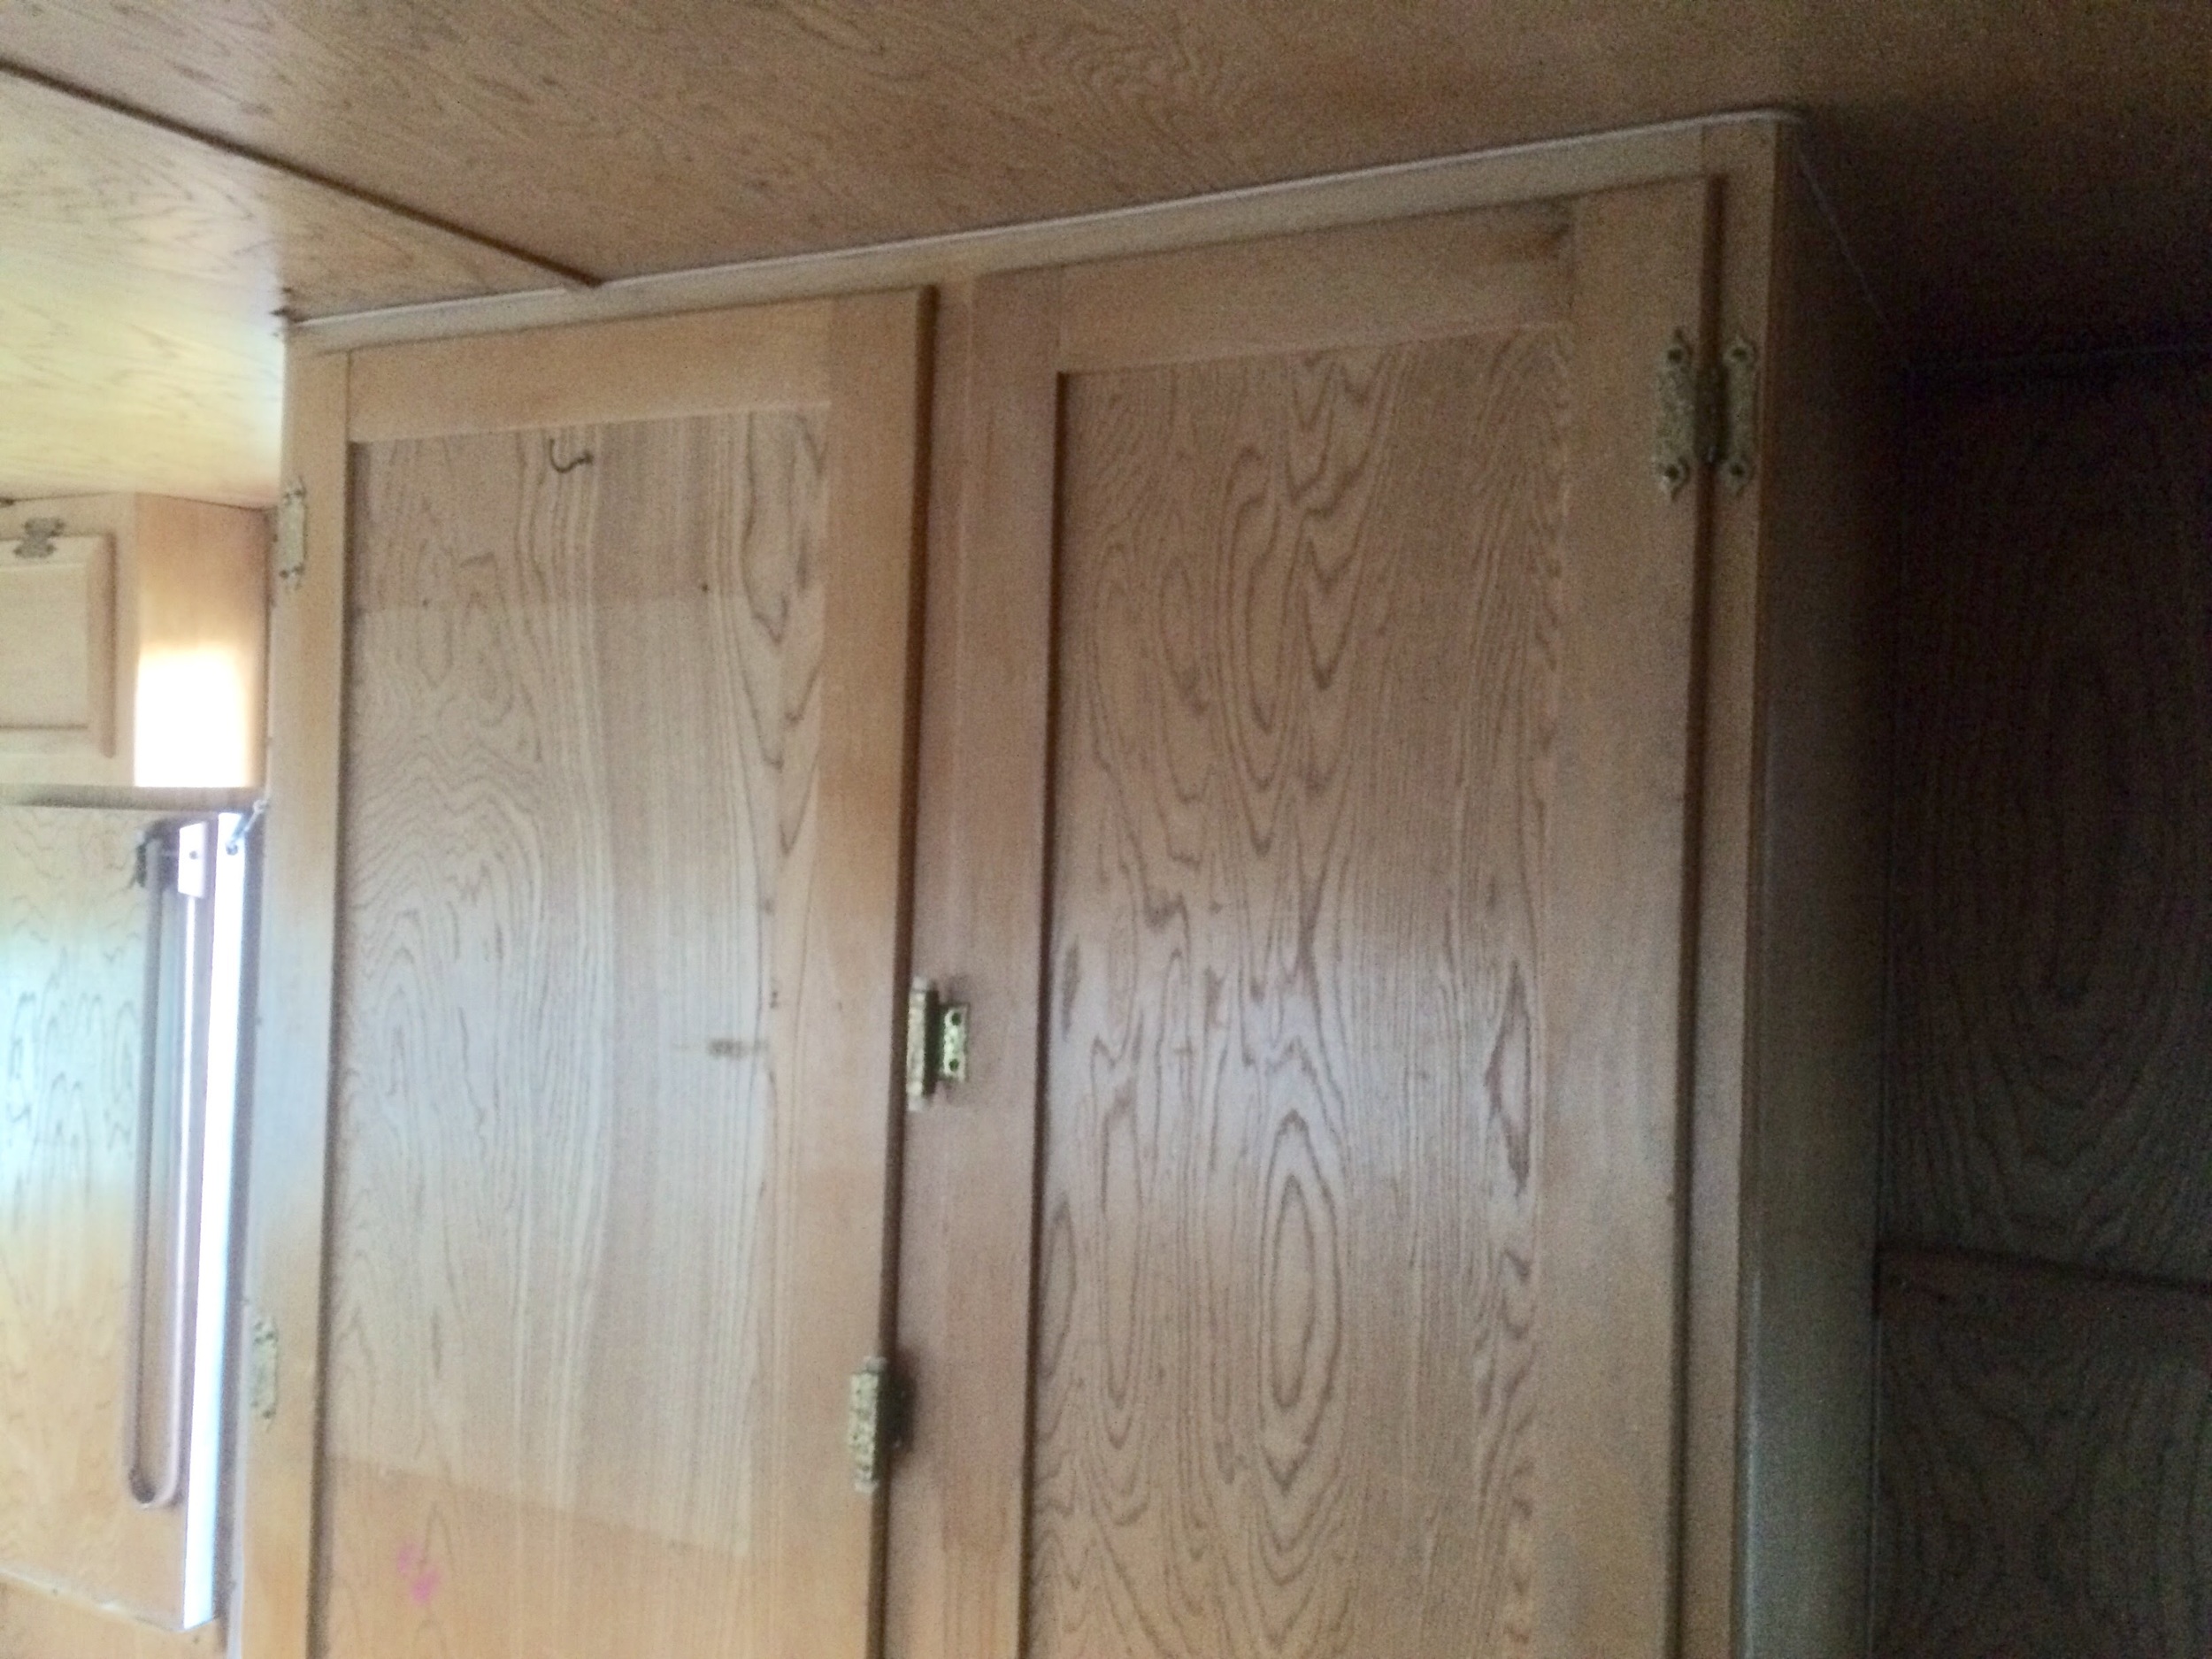
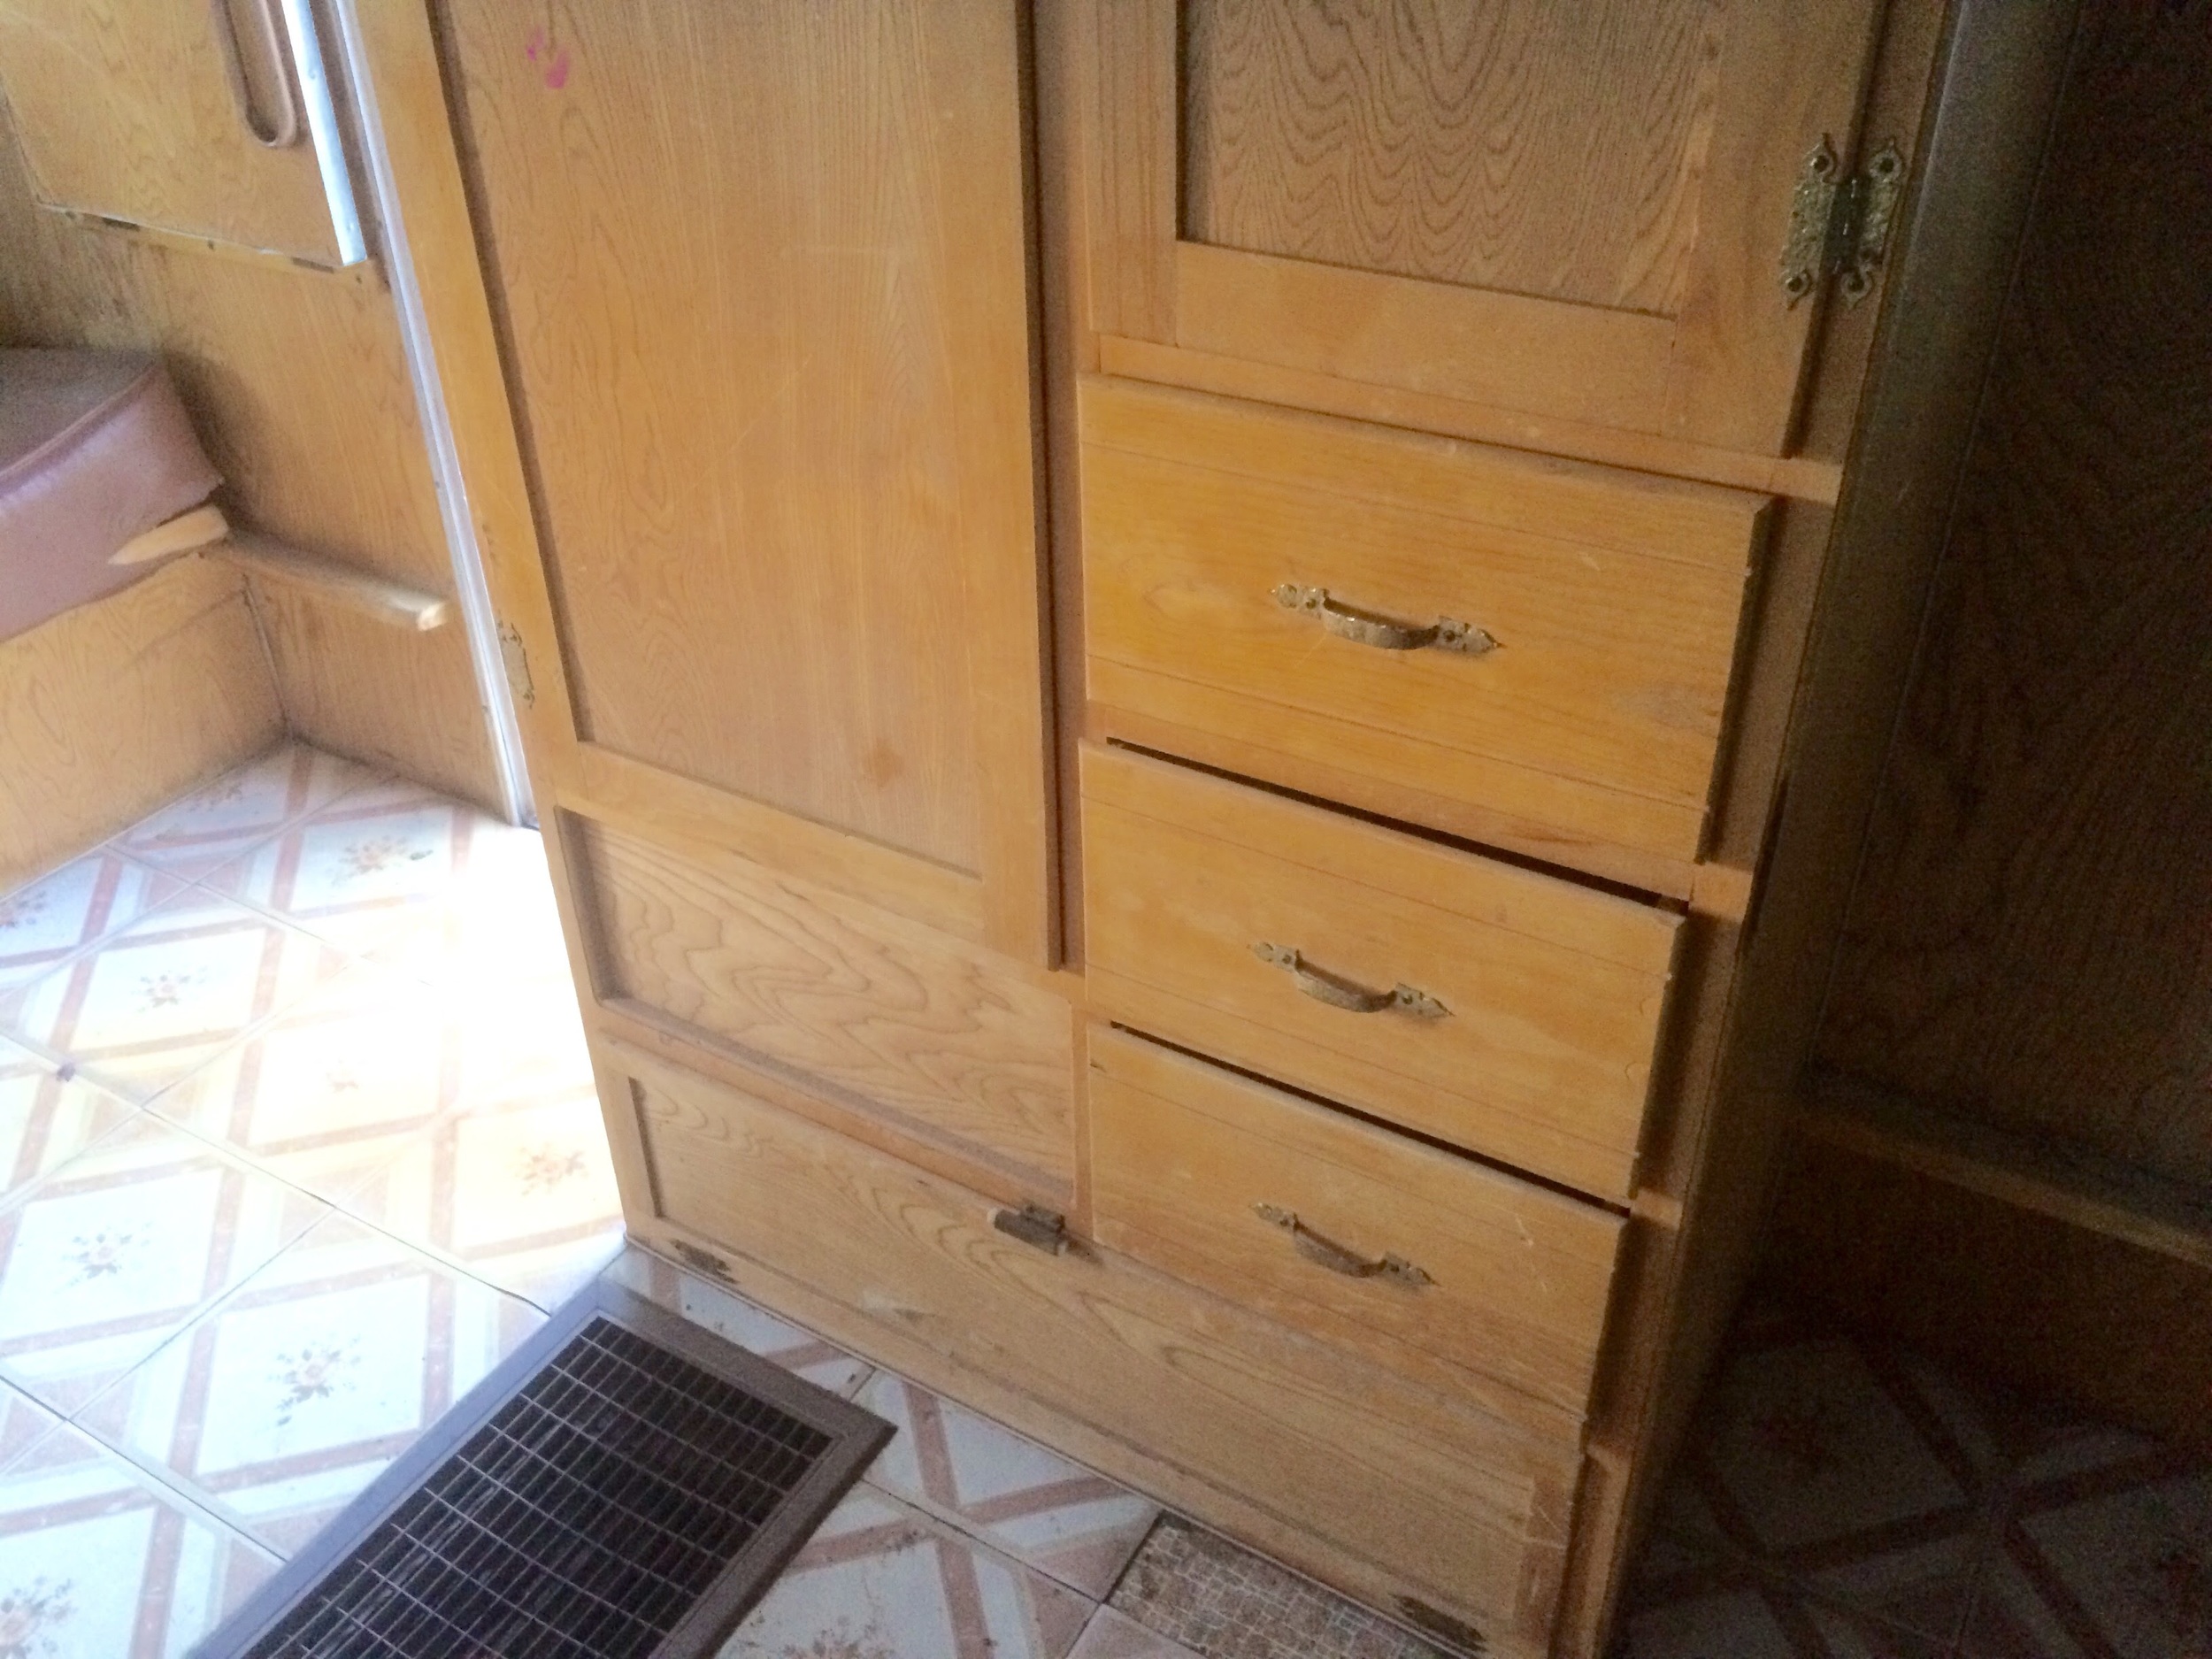
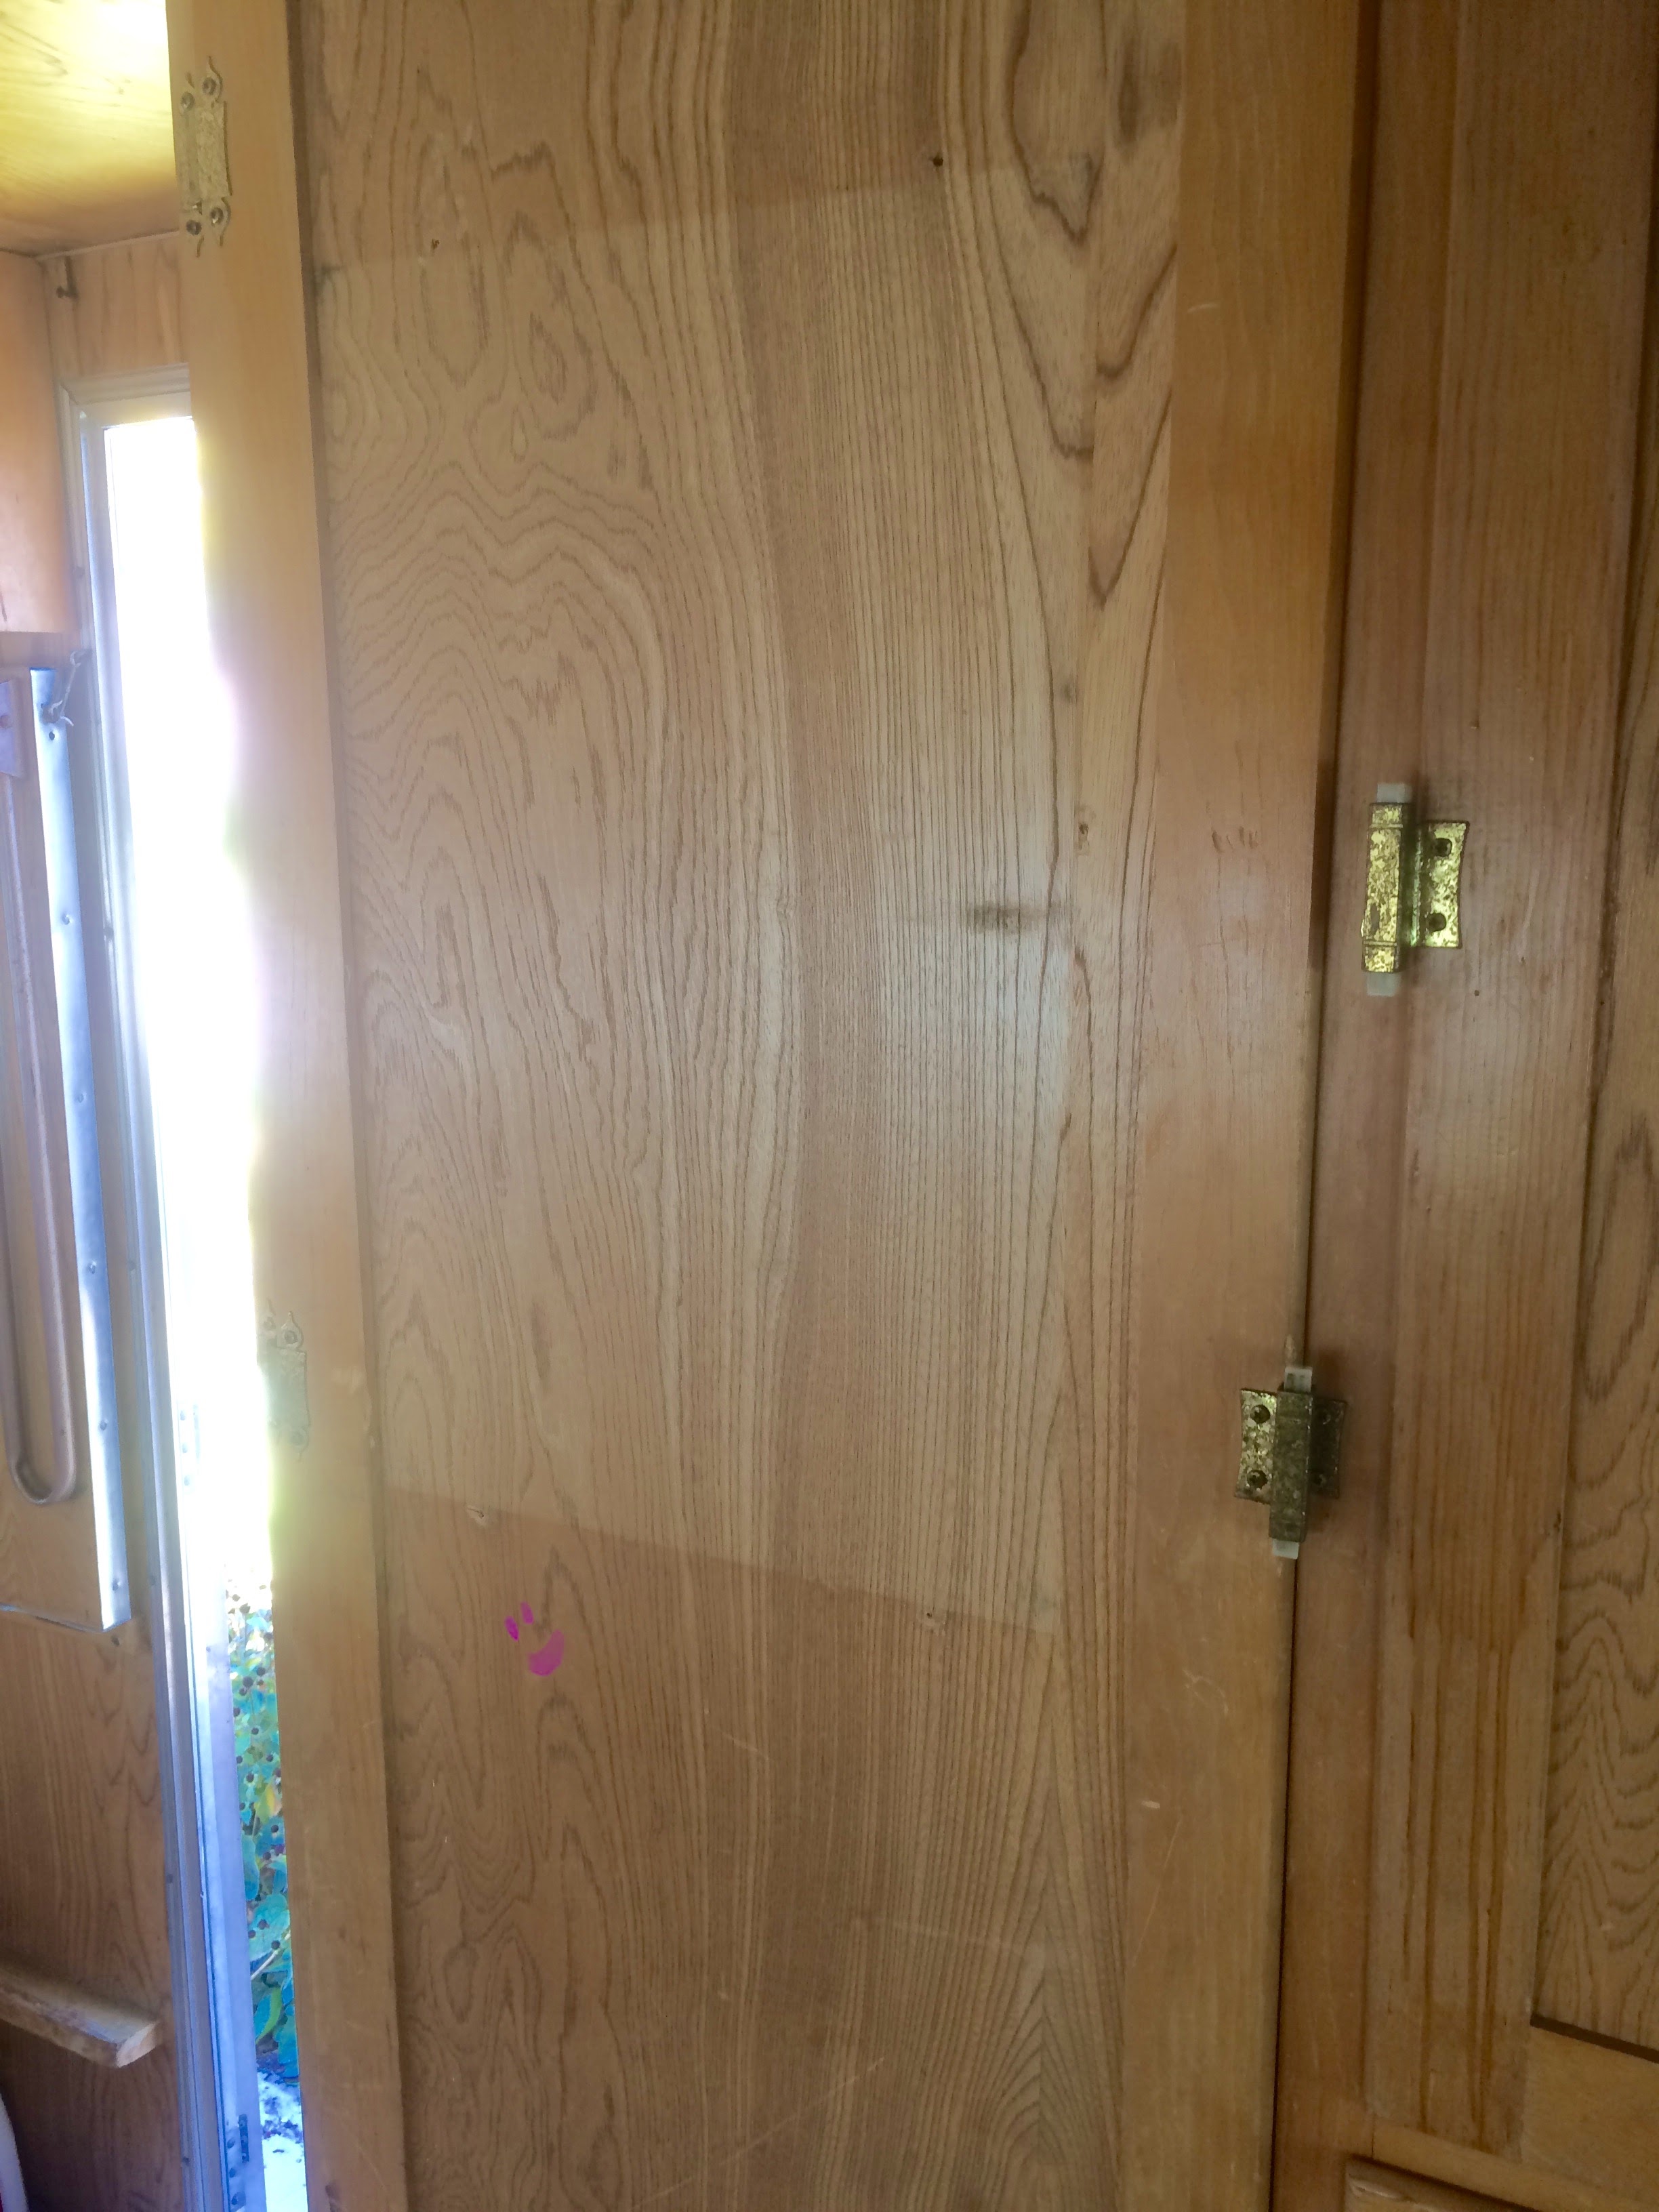
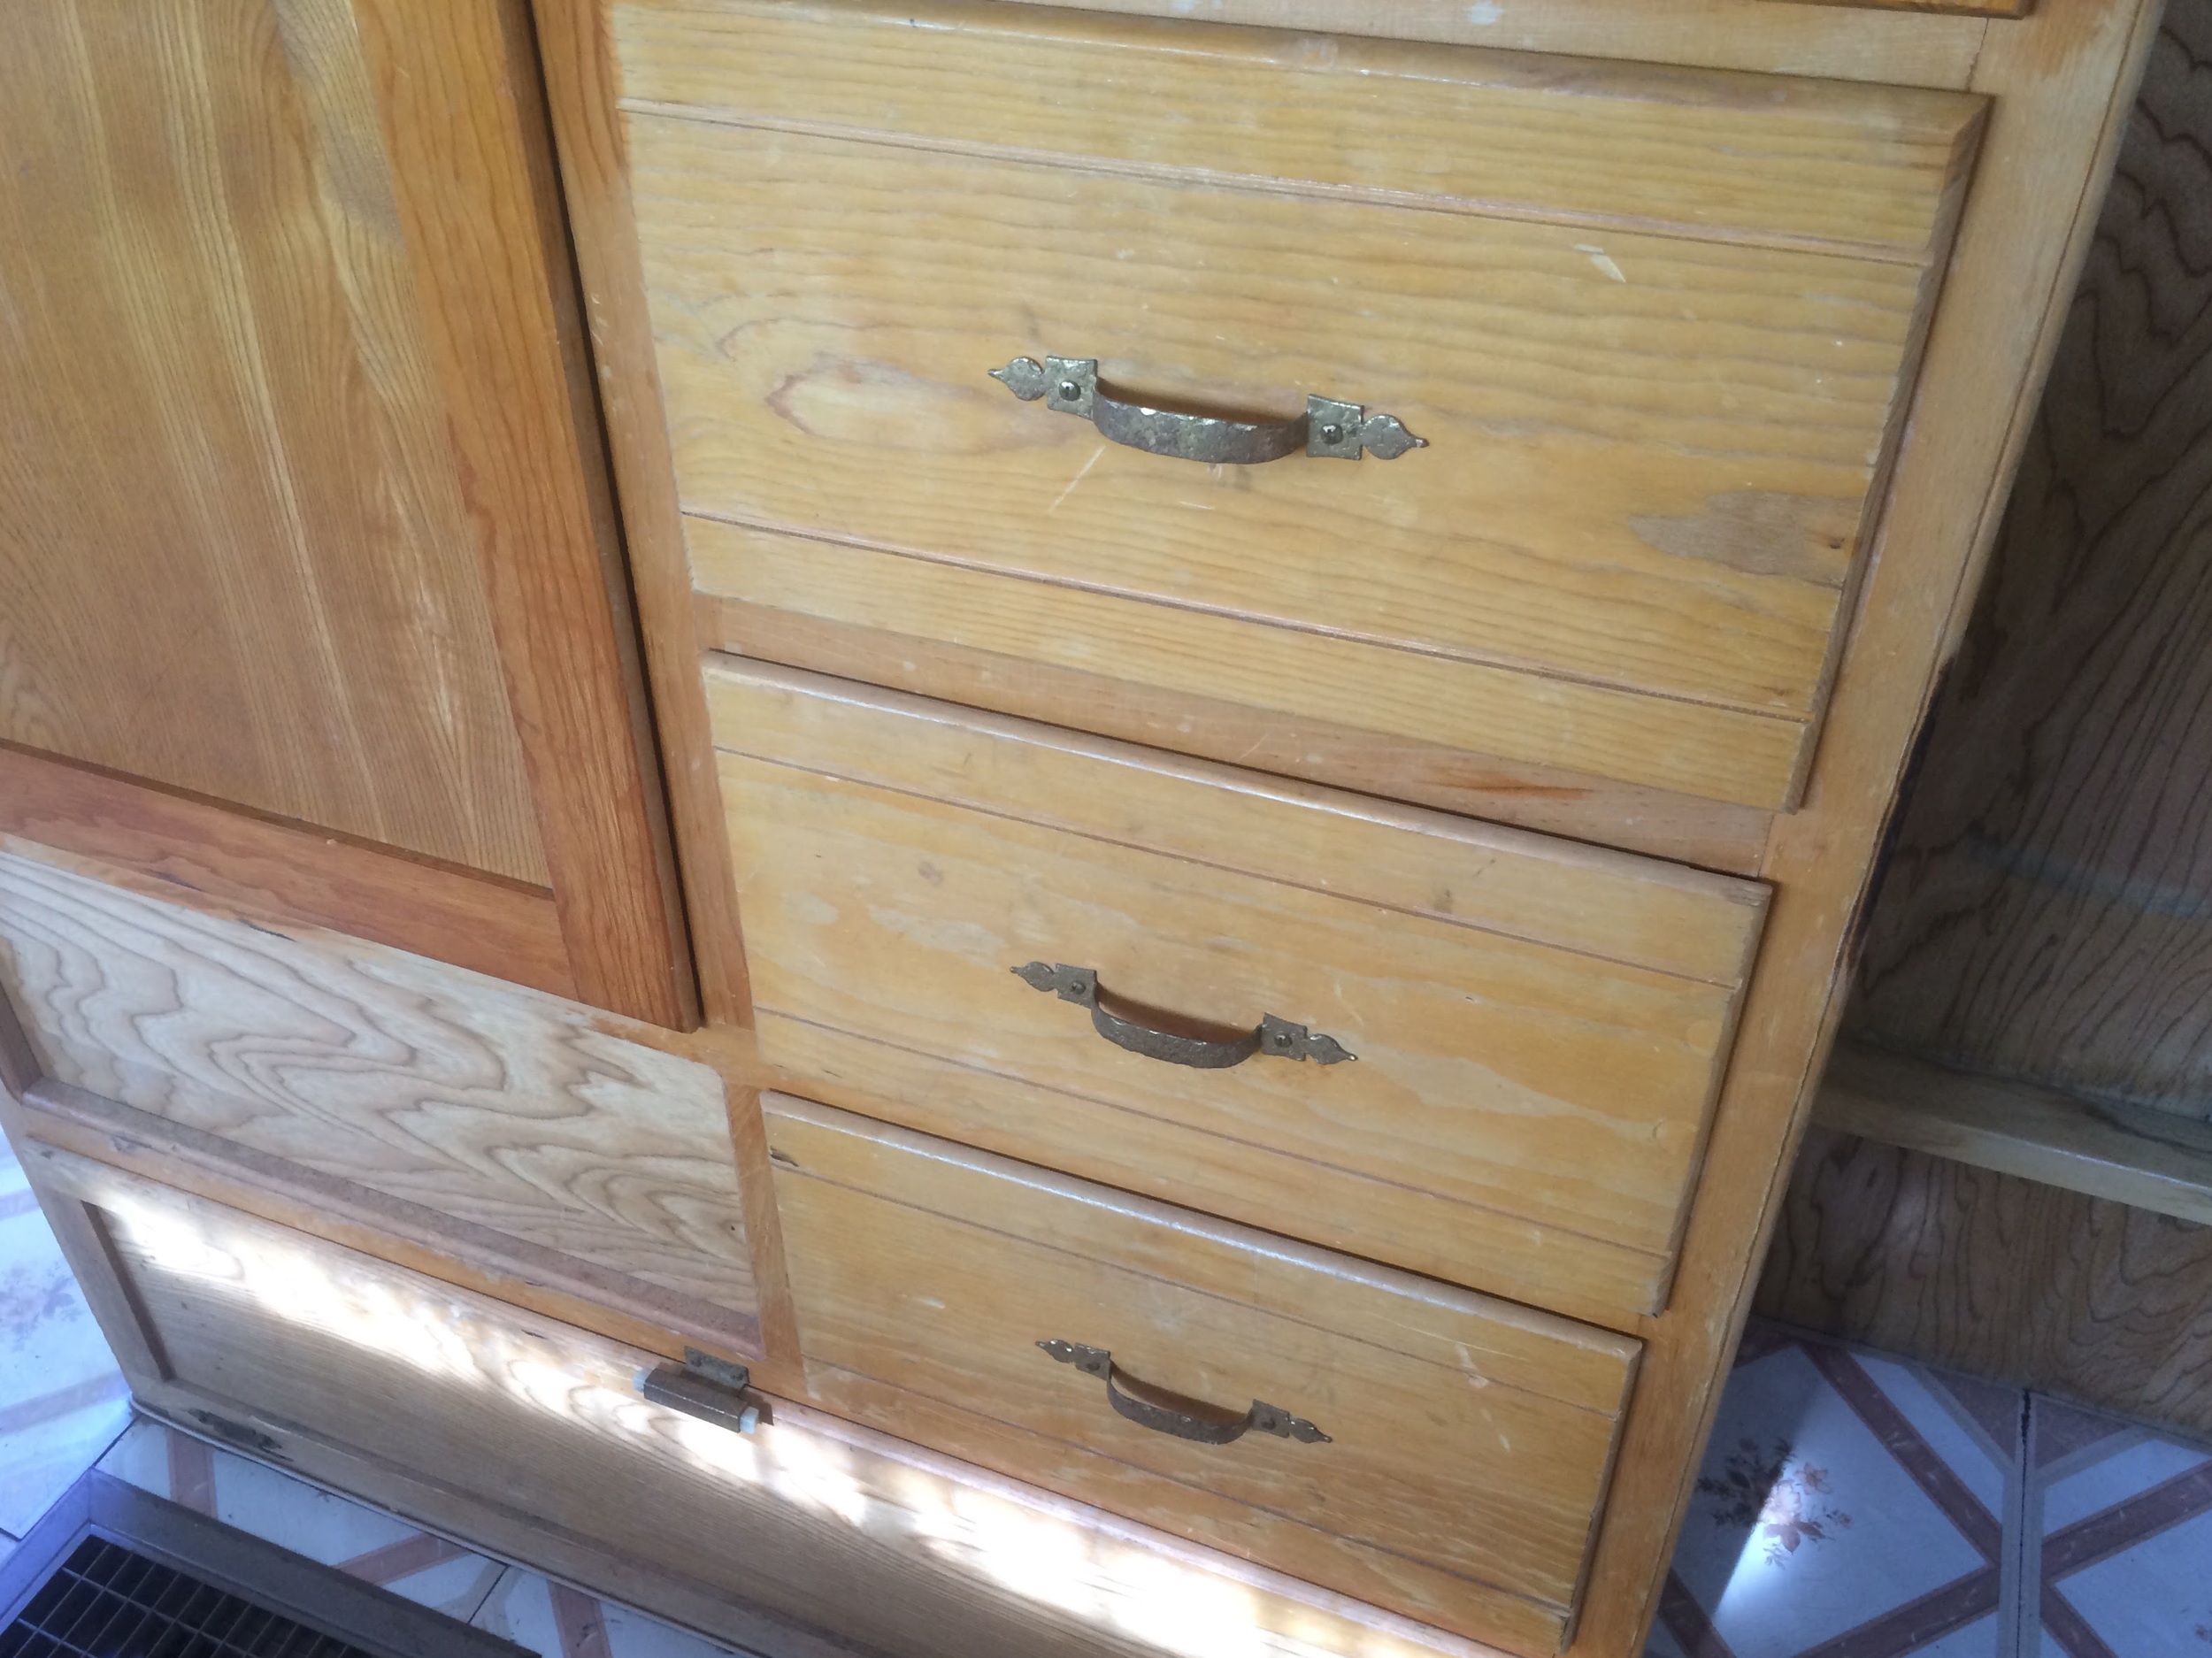
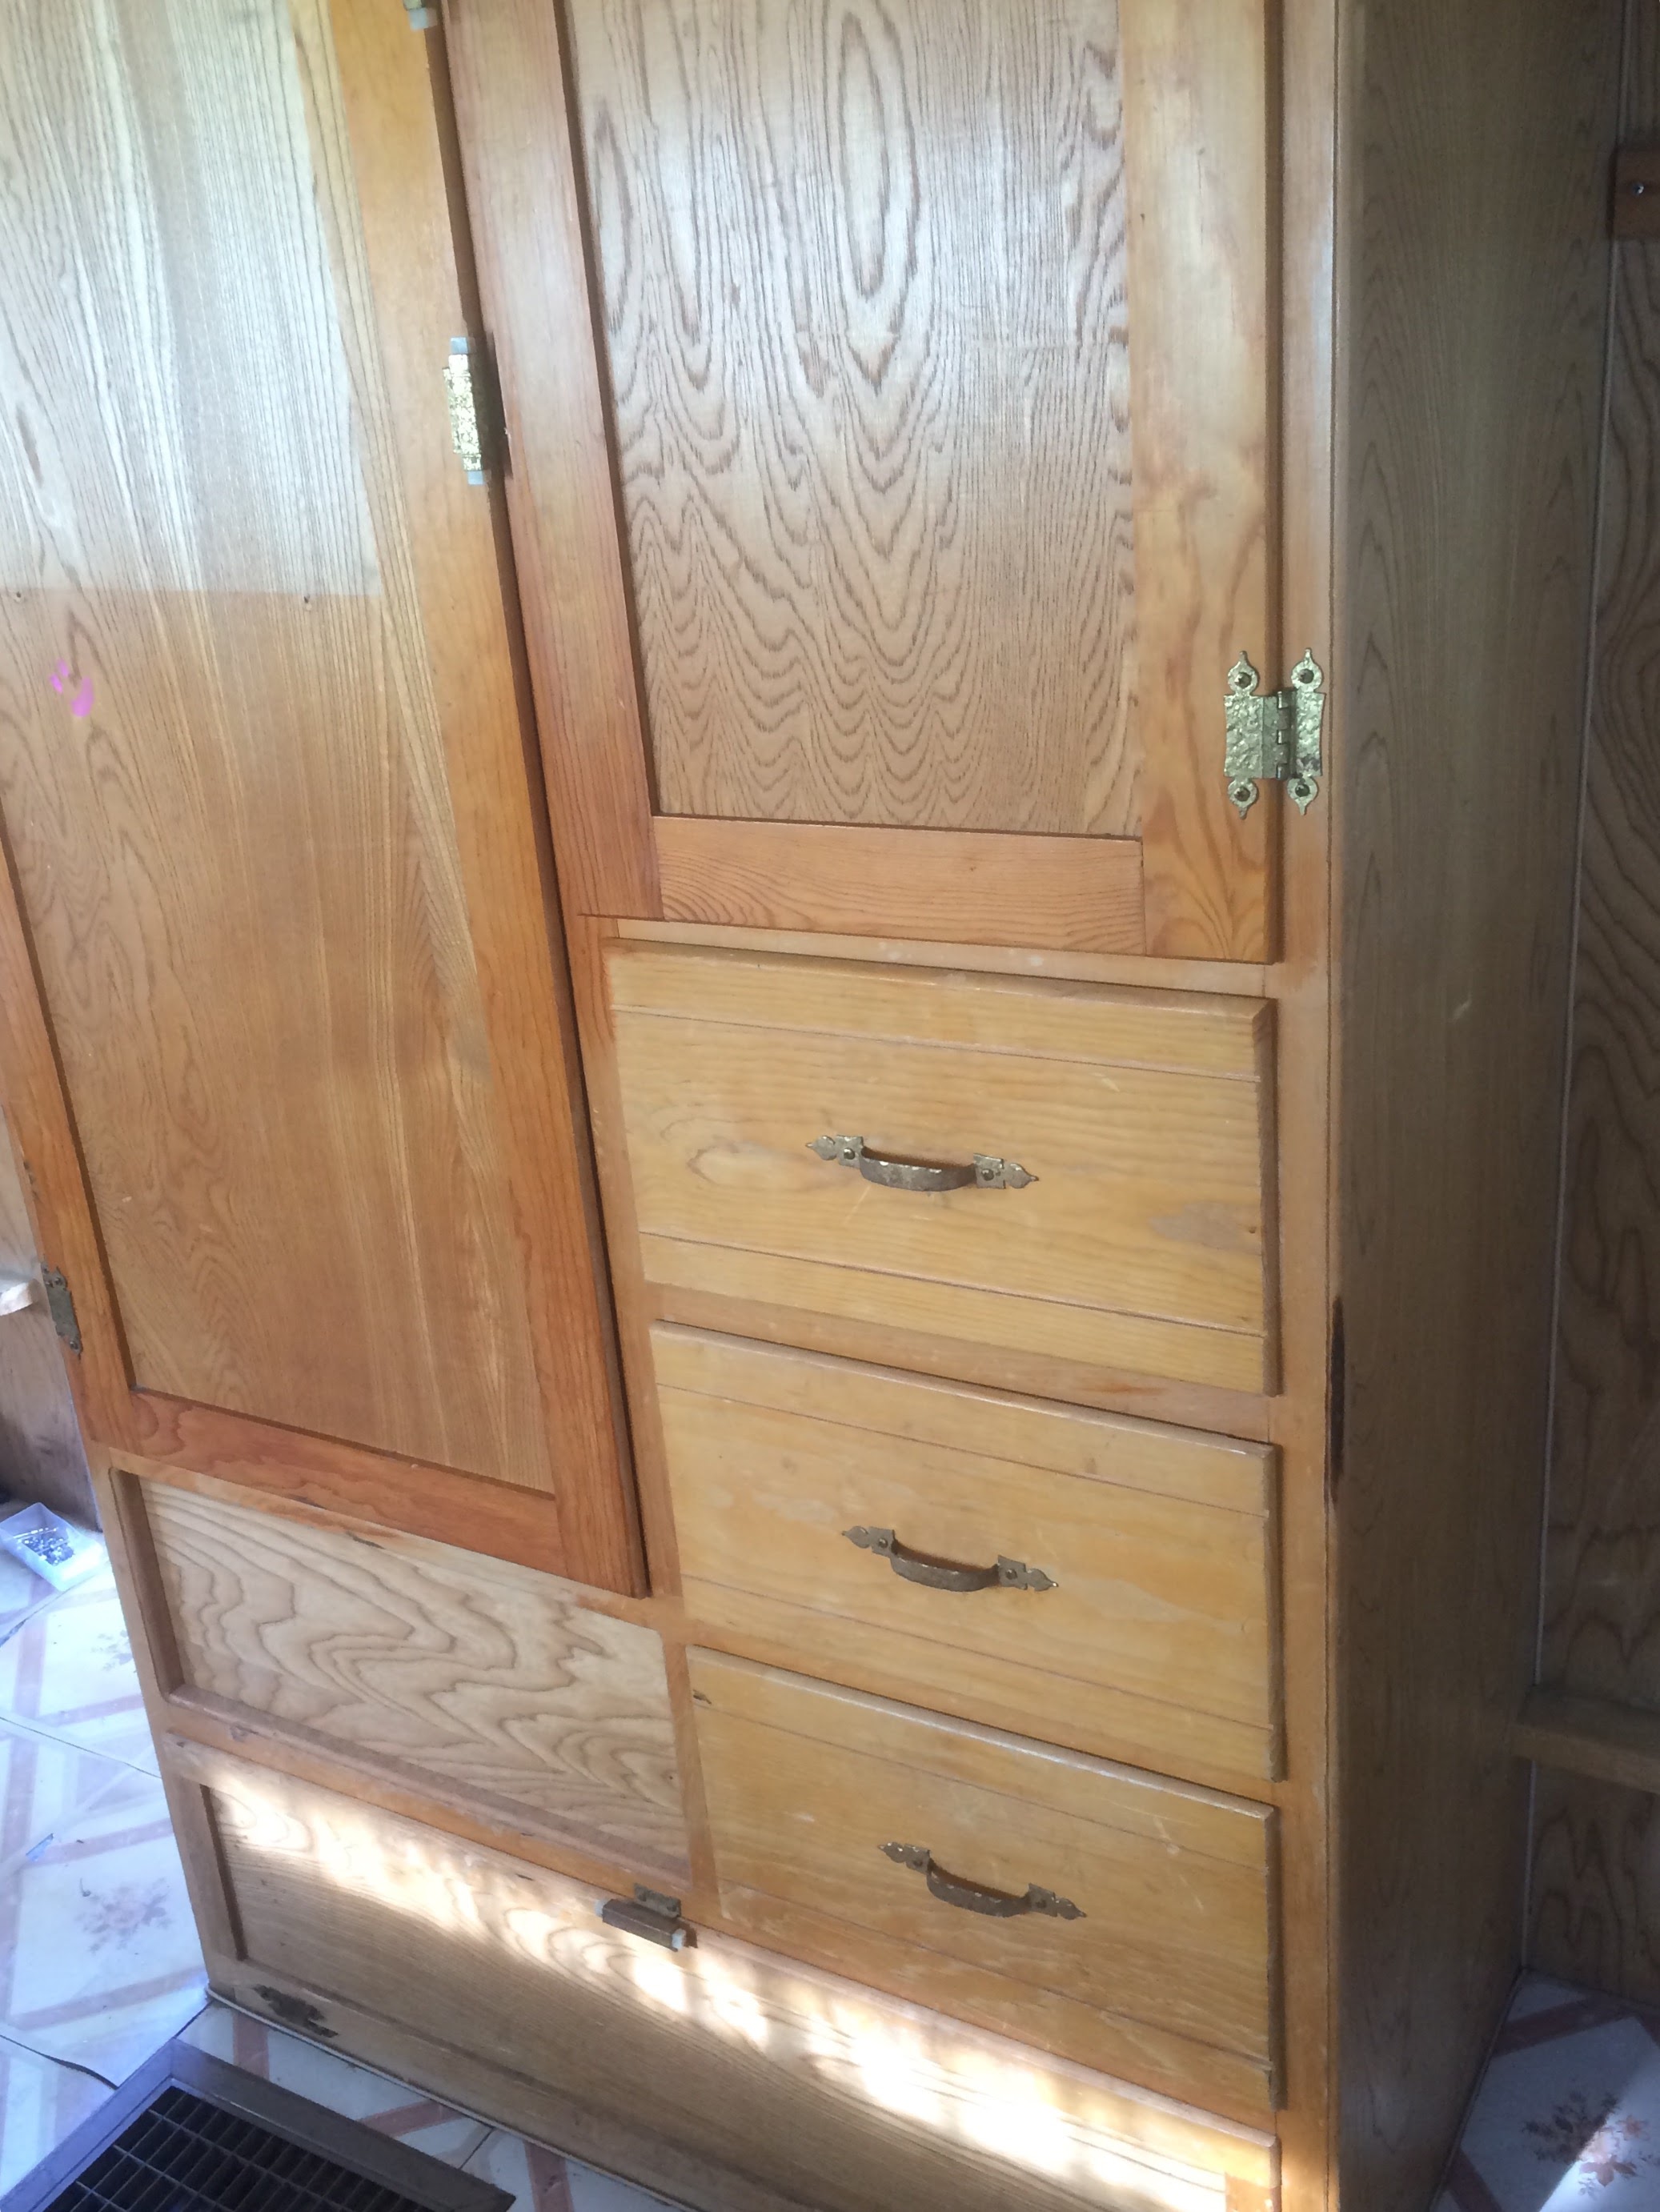
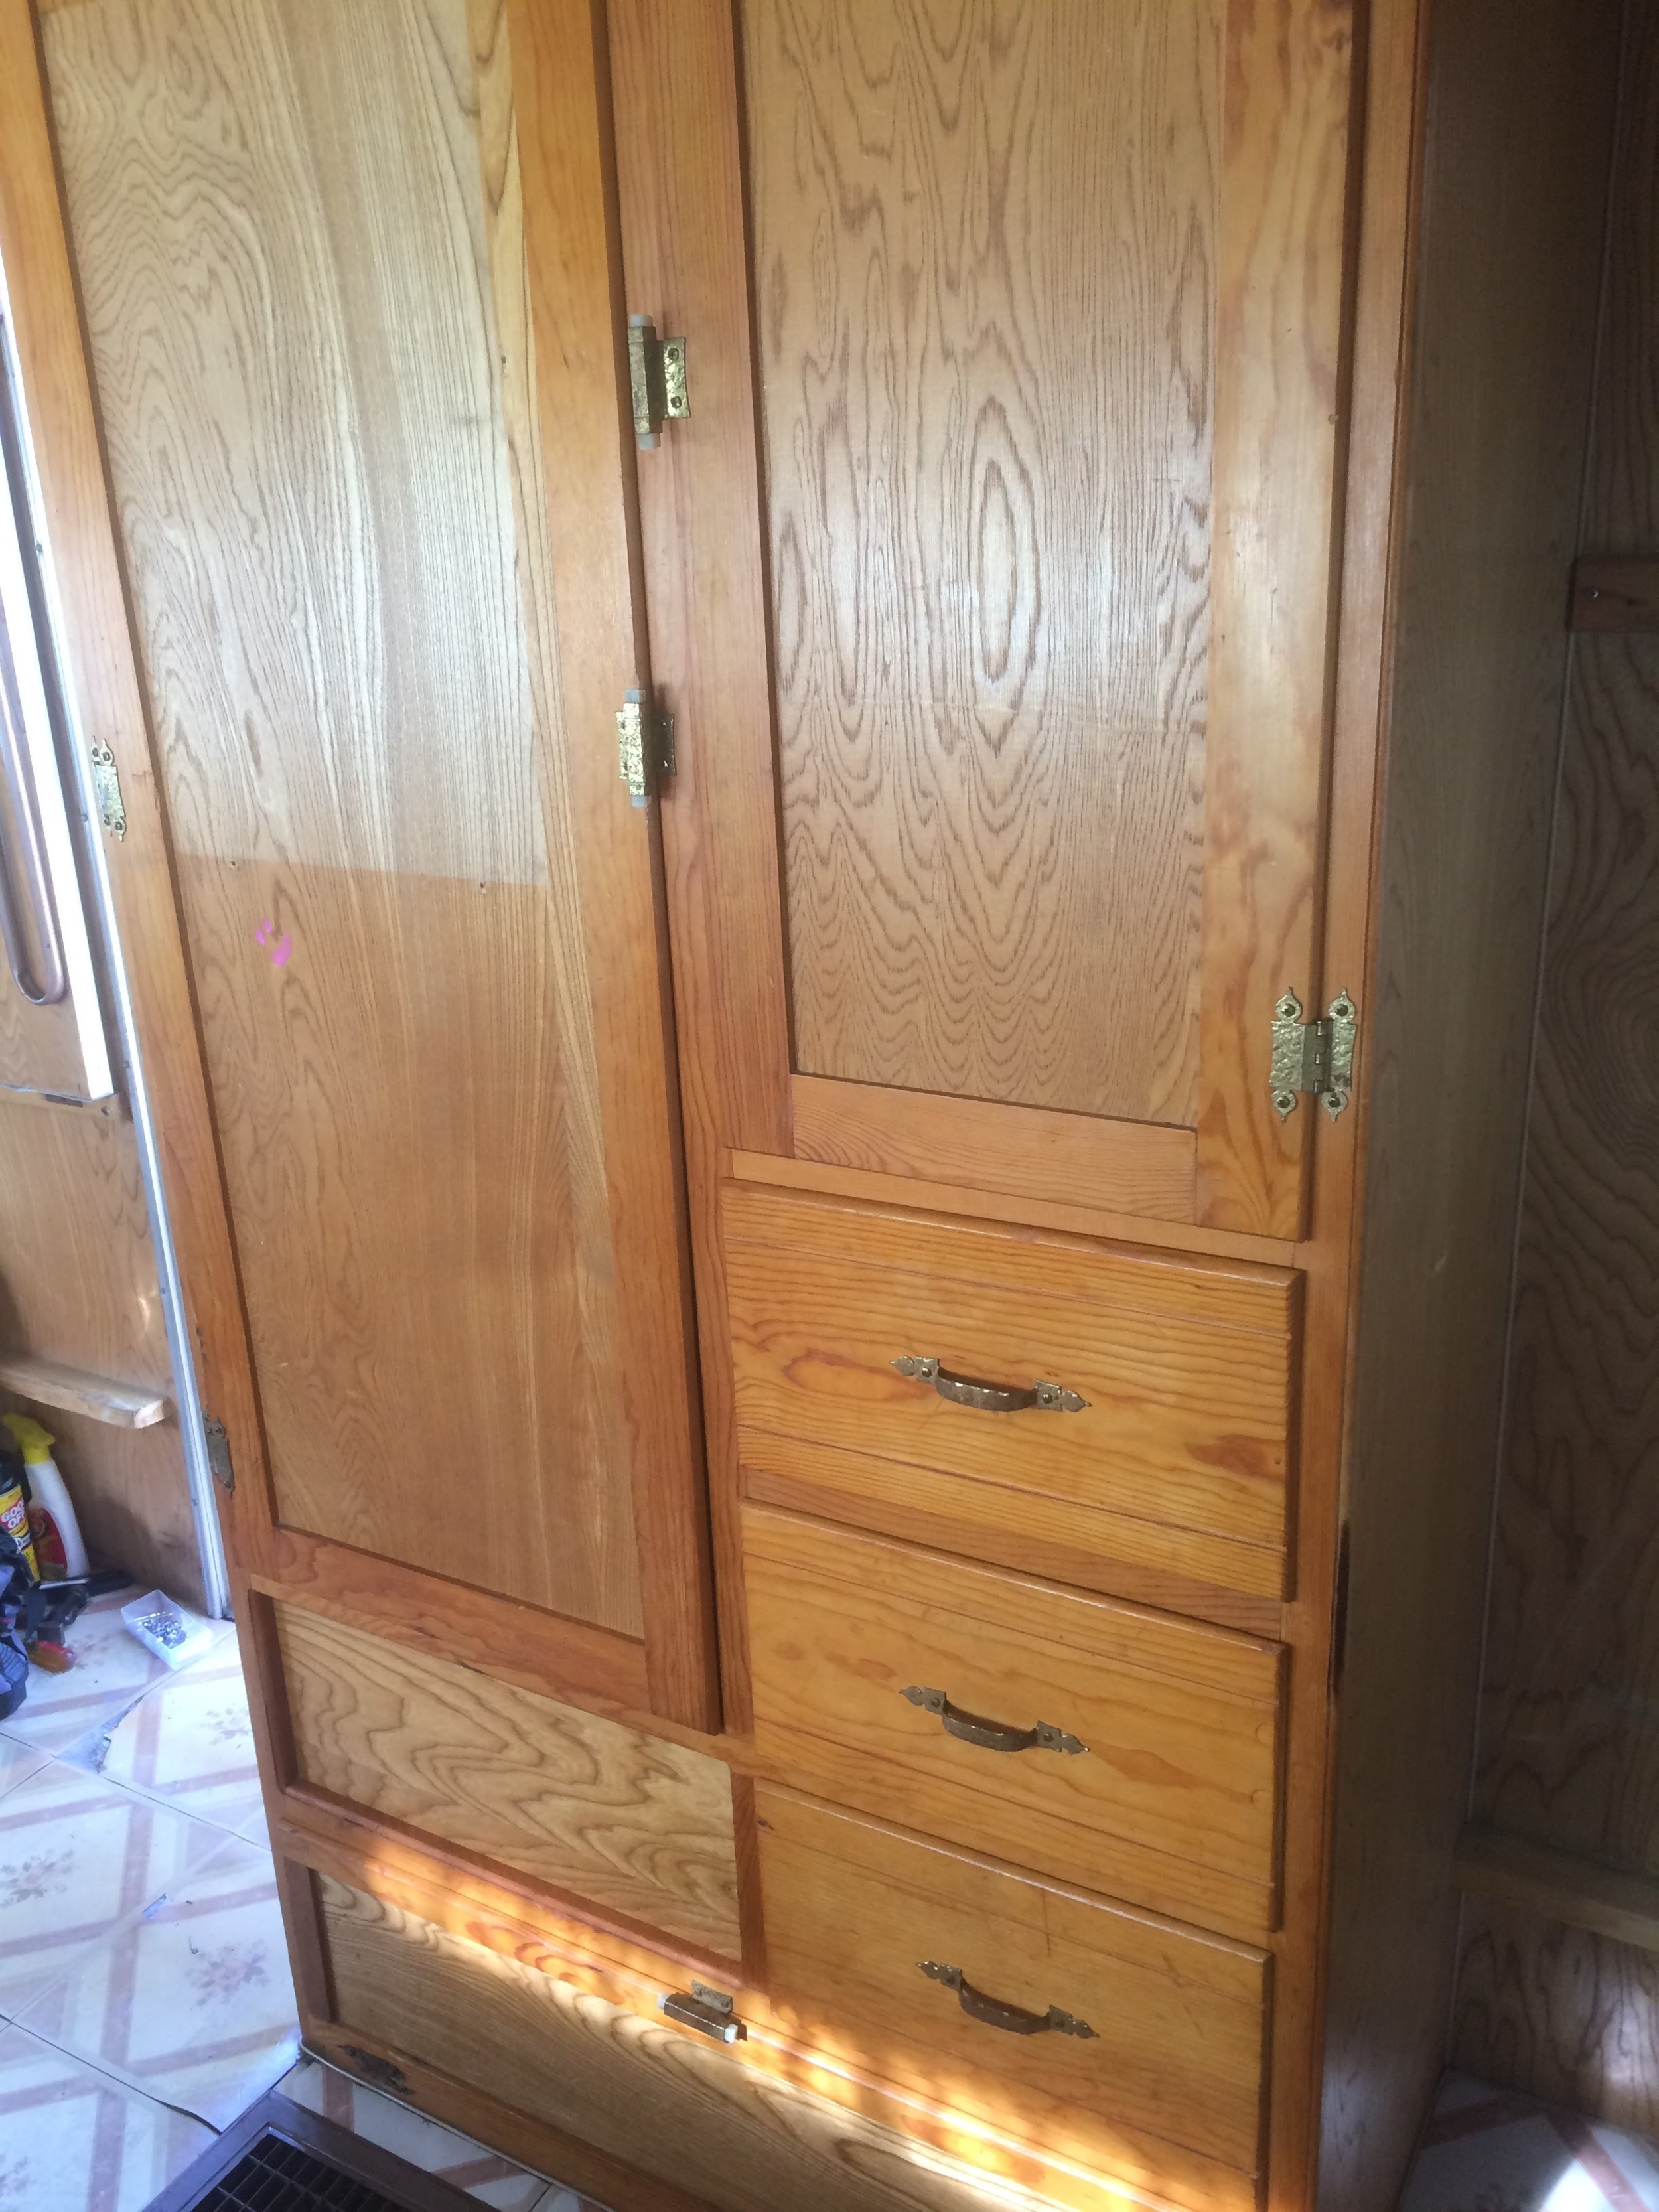
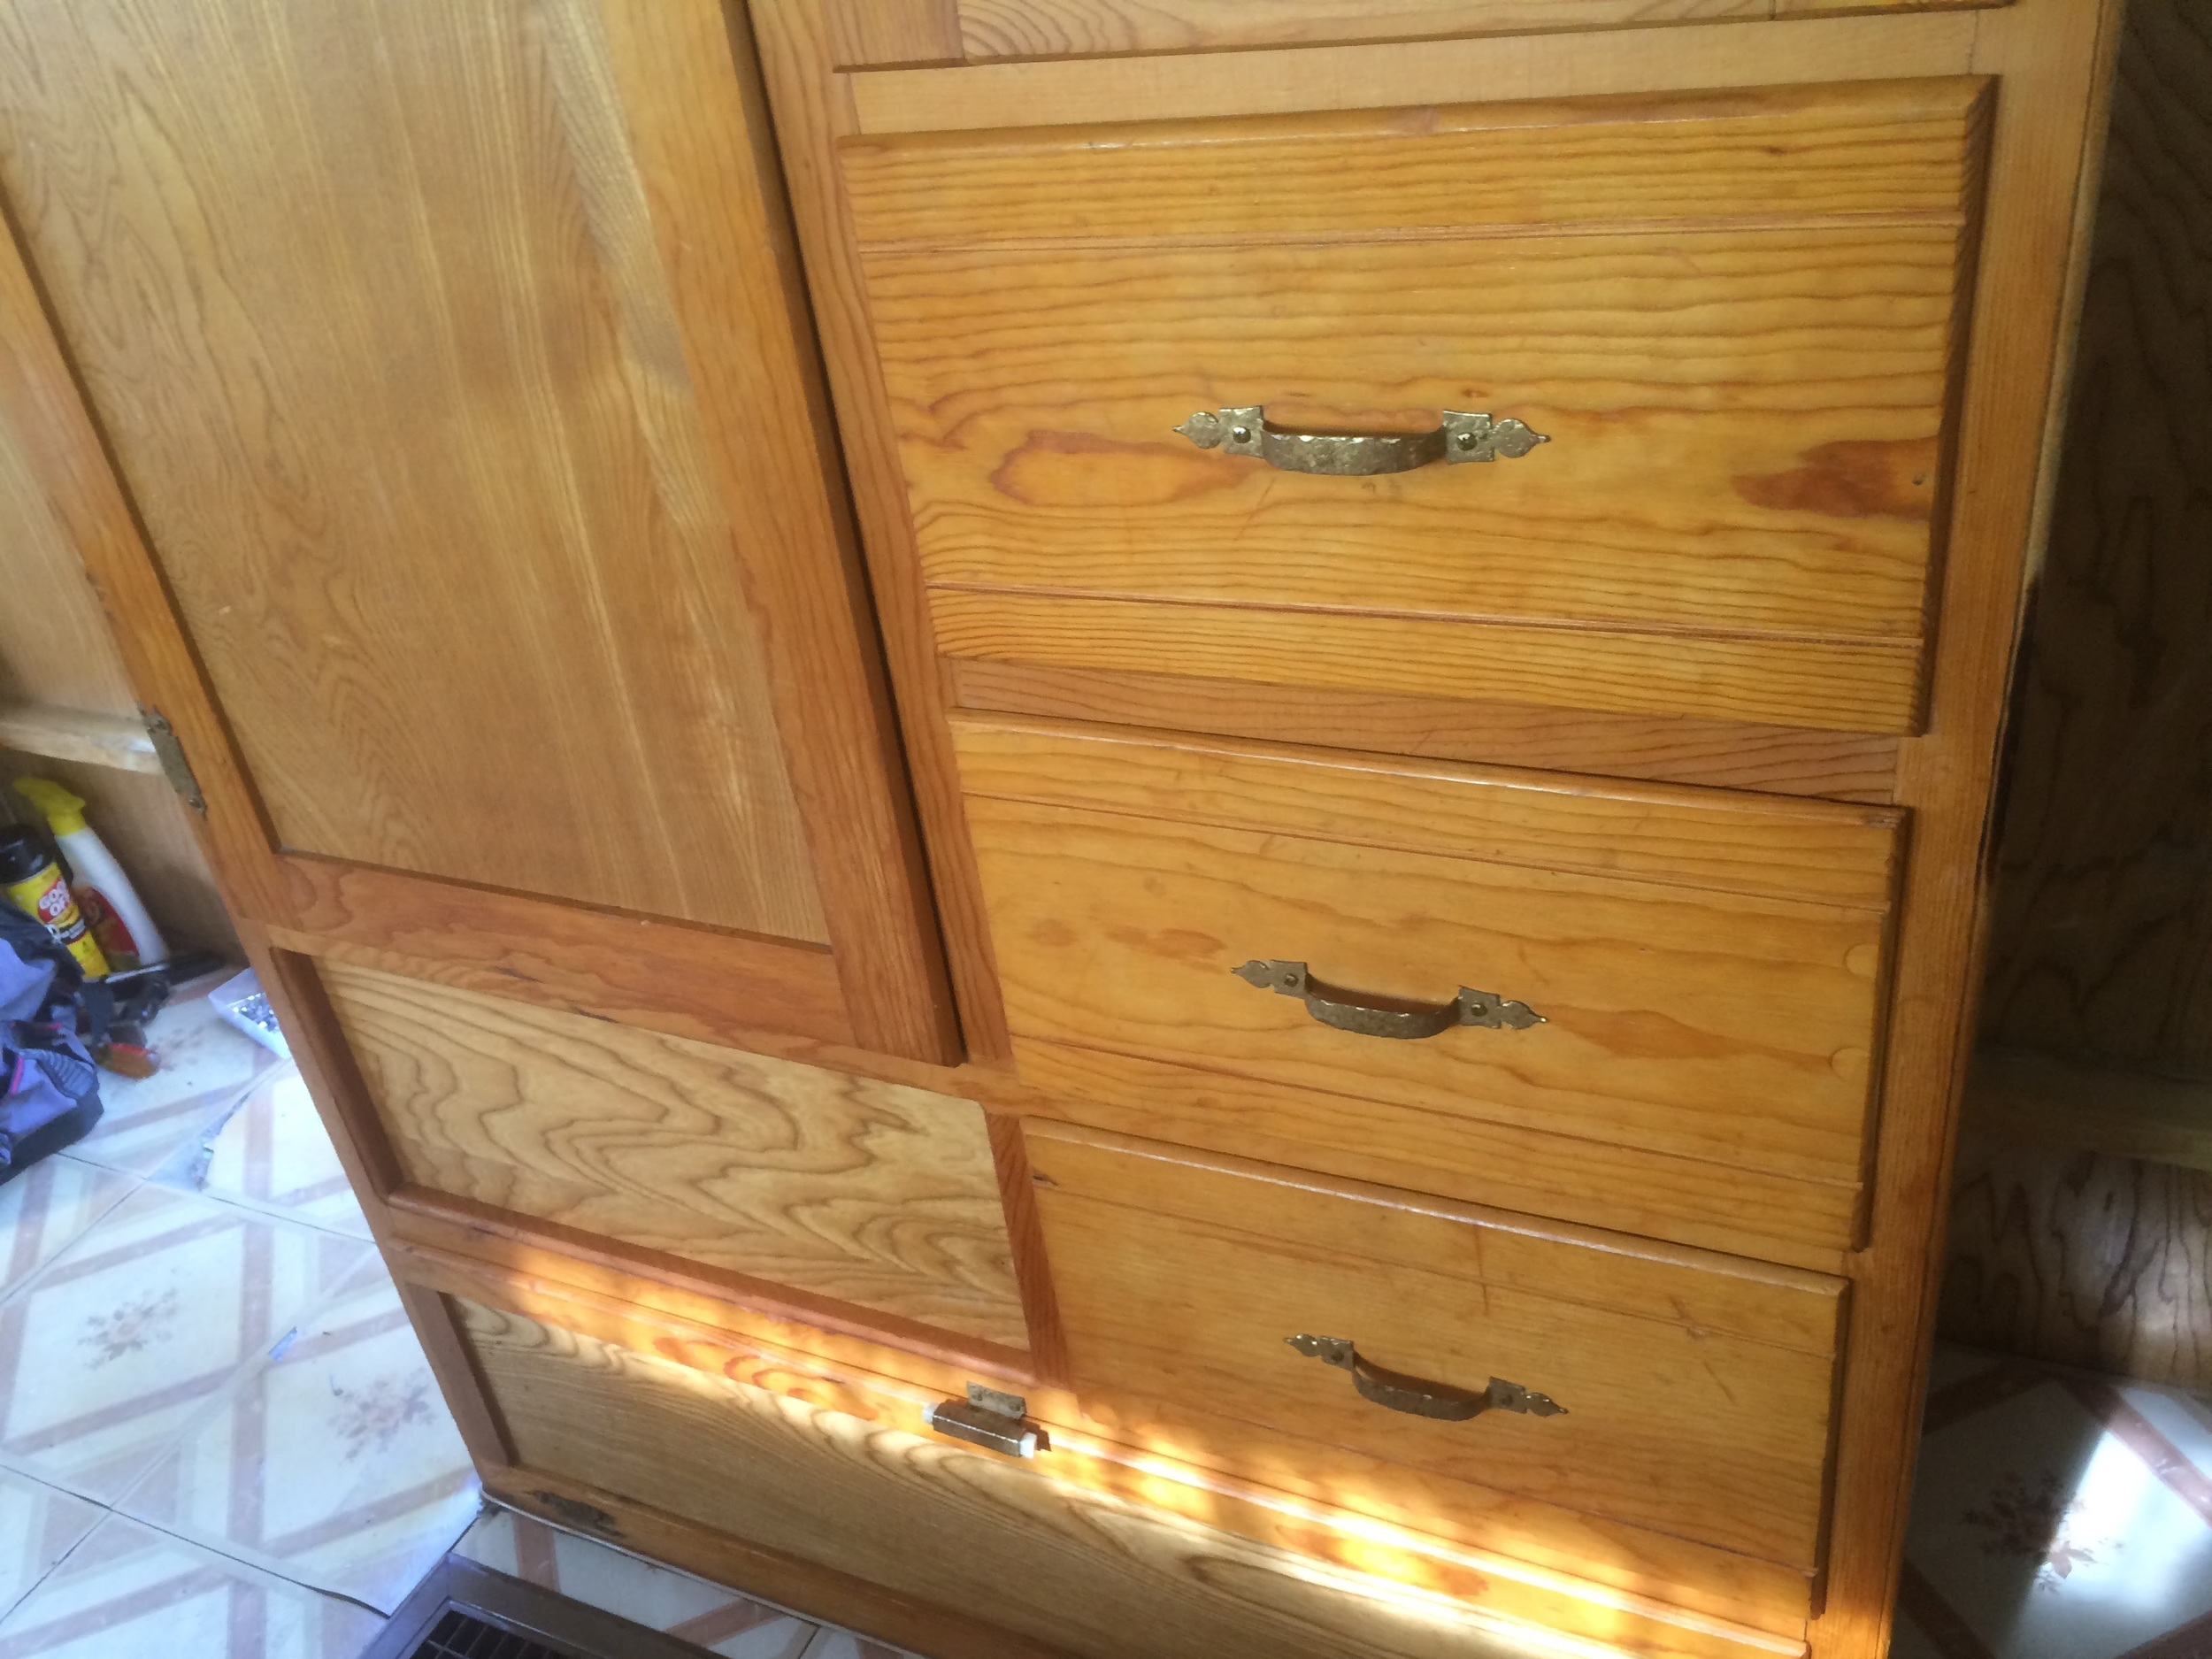
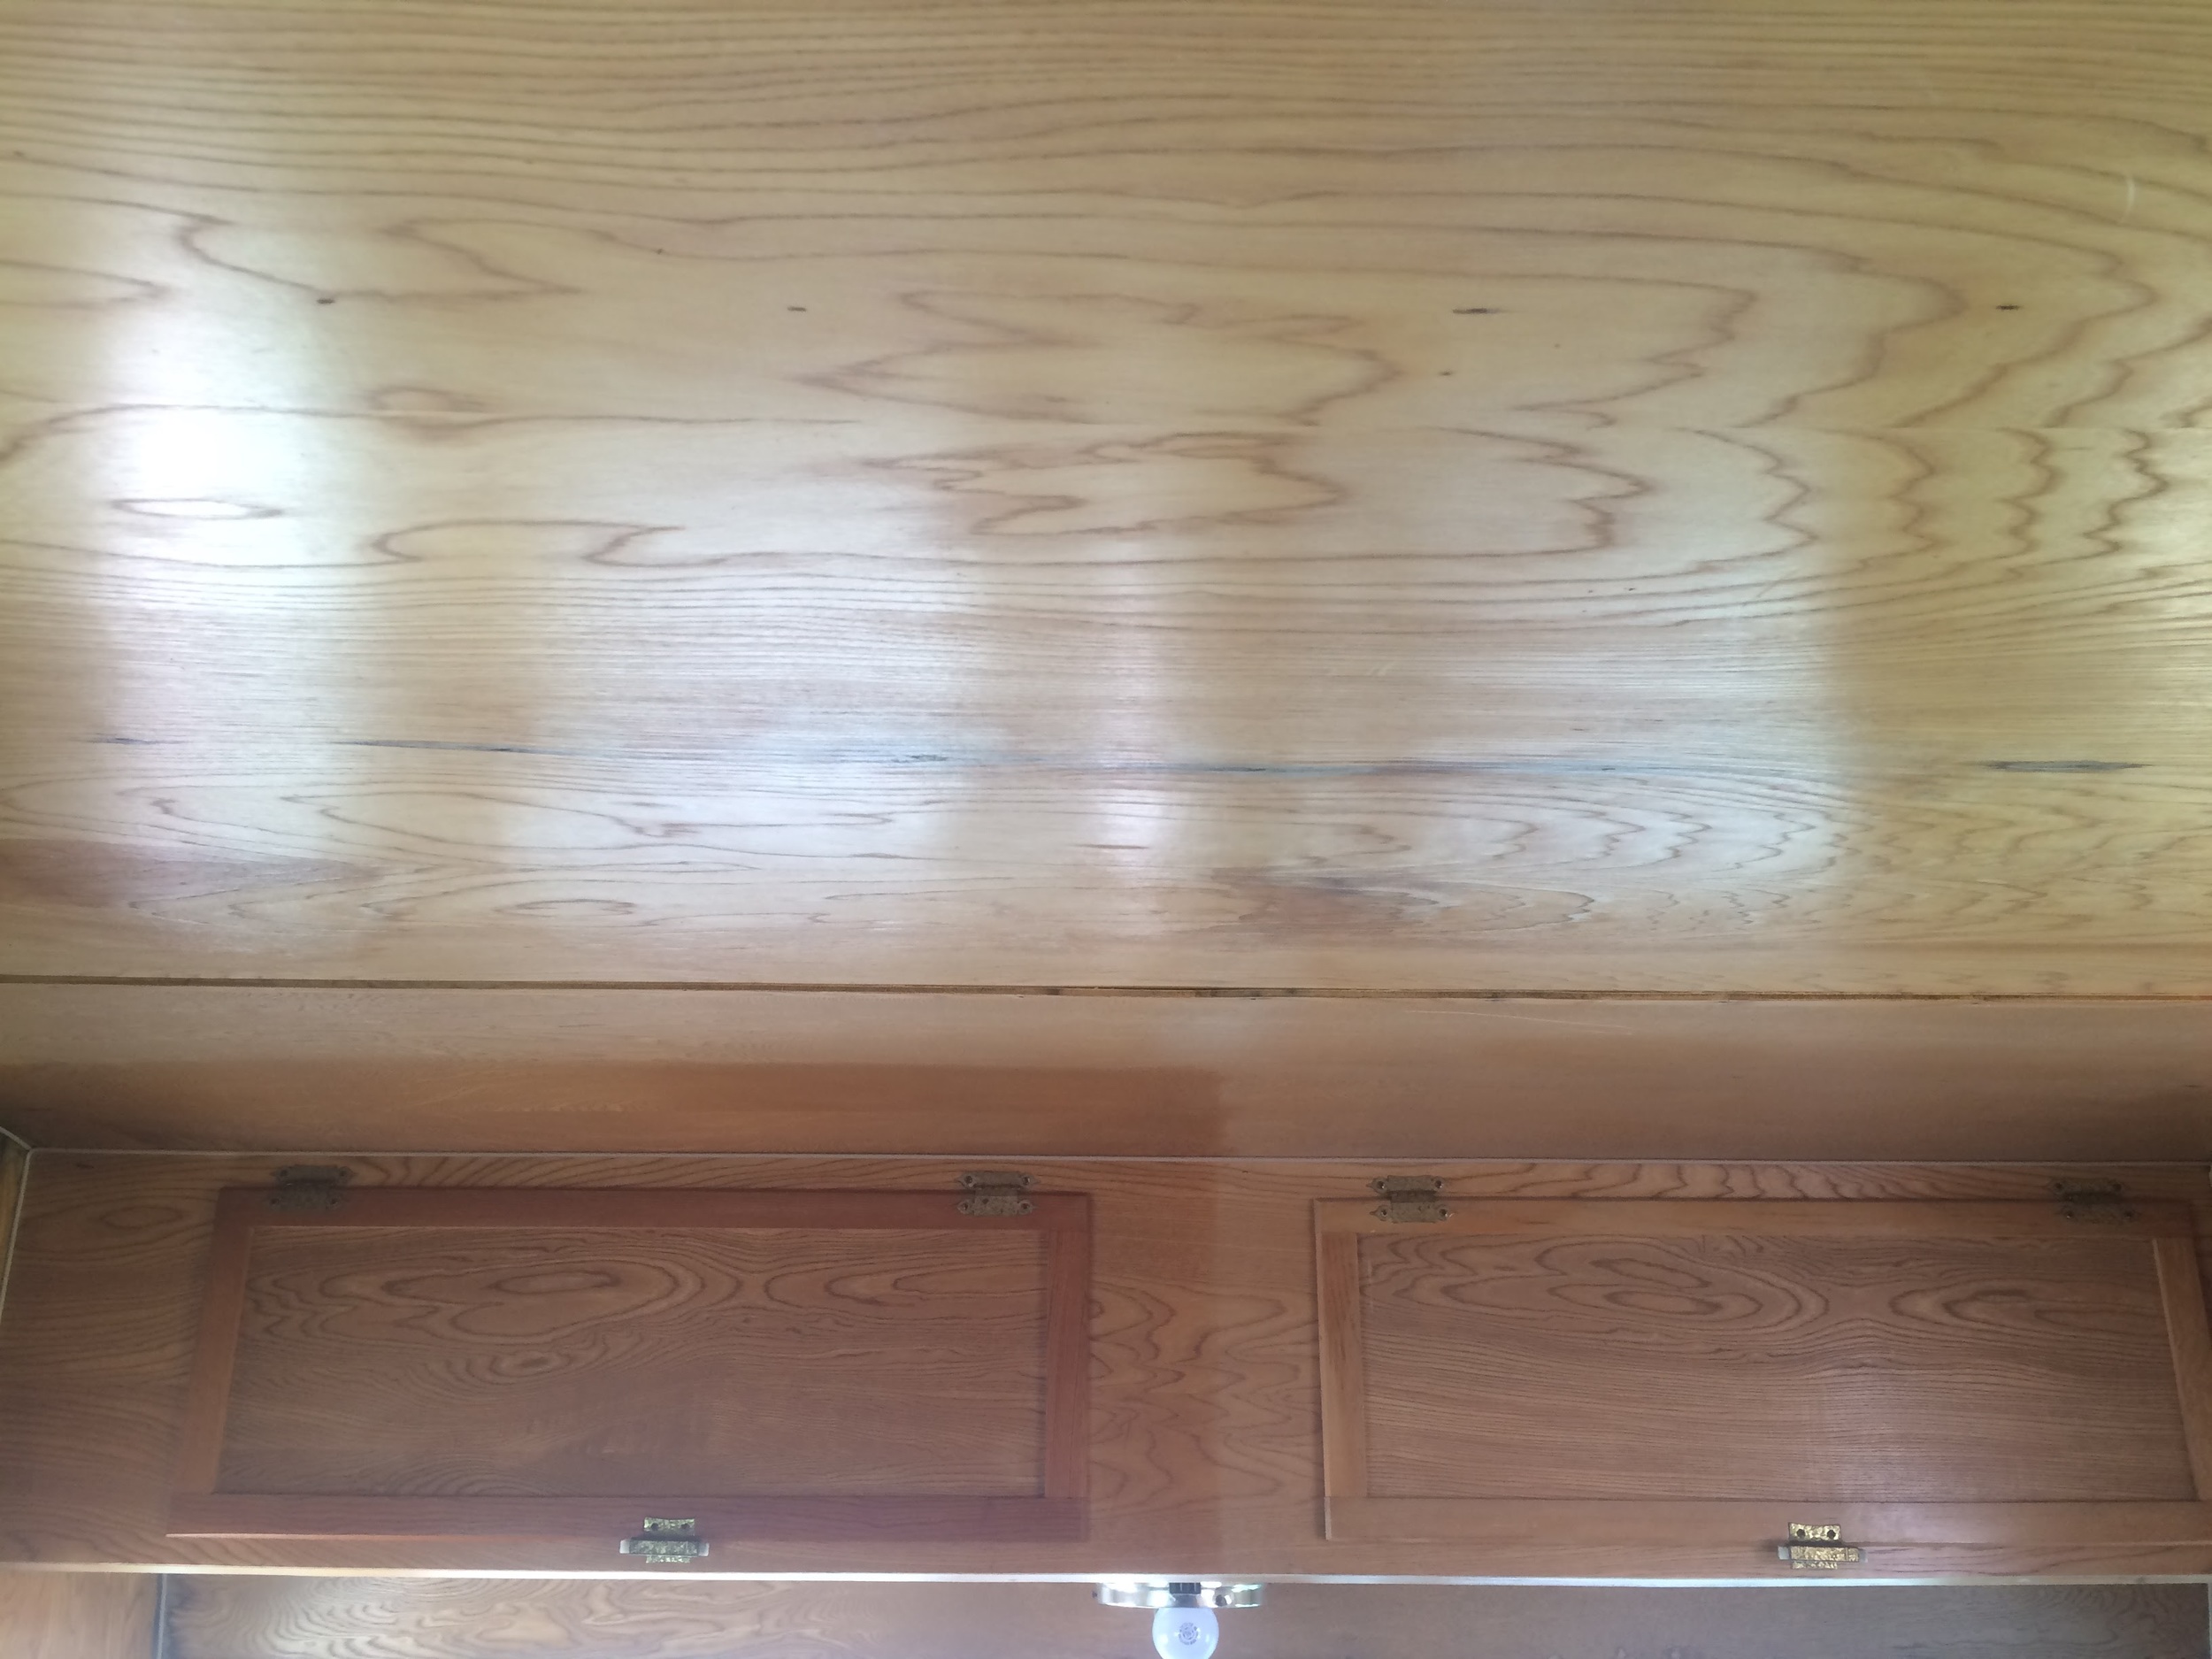
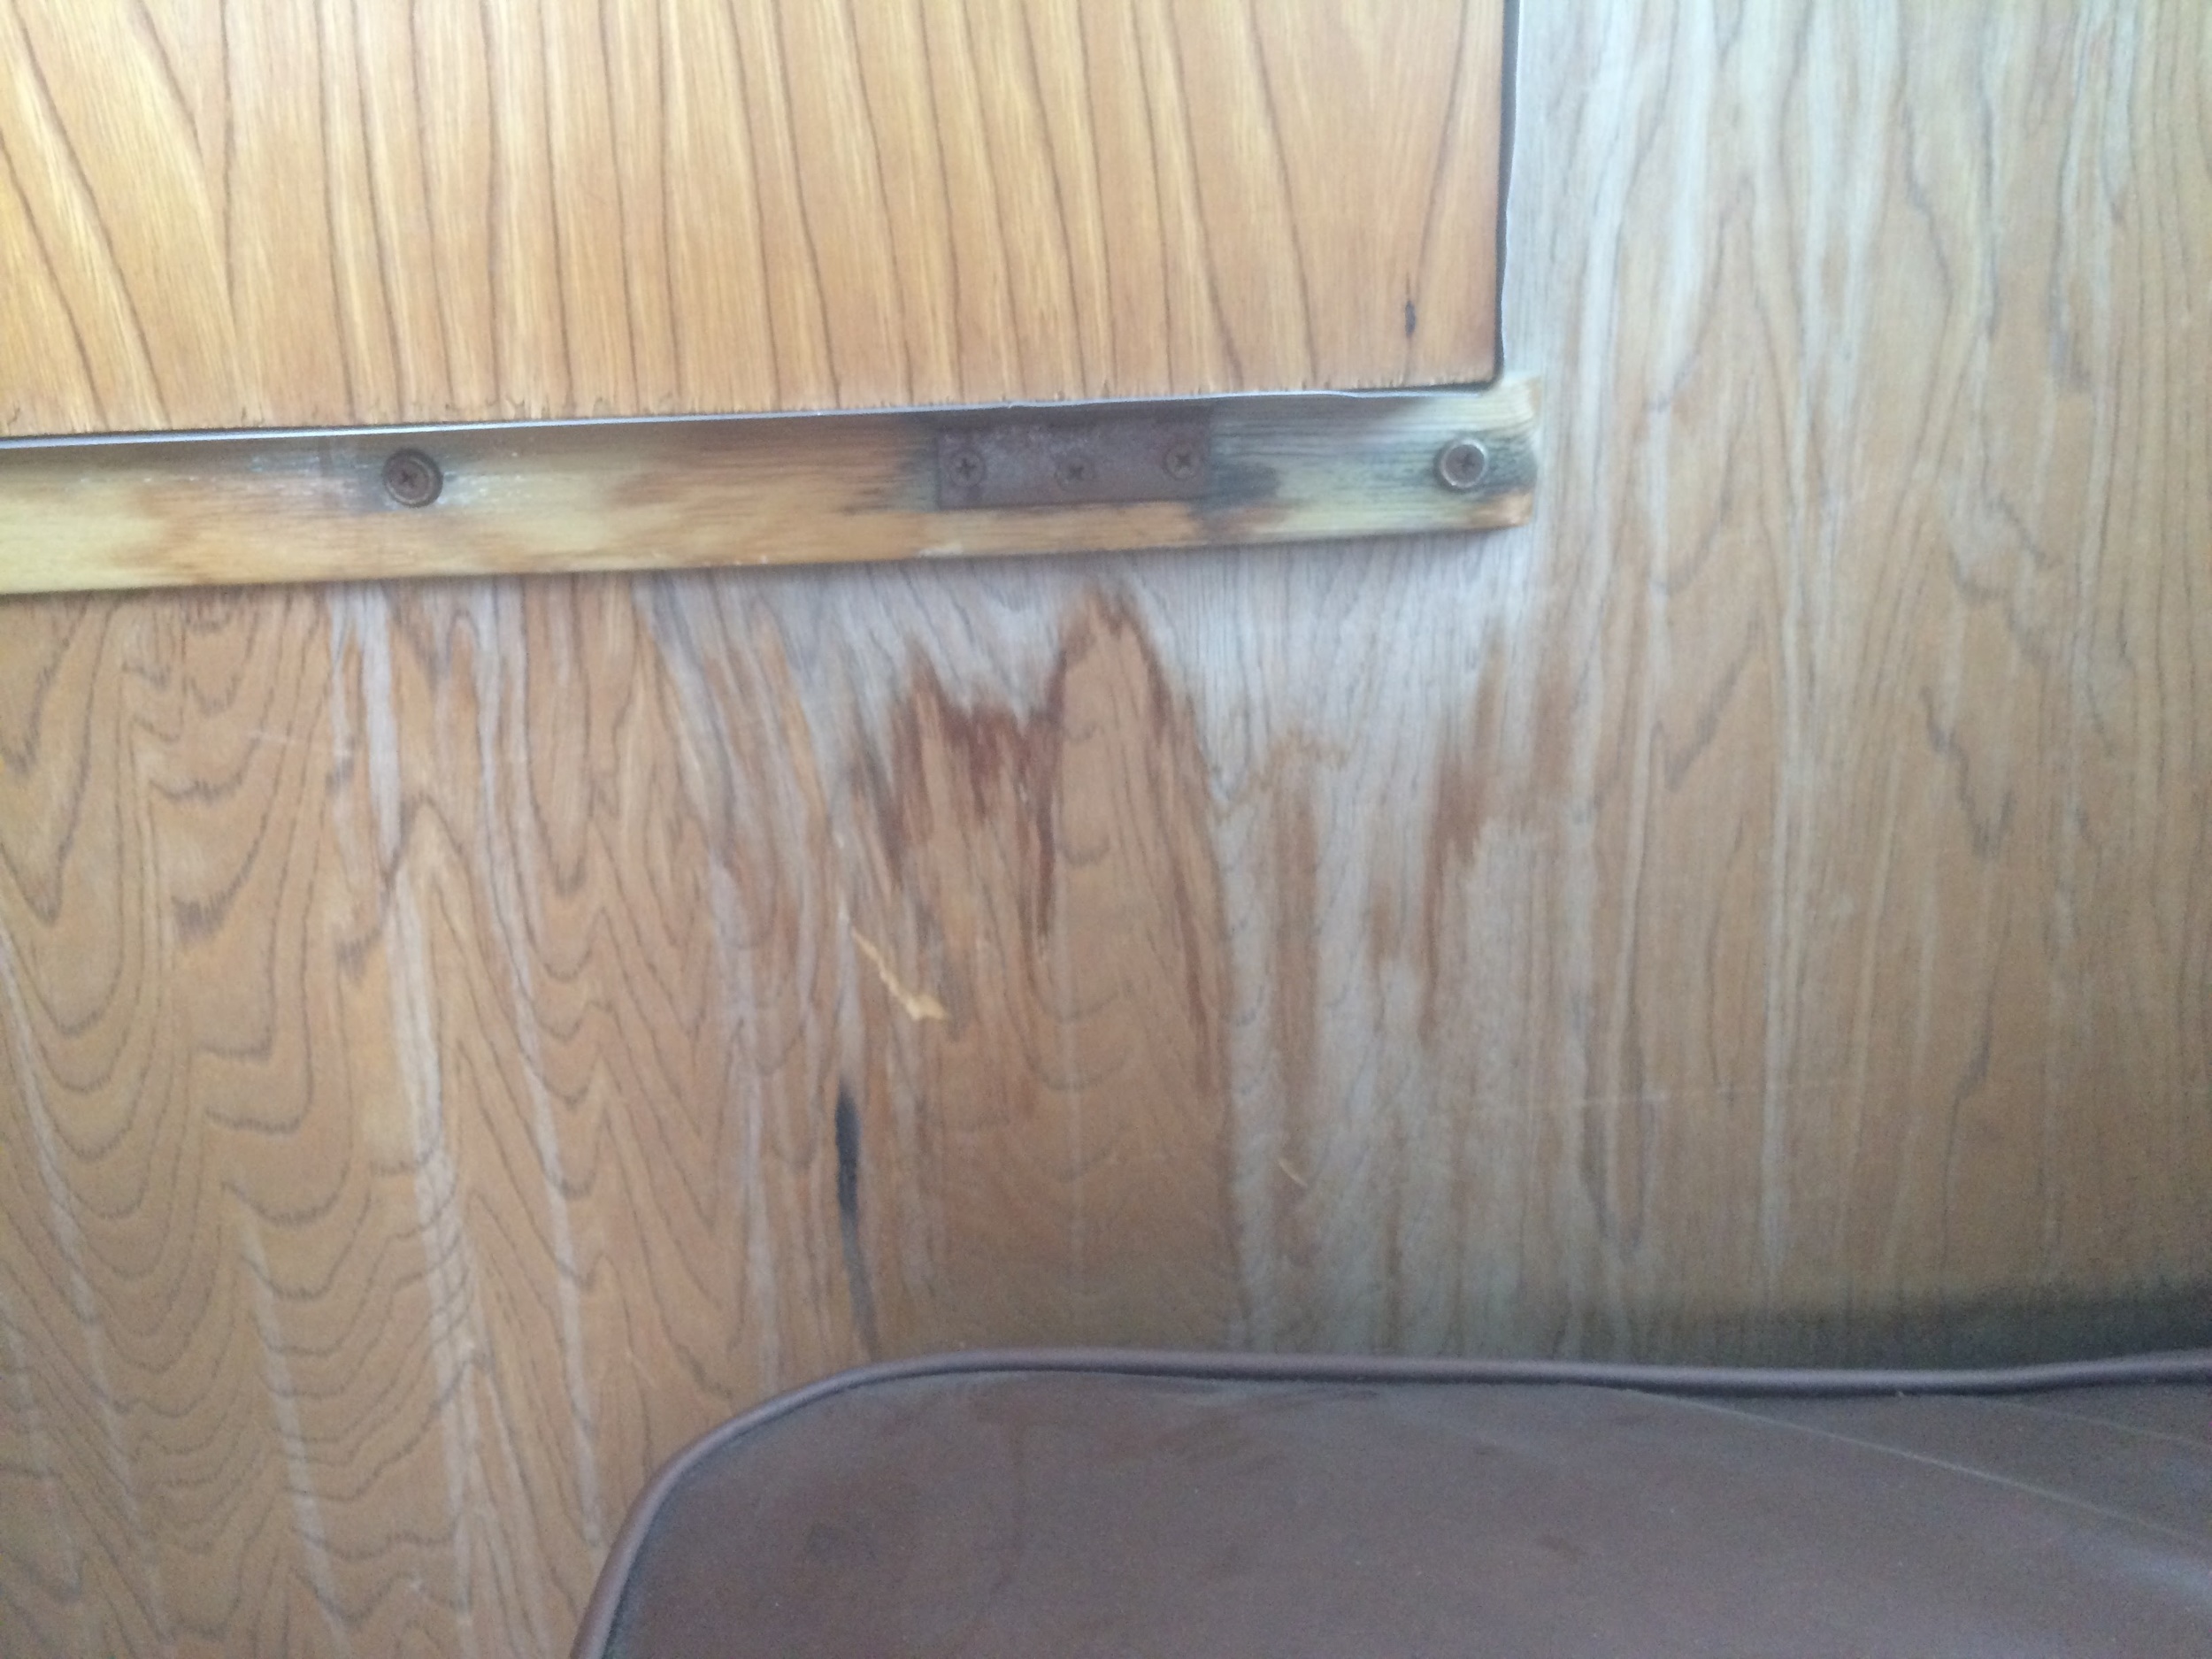
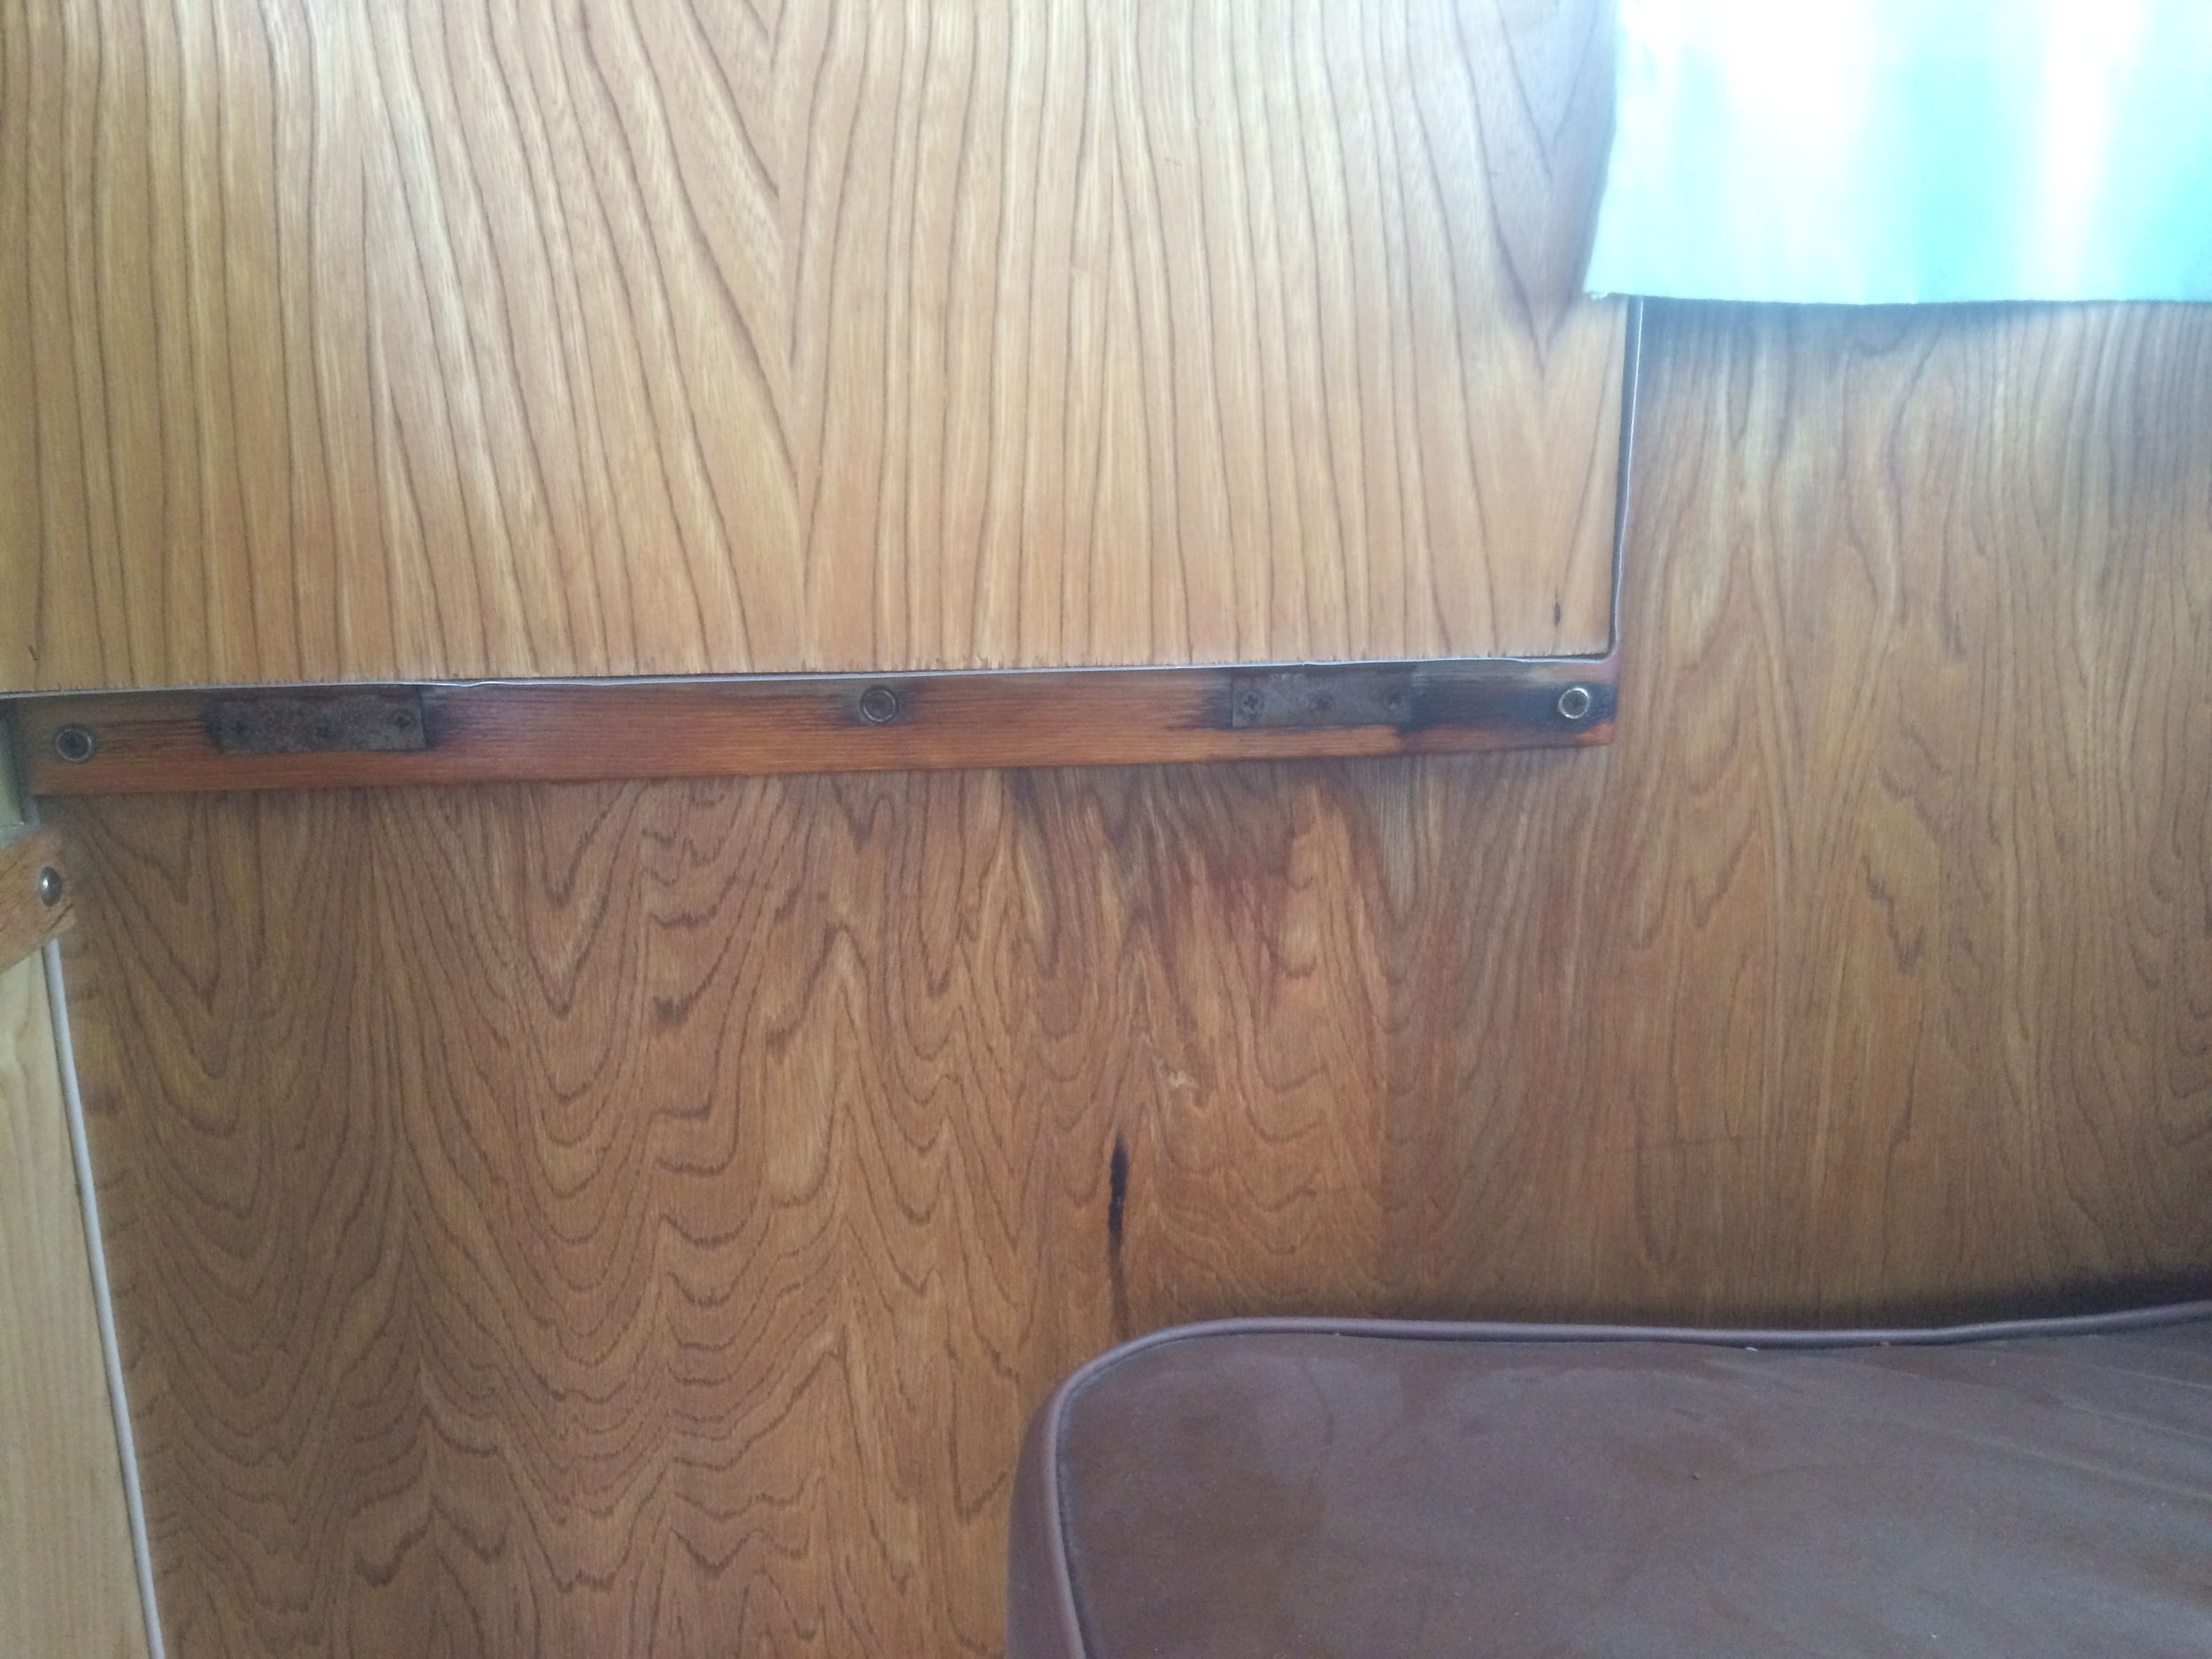
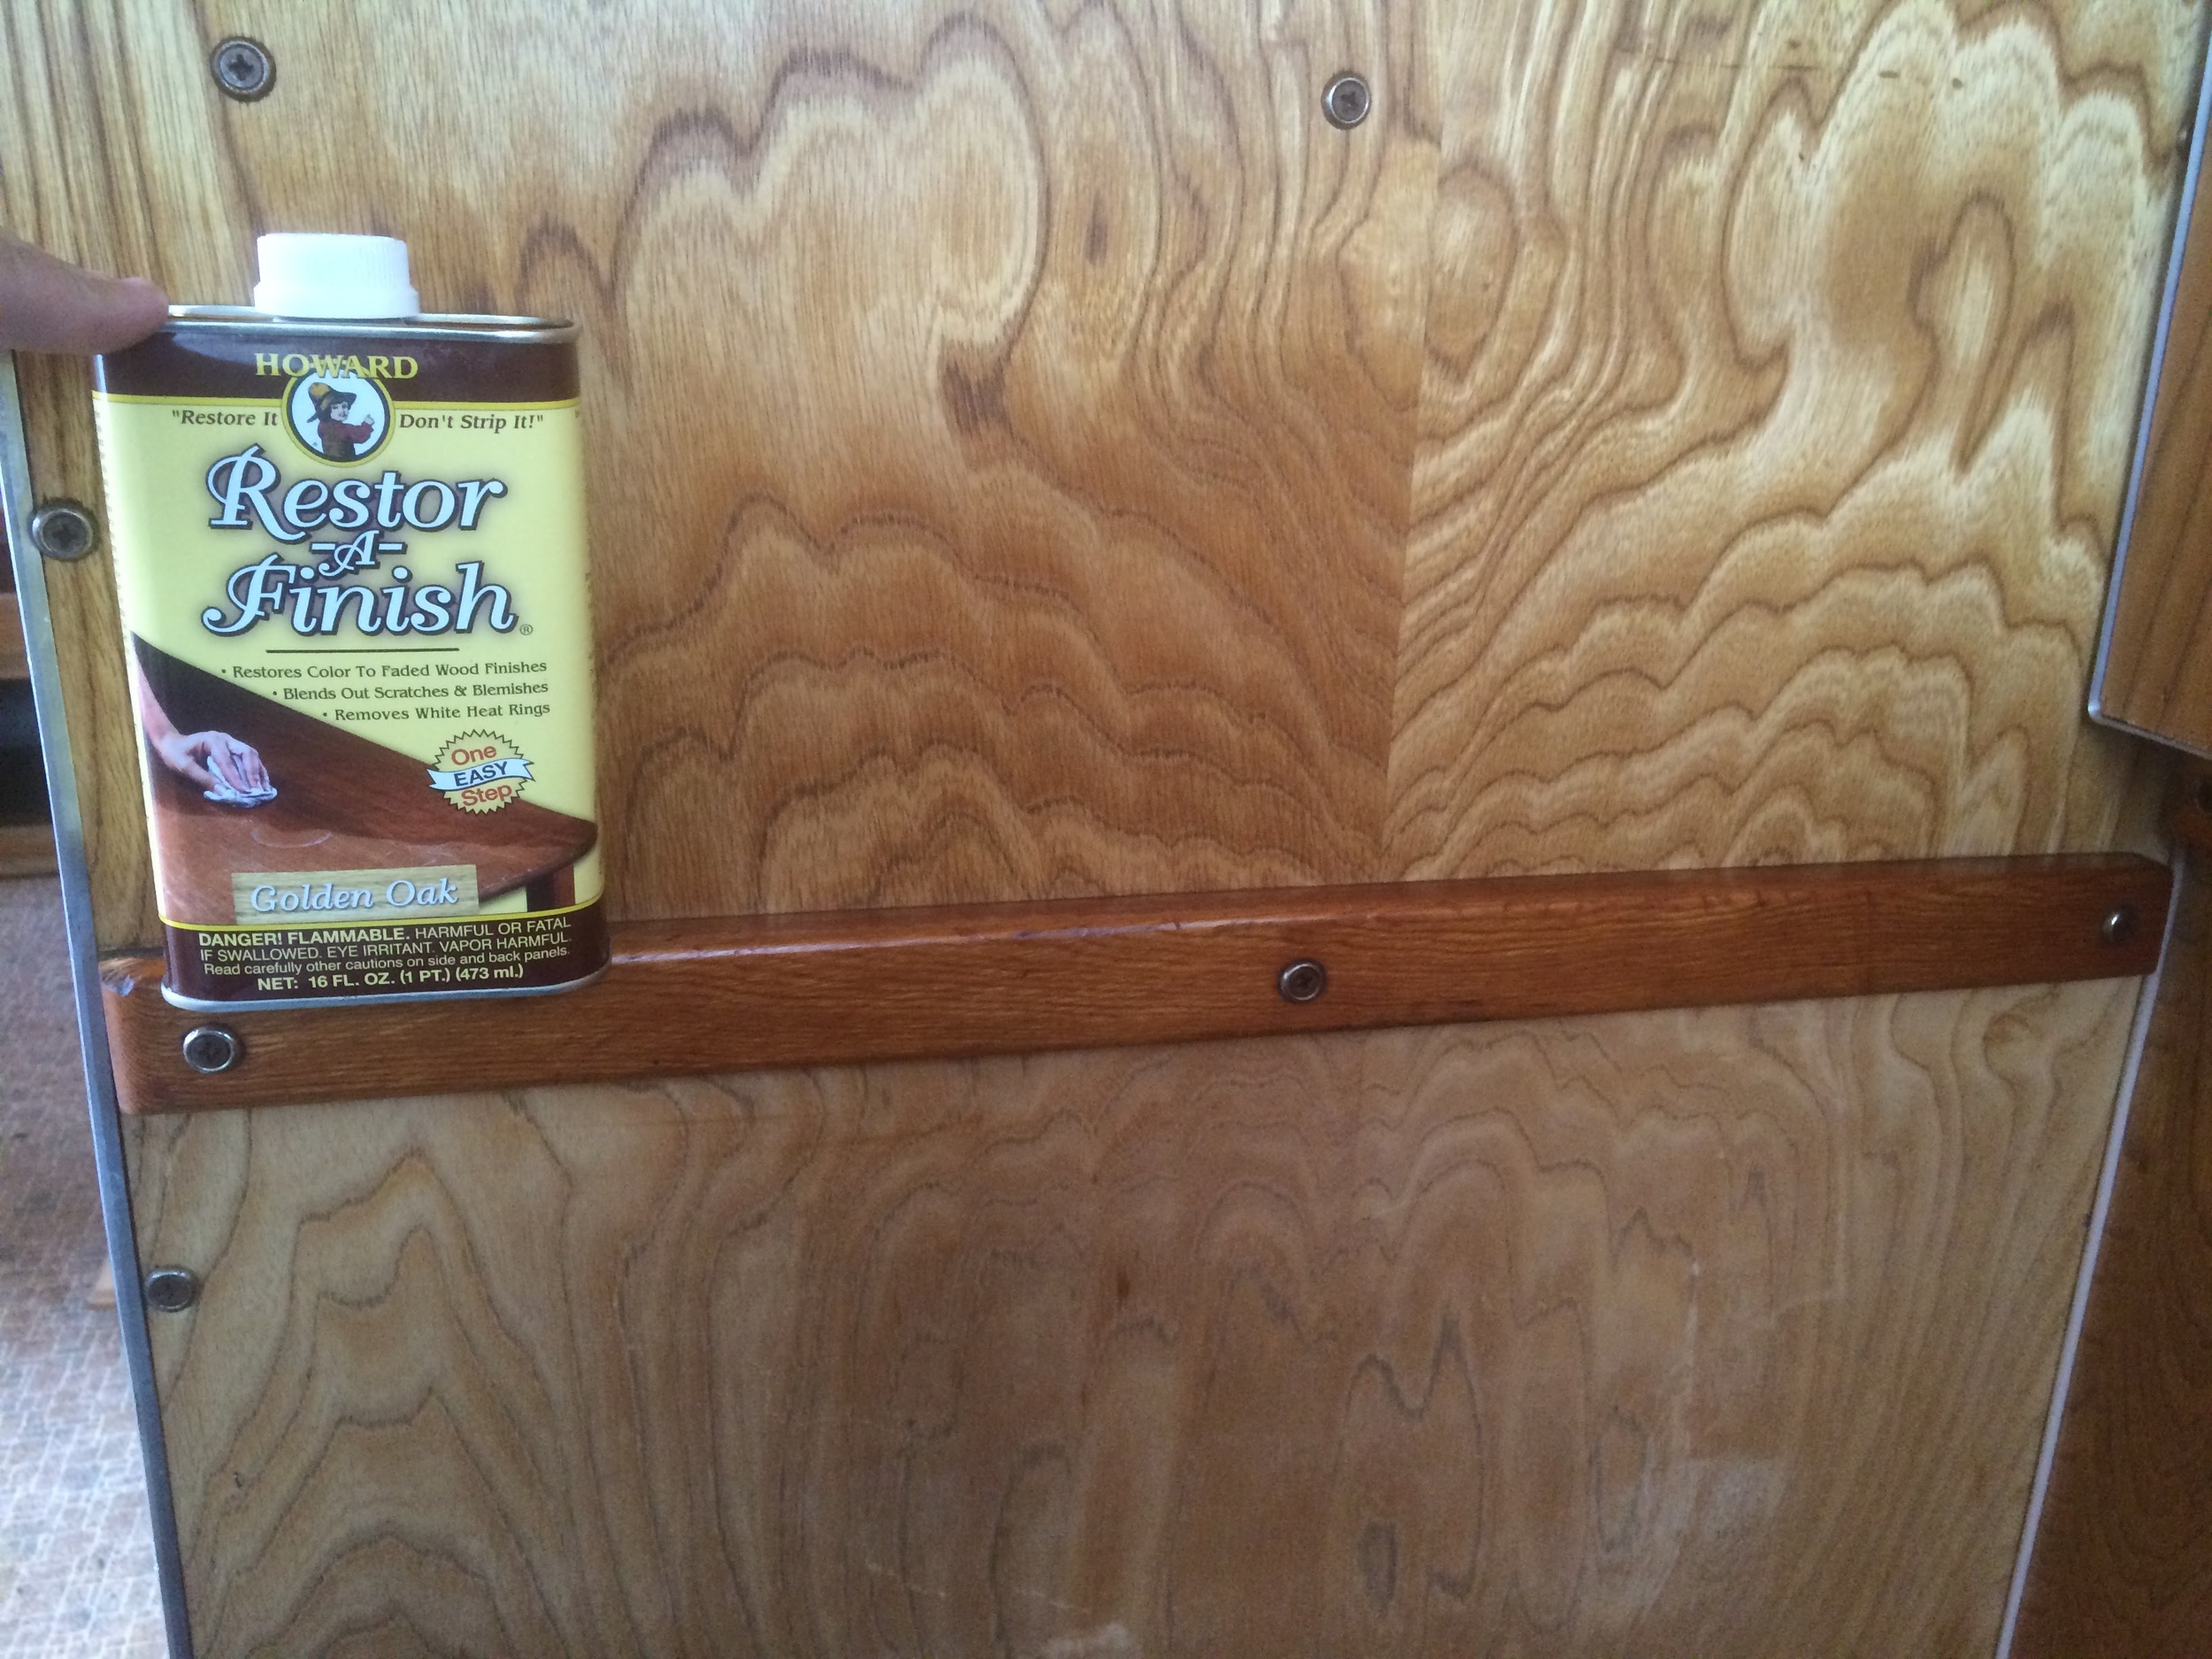
Cabinets & Paneling


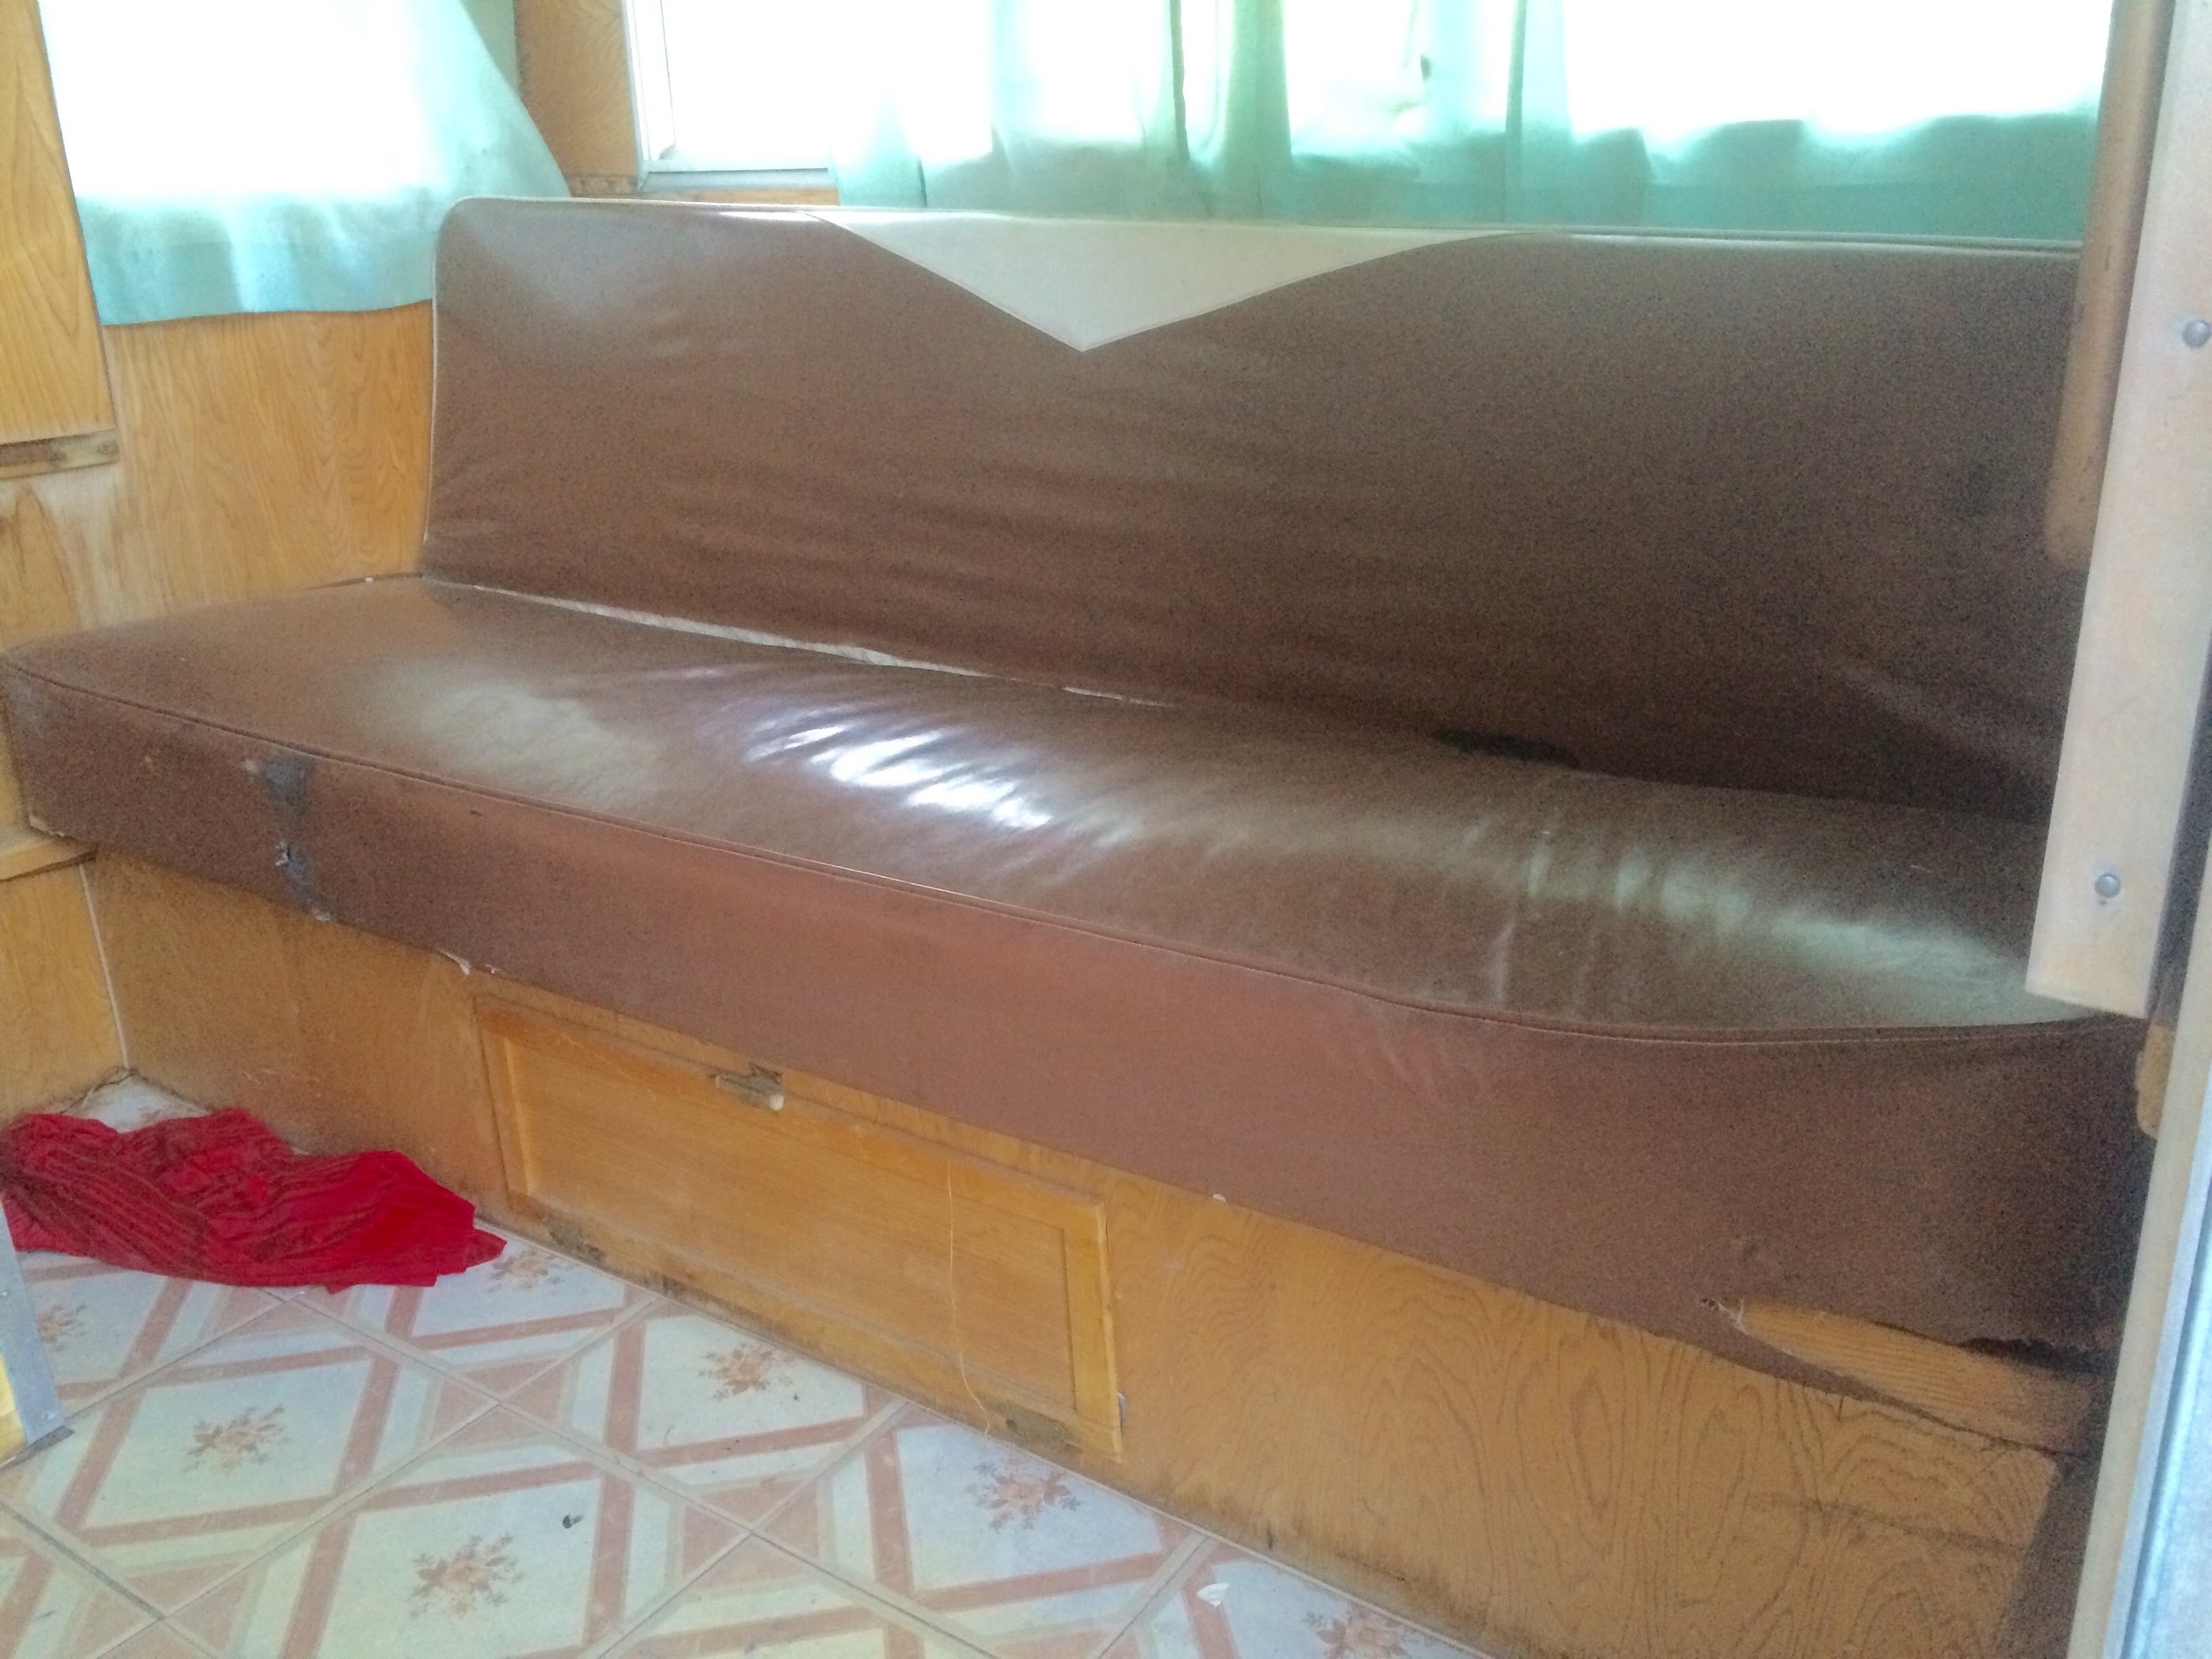
Seats & Beds


Floor
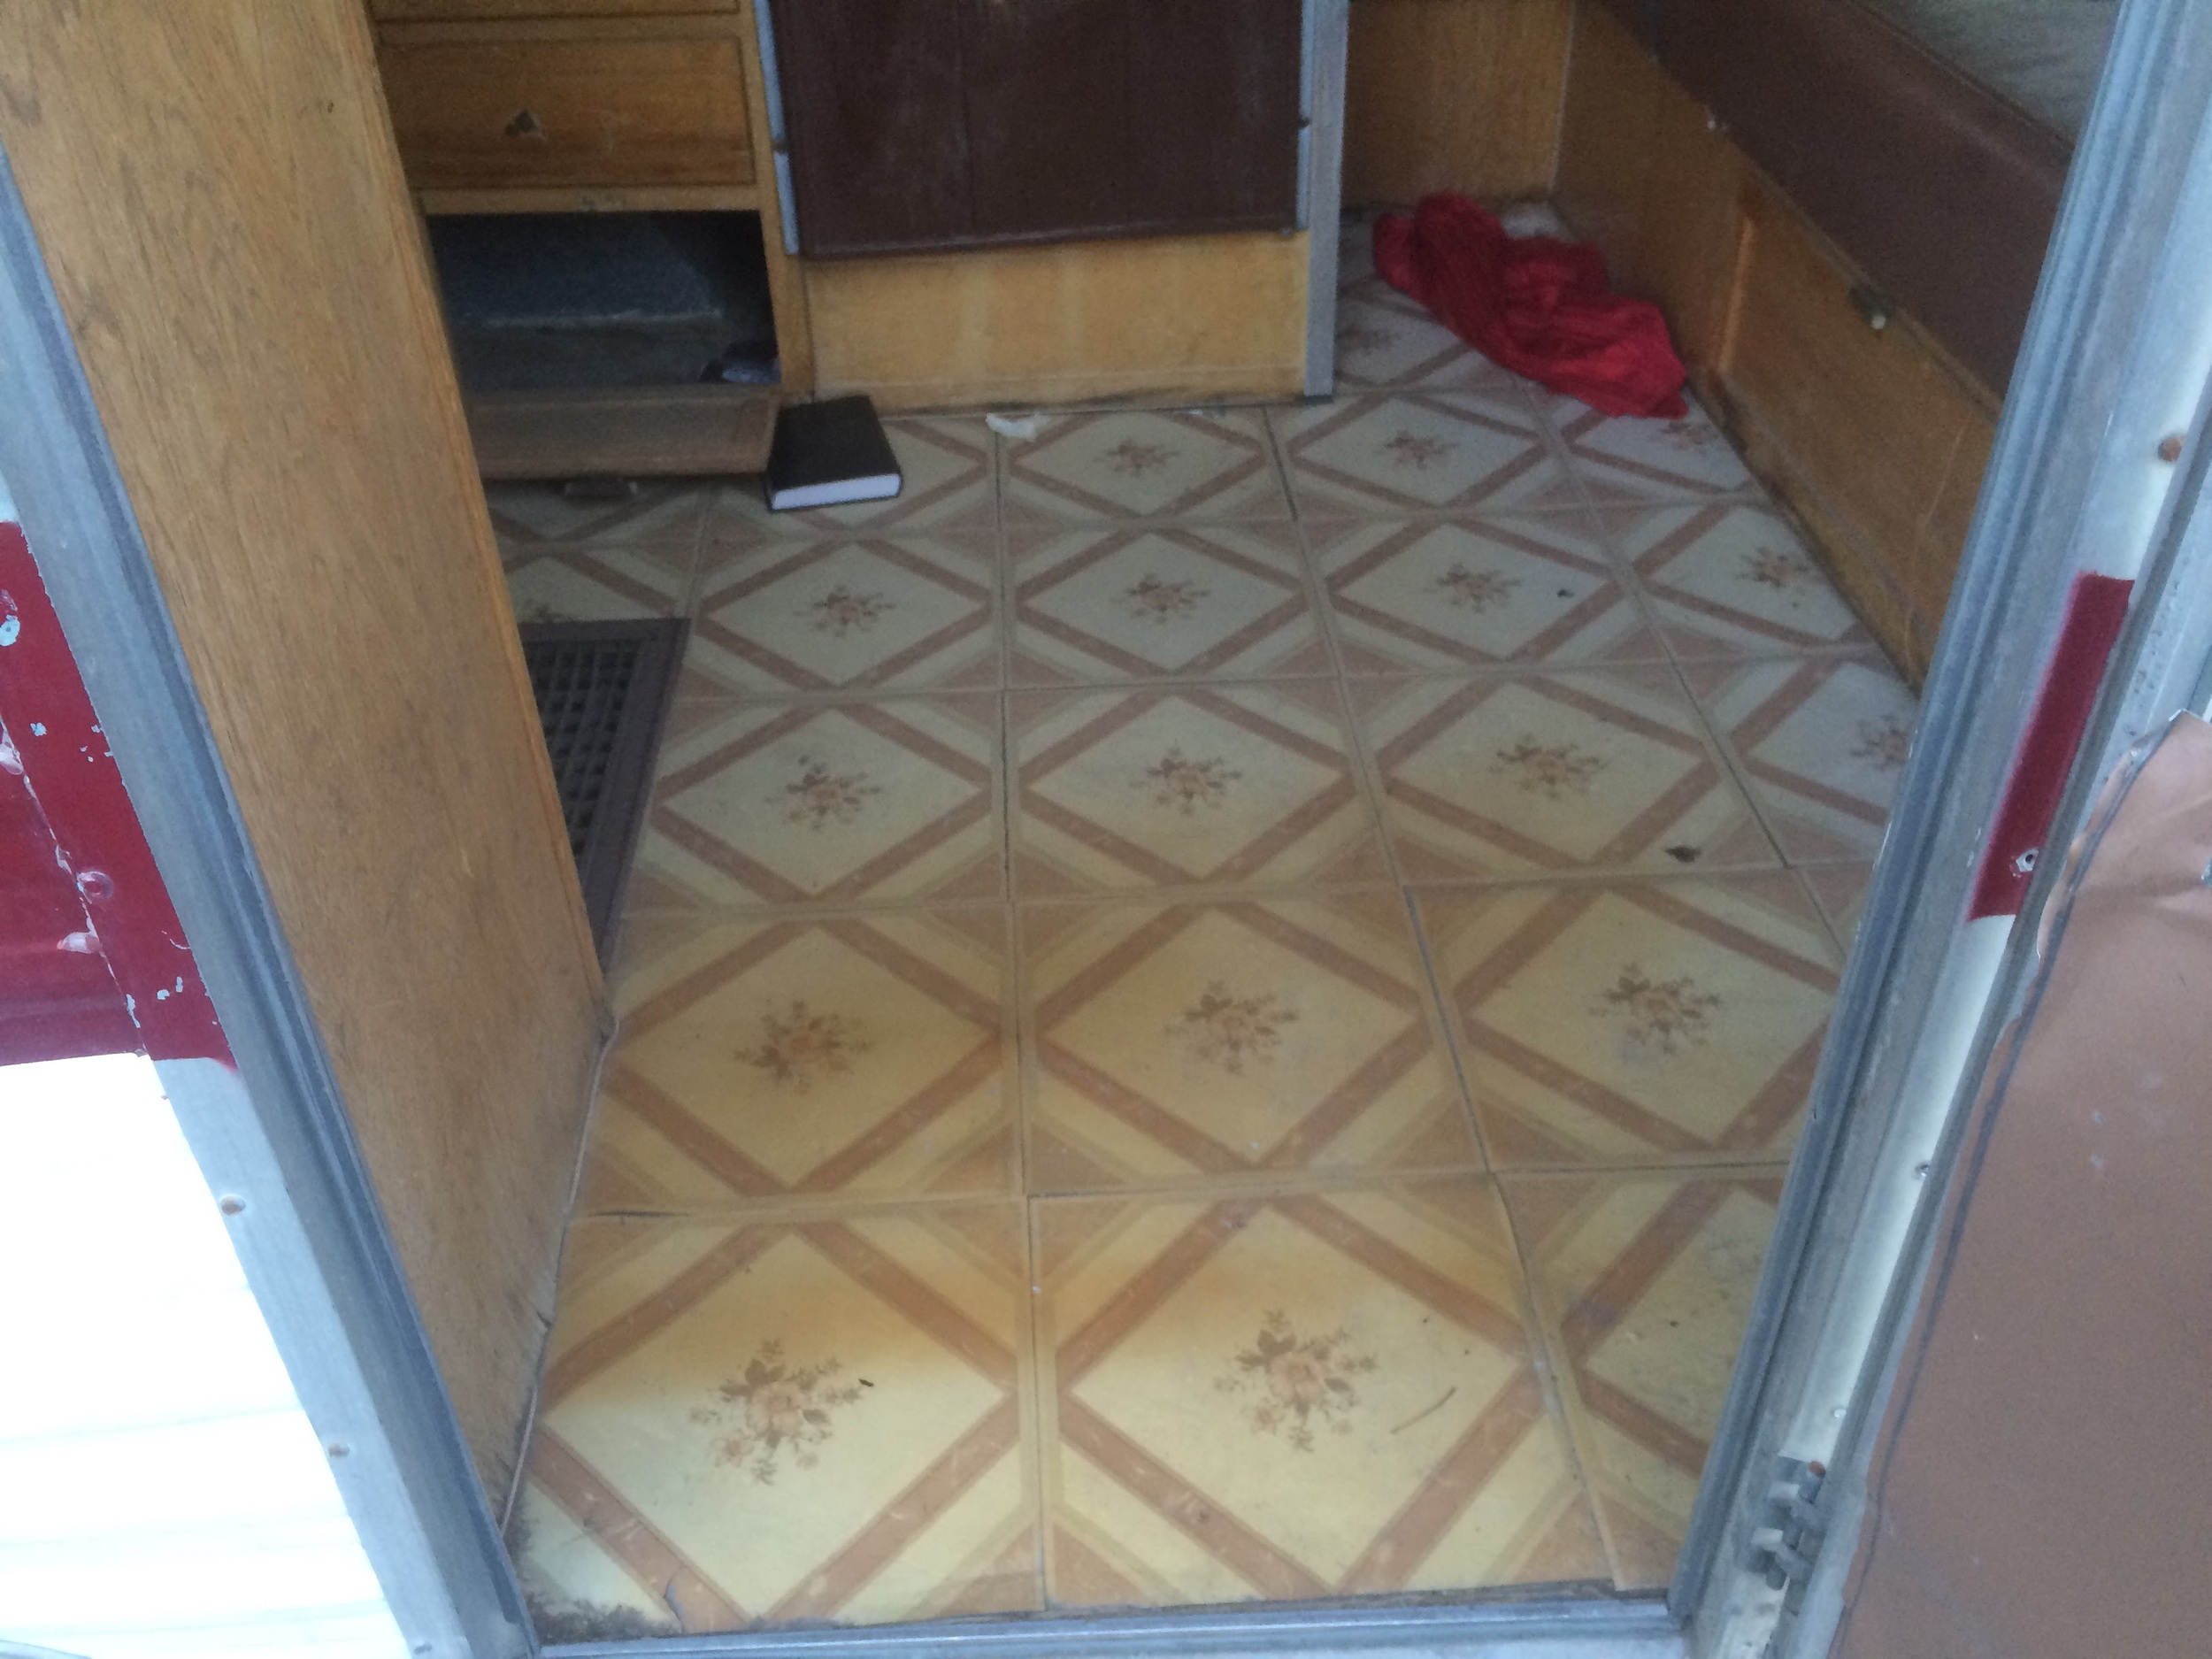
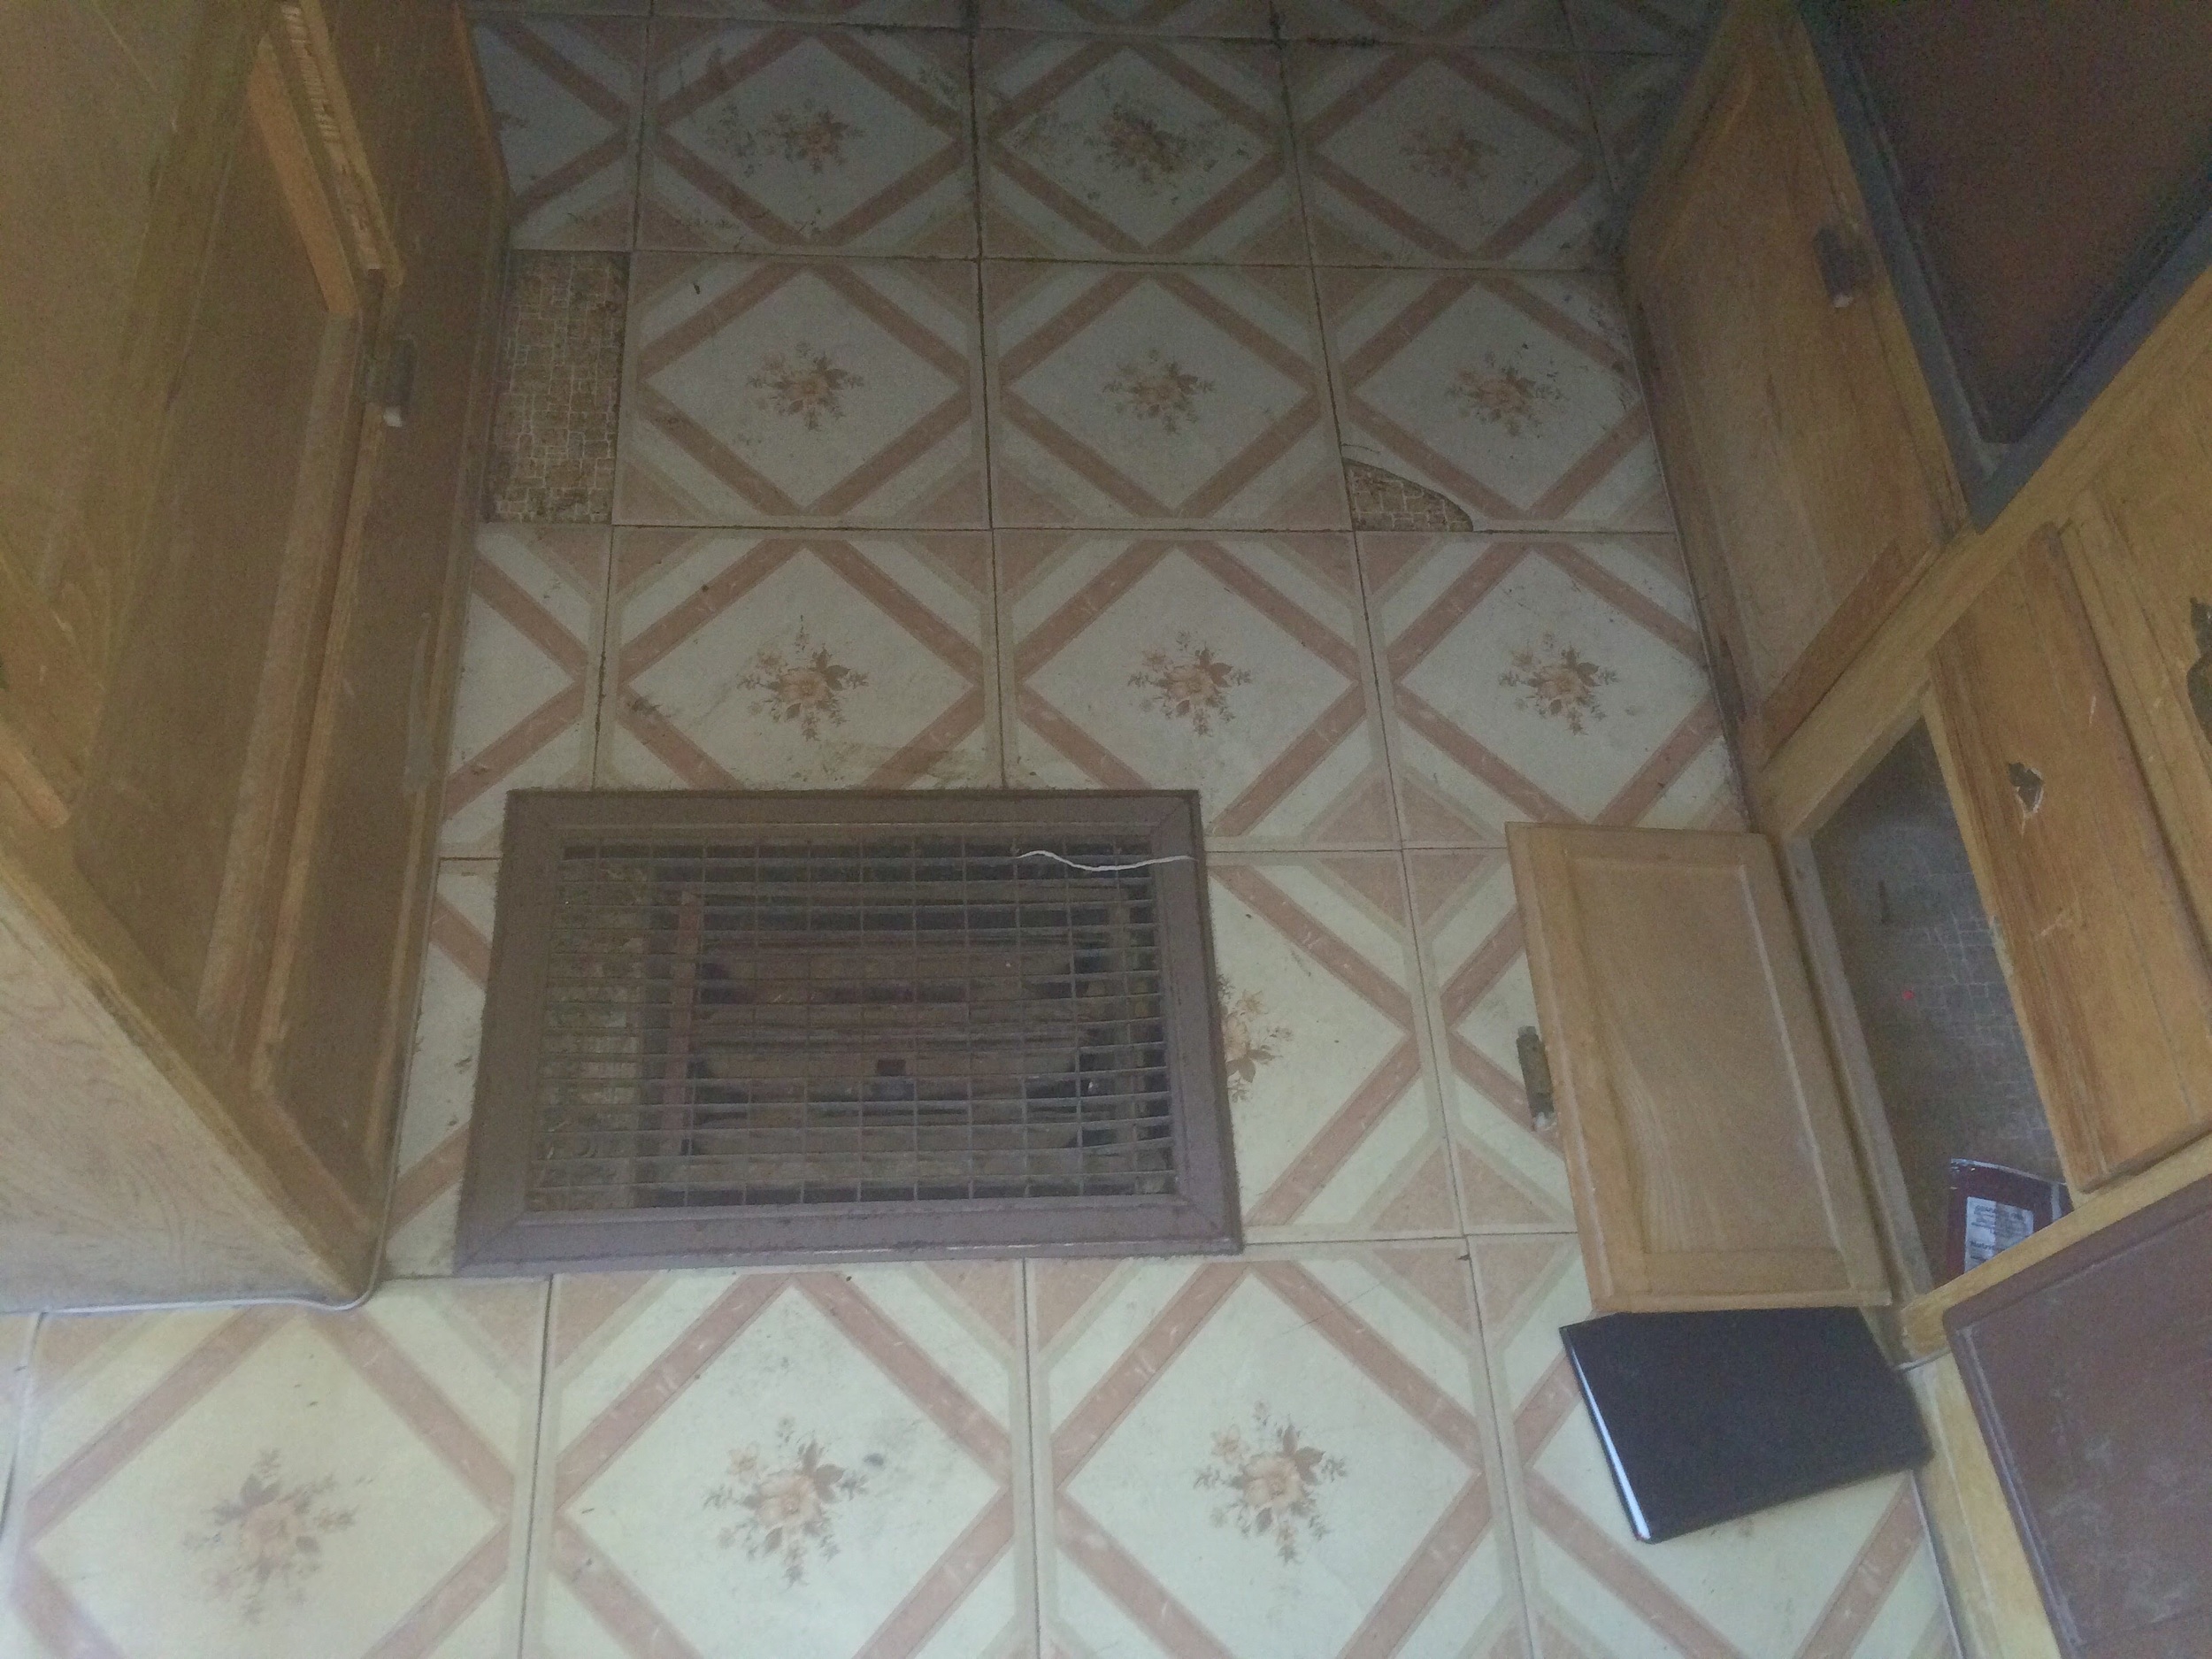

Peel and stick tiles that were coming loose. The adhesive underneath them was soft and gooey and very, very sticky. It was very hard to clean up. I tried EVERYTHING with little success, or with fair success but at about 15 minutes per tile I wasn't about to invest that much time. What a pain.
Removing the tiles
Here's what I tried that didn't work:
- Goof Off: Fair success with repeated applications, wiping and scrubbing, and then cleaning with windex, but at about 15+ minutes per tile I wasn't about to invest that much time on every single tile.
- Goo Be Gone: Useless.
- Brake Cleaner: Some benefit. About as helpful as Goof Off.
- Carb and Choke Cleaner: Some benefit. About as helpful as Goof Off.
- Kleen Strip Adhesive Remover: Worked slow, not that great as I had hoped, and ate away at the underlying original linoleum (which I wanted to keep as my substrate to lay the new floor on), which would've caused much more work to scrape that up too and then figure out a new substrate or patch the now messed up linoleum. So nope there.
Here's surprisingly what did work:
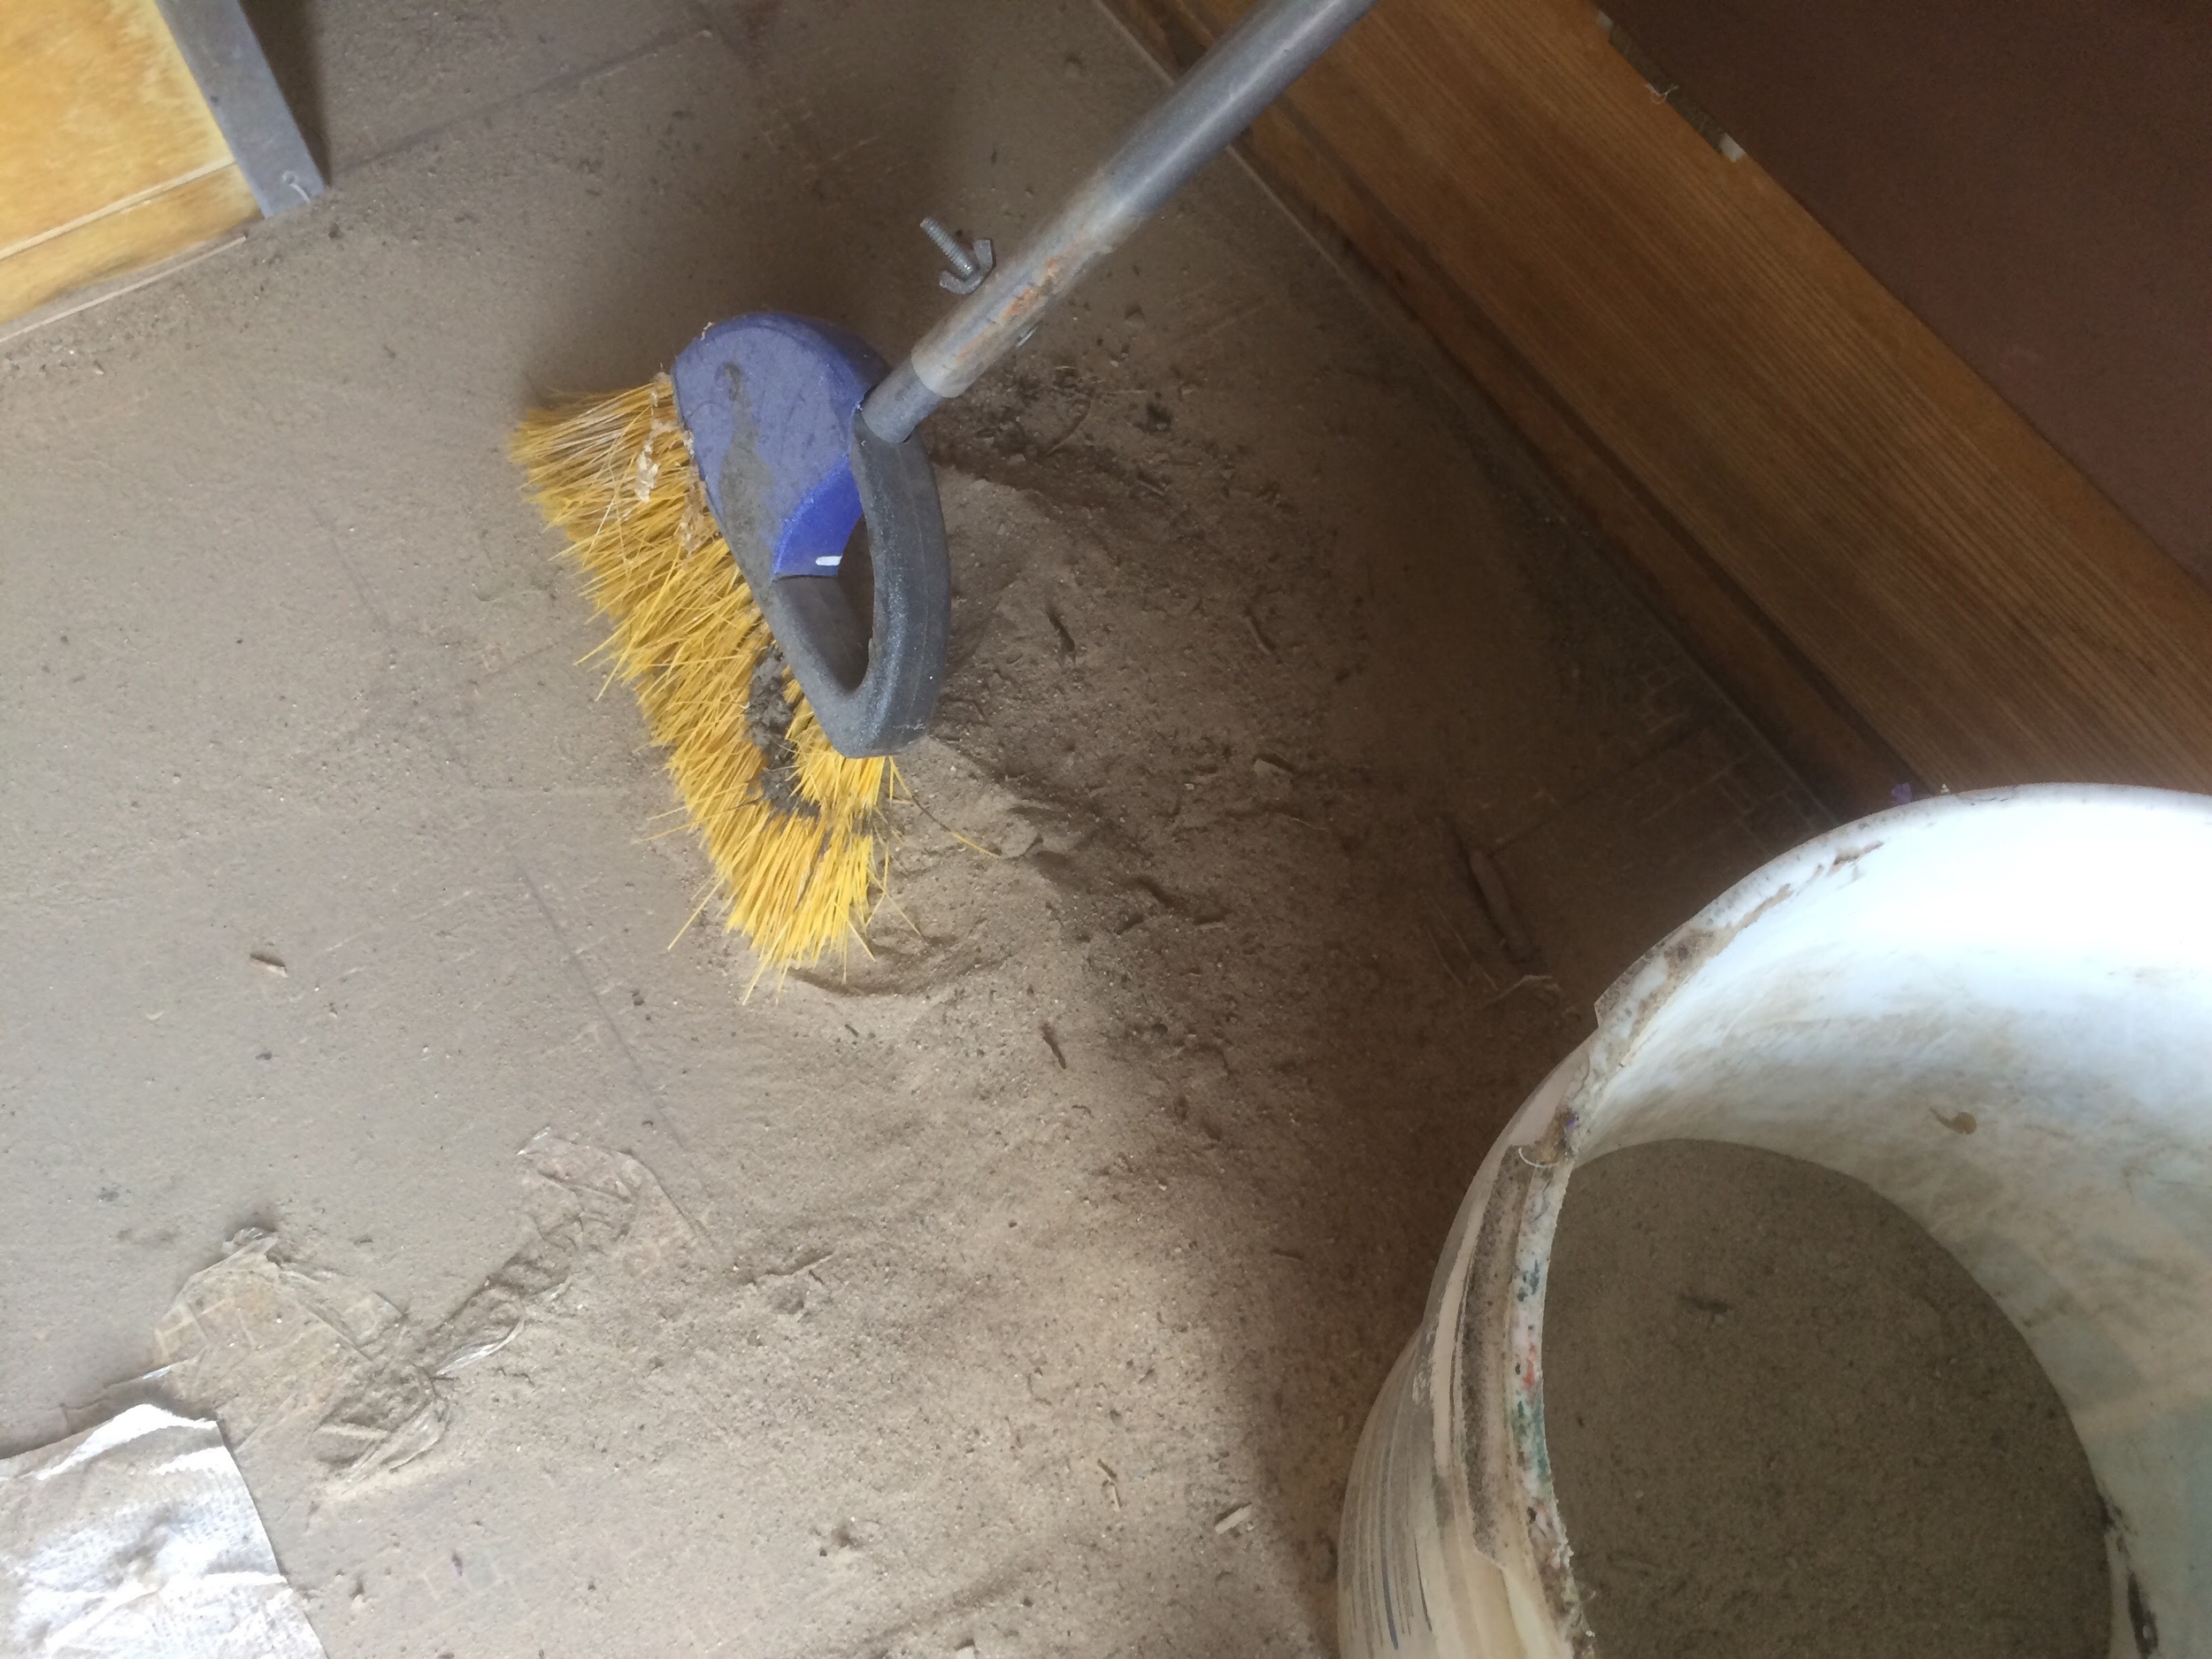
- Gasoline and sand.
Yep. I thought, what else works as a great solvent? I've used gasoline to clean the grease from wheel bearings as have many mechanics. Then I thought of the gooey adhesive problem and thought what if I embedded sand (from the sandbox) into he sticky glue first so that when I poured gas on it and it dissolved the glue it would already be stuck to the sand rather than just be a dissolved sticky jelly to be smeared around further. This turned out to work REALLY well. Further, as I smeared the gas and sand slurry around the section of floor I was cleaning the sand worked as an abrasive on the further stuck glue. This worked FAST. So, what I did first, after I removed the tiles I spread sand generously all over the gluey sticky adhesive and then swept off the excess with a broom. I then poured enough gas on a small section (a few tiles at a time) into the sand enough to get it wet into a wet slurry (not a paste--that's too thick). The sand kept the gas from running everywhere and the sand held the adhesive and acted as an abrasive. I was careful to work in a well ventilated space with a fan blowing the fumes out, with a masks, eye goggles and nitrile work gloves. I was also careful not to splash the gas on the woodwork so the gas smell wouldn't get embedded in the wood.
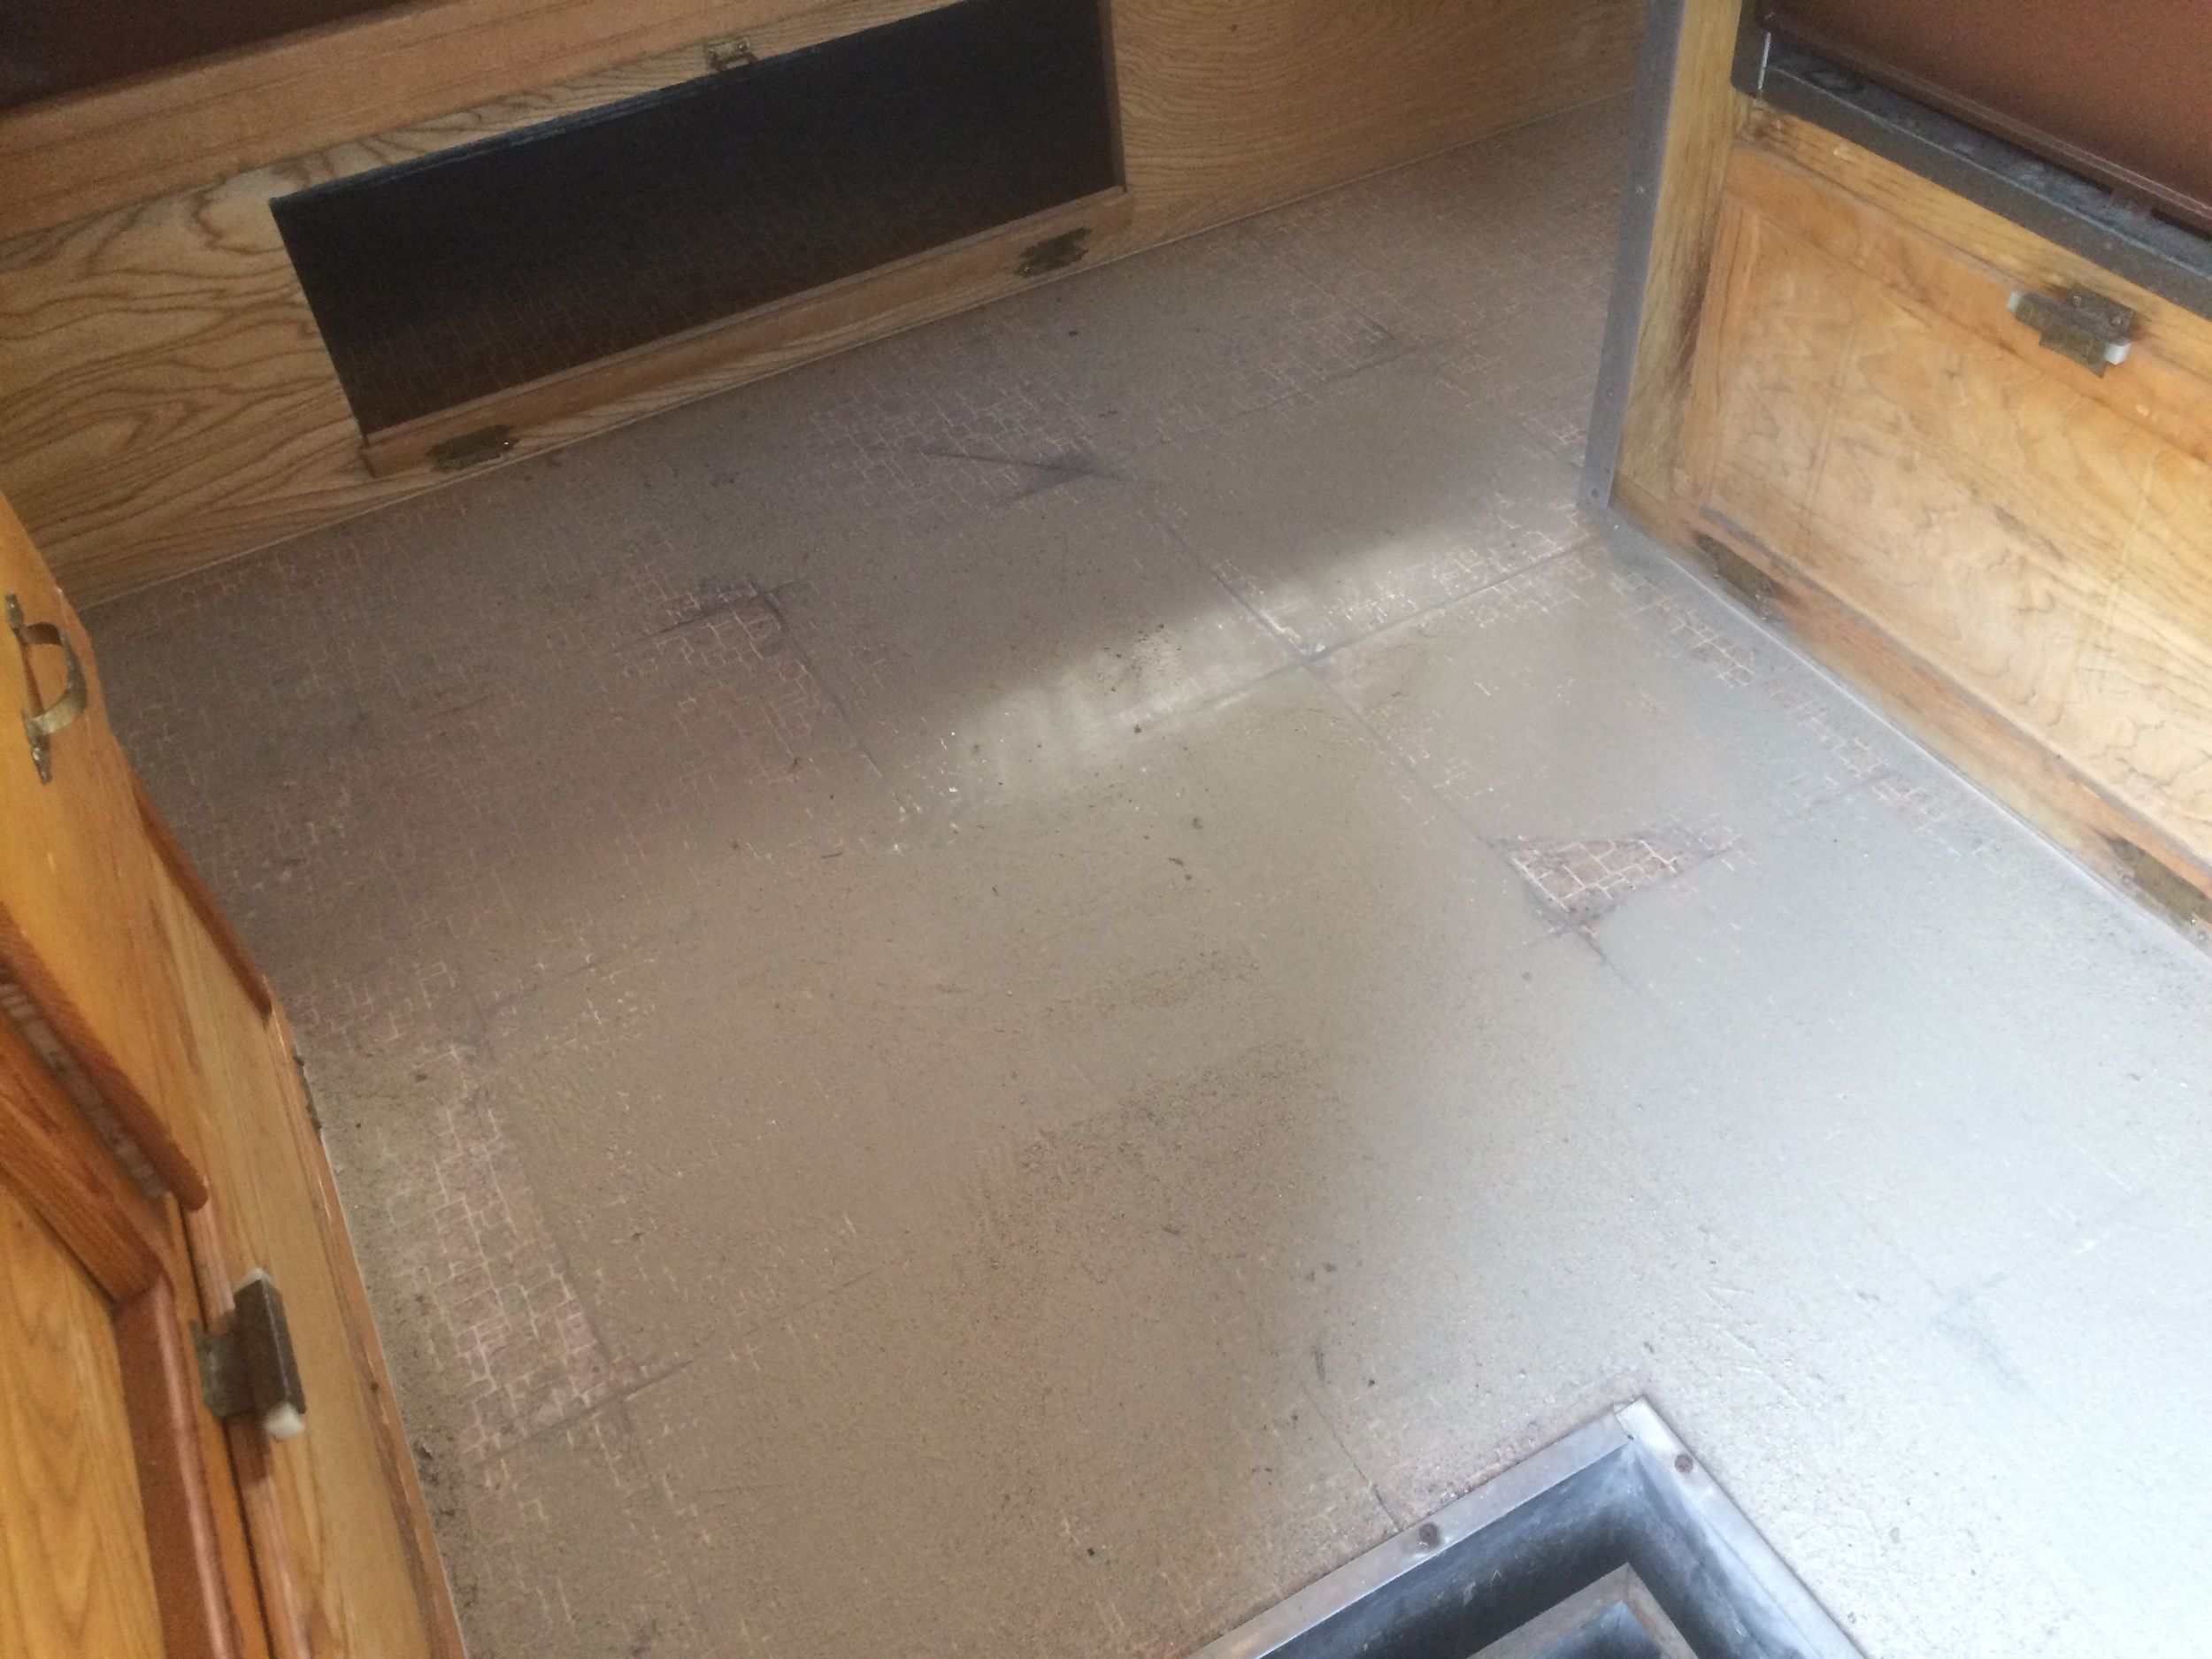
I was a little worried about how long it would take after to clear to the smell, but after I cleaned it all out (scrapping it up with a 6 inch putty knife/scraper into a 5 gallon bucket) and sweeping up the rest, then wiping the floor with windex (any all-purpose cleaner) and then spraying the floor and surrounding wood around the base with Odor Ban (got at Home Depot) or other odor killers/eliminators (not odor masking), it seriously did not smell like gas afterwards barely at all and by the next day not at all.
Is gas and sand a recommended method? I'm sure it's not. Did it work way better than anything else I tried? Oh yeah. Super well and way, way, way faster. Unorthodox but effective. Plus the combination of the adhesive and gas and sand made a kind of dryish napalm that I was able to light on fire just for kicks later. So that was an extra bonus!
Light Fixtures: Electrical & Gas
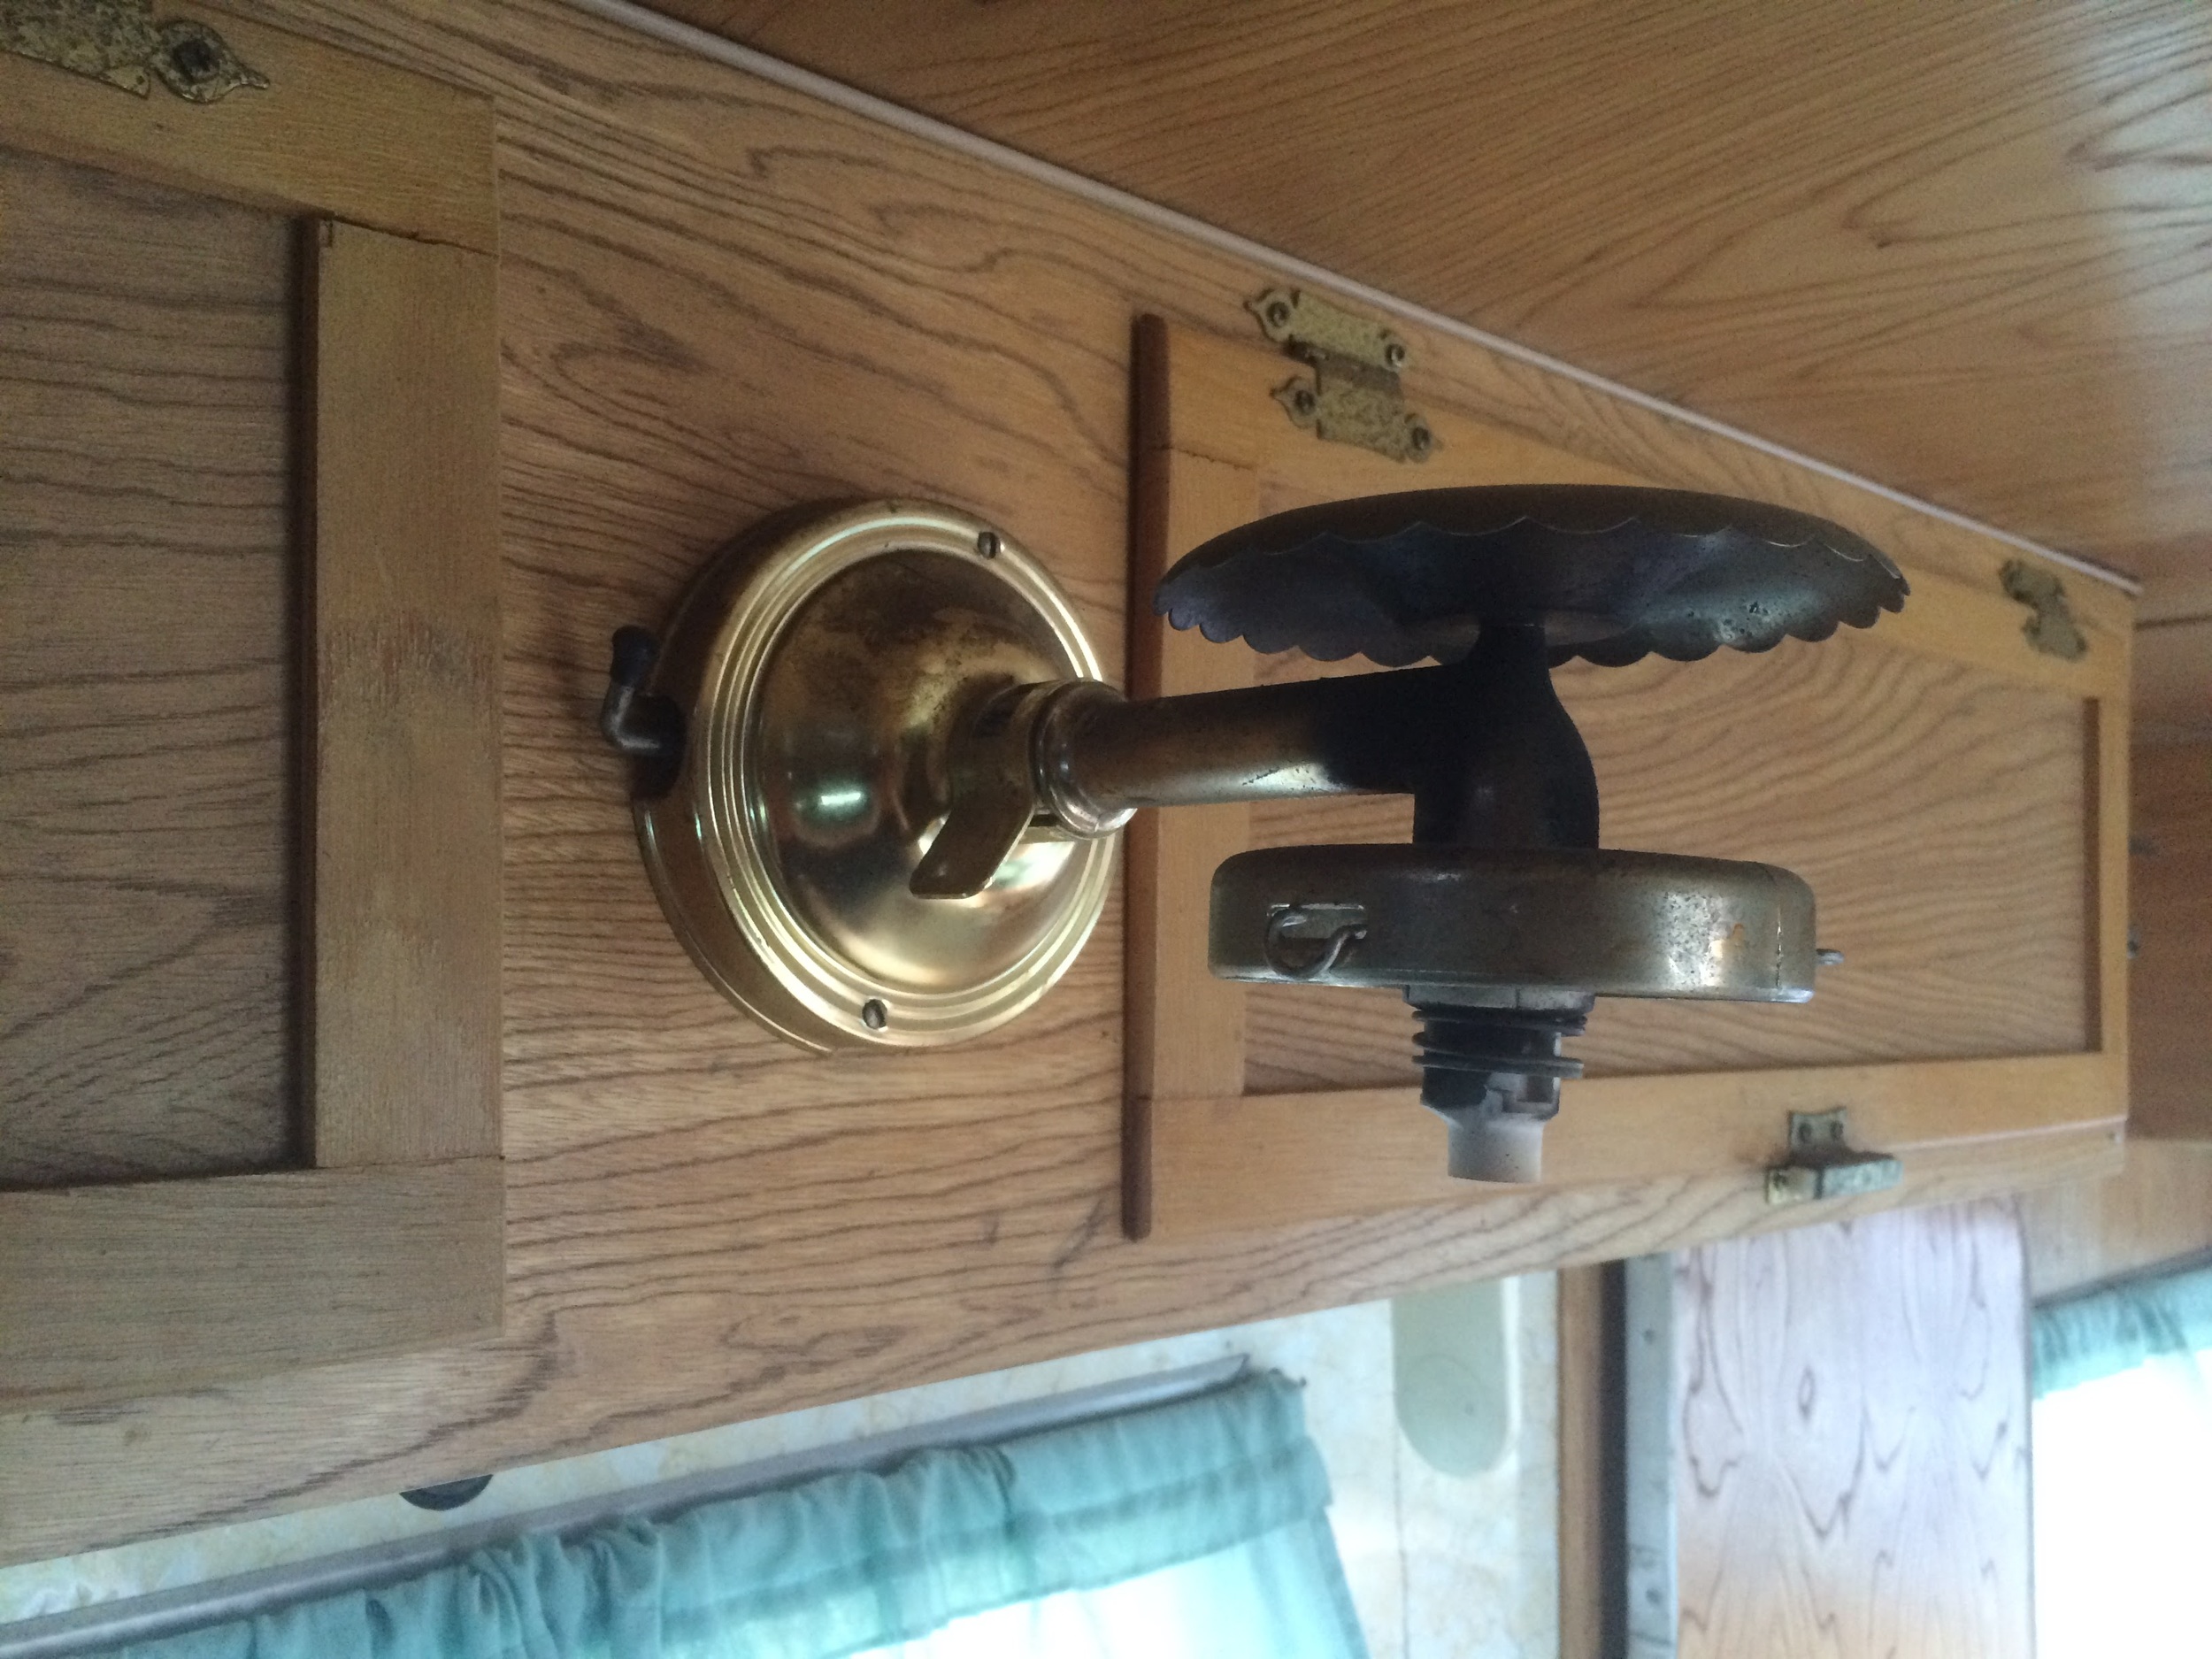
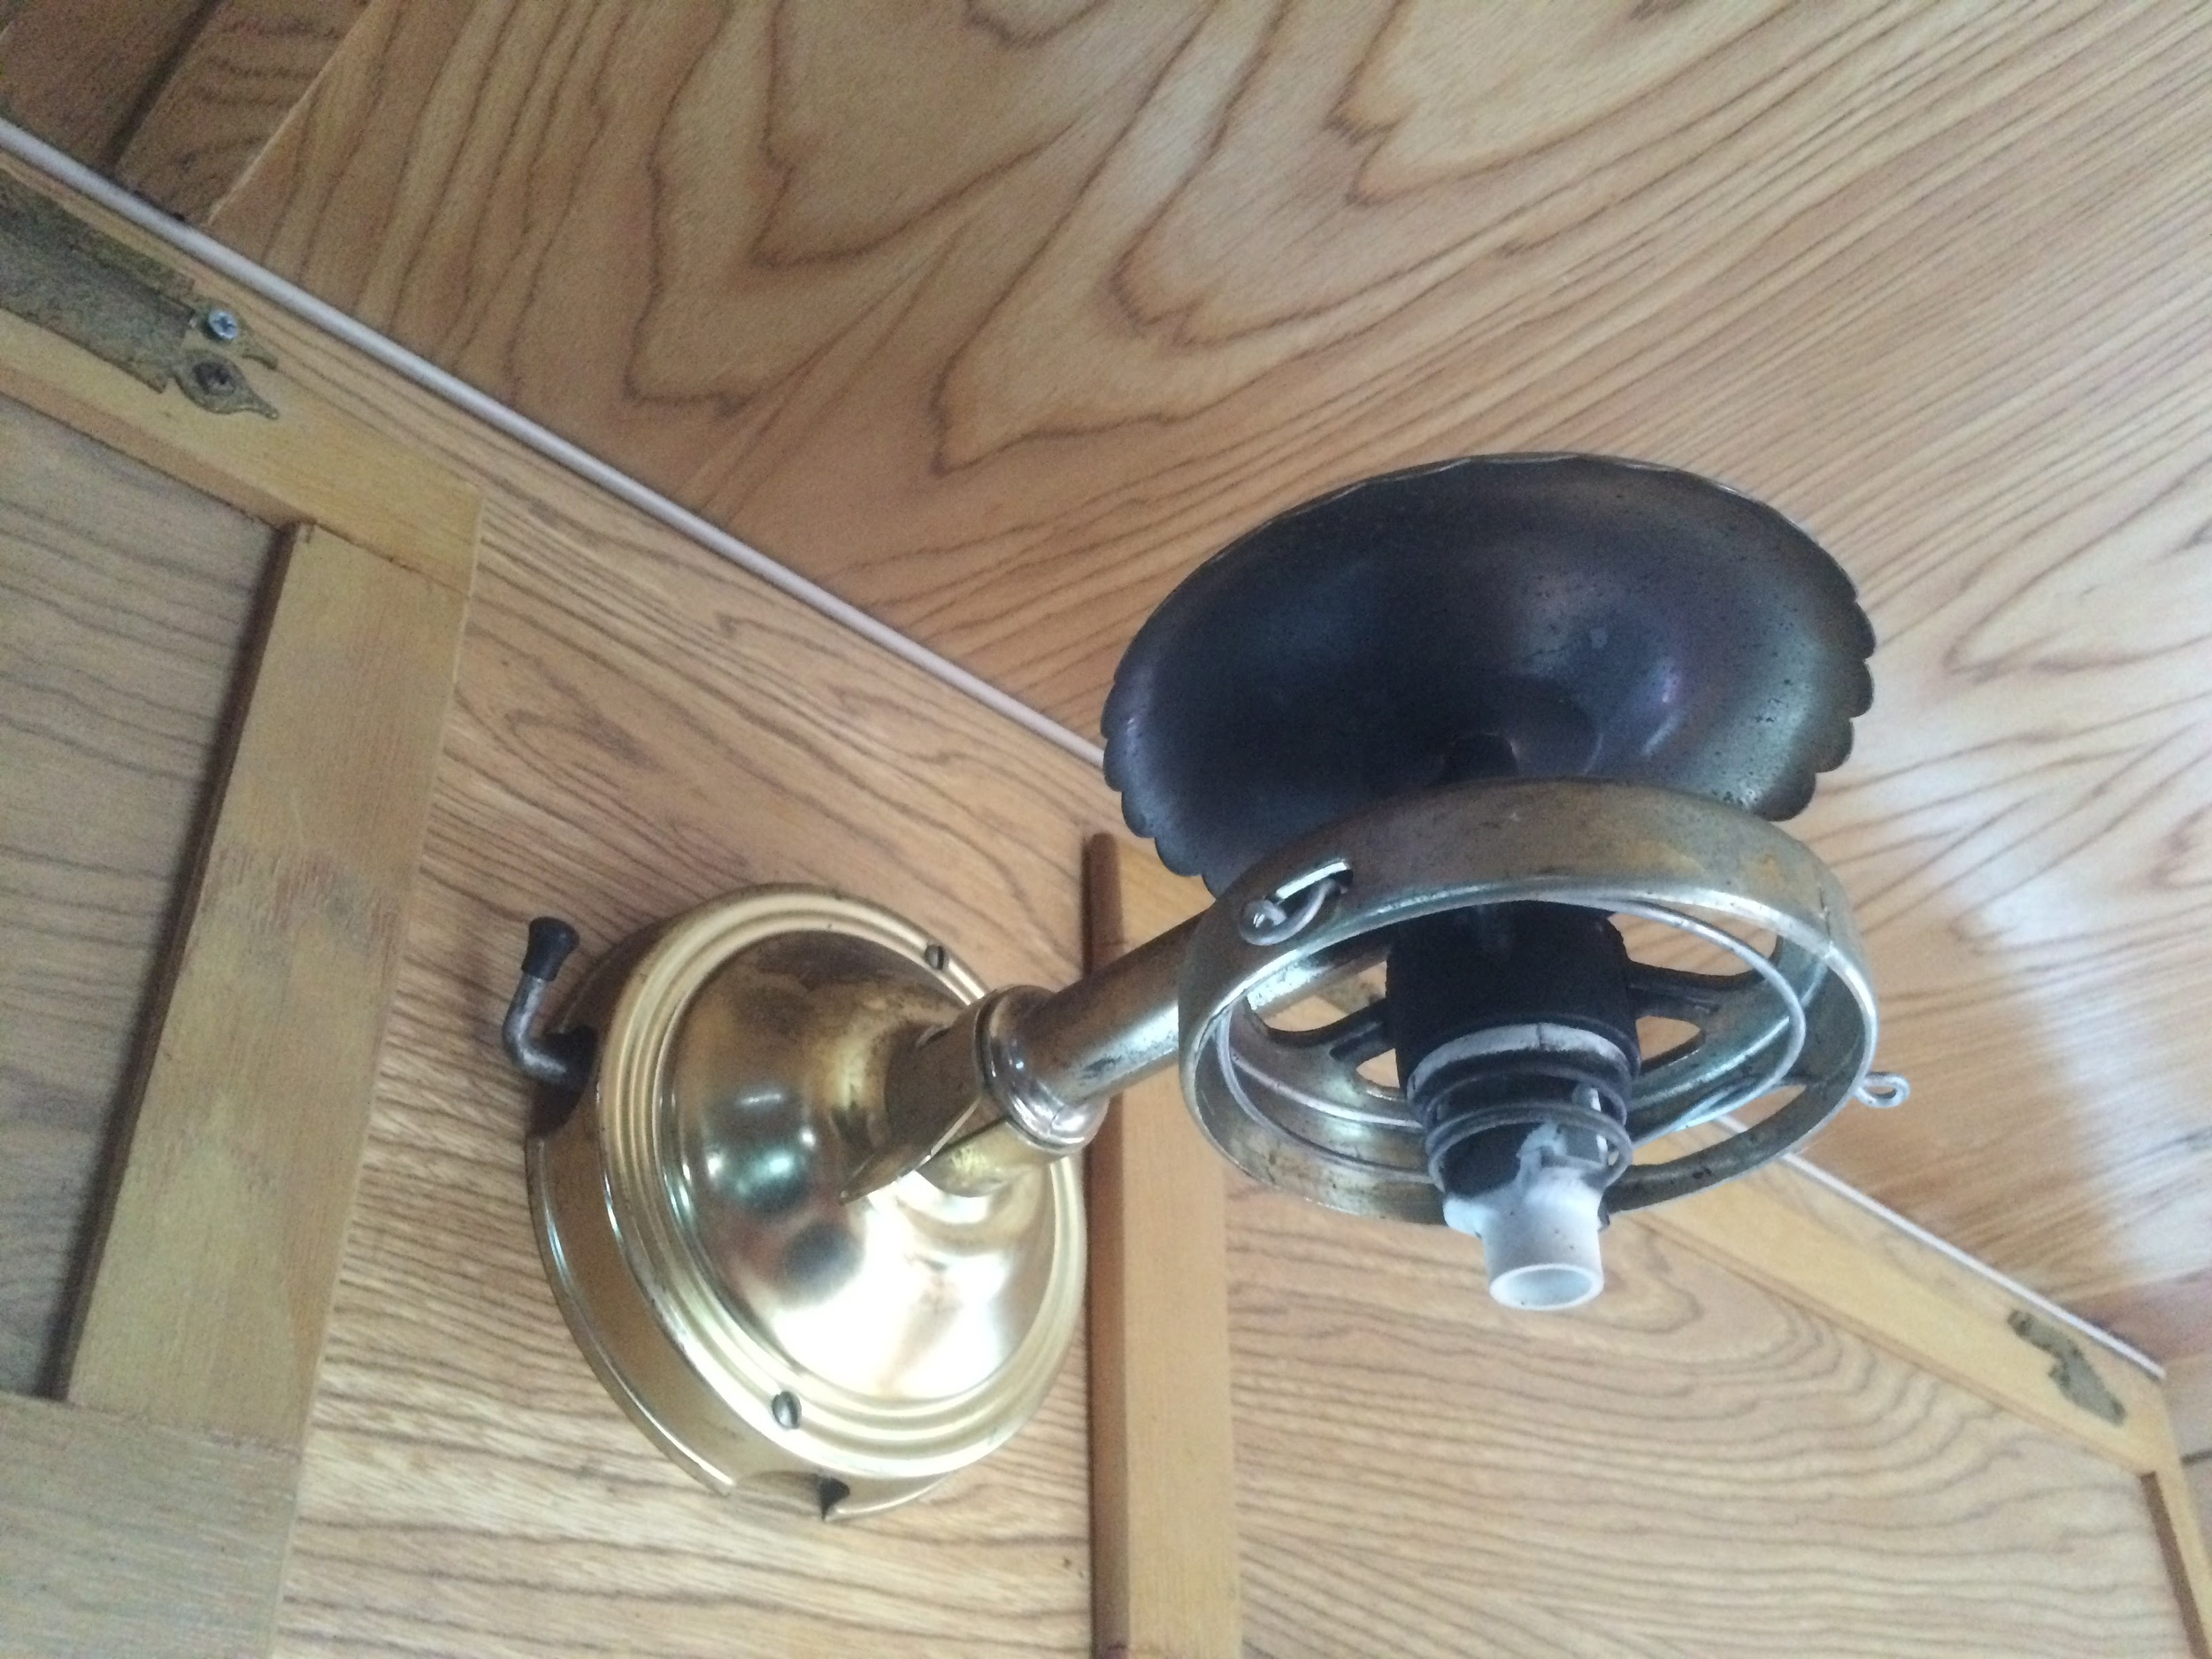
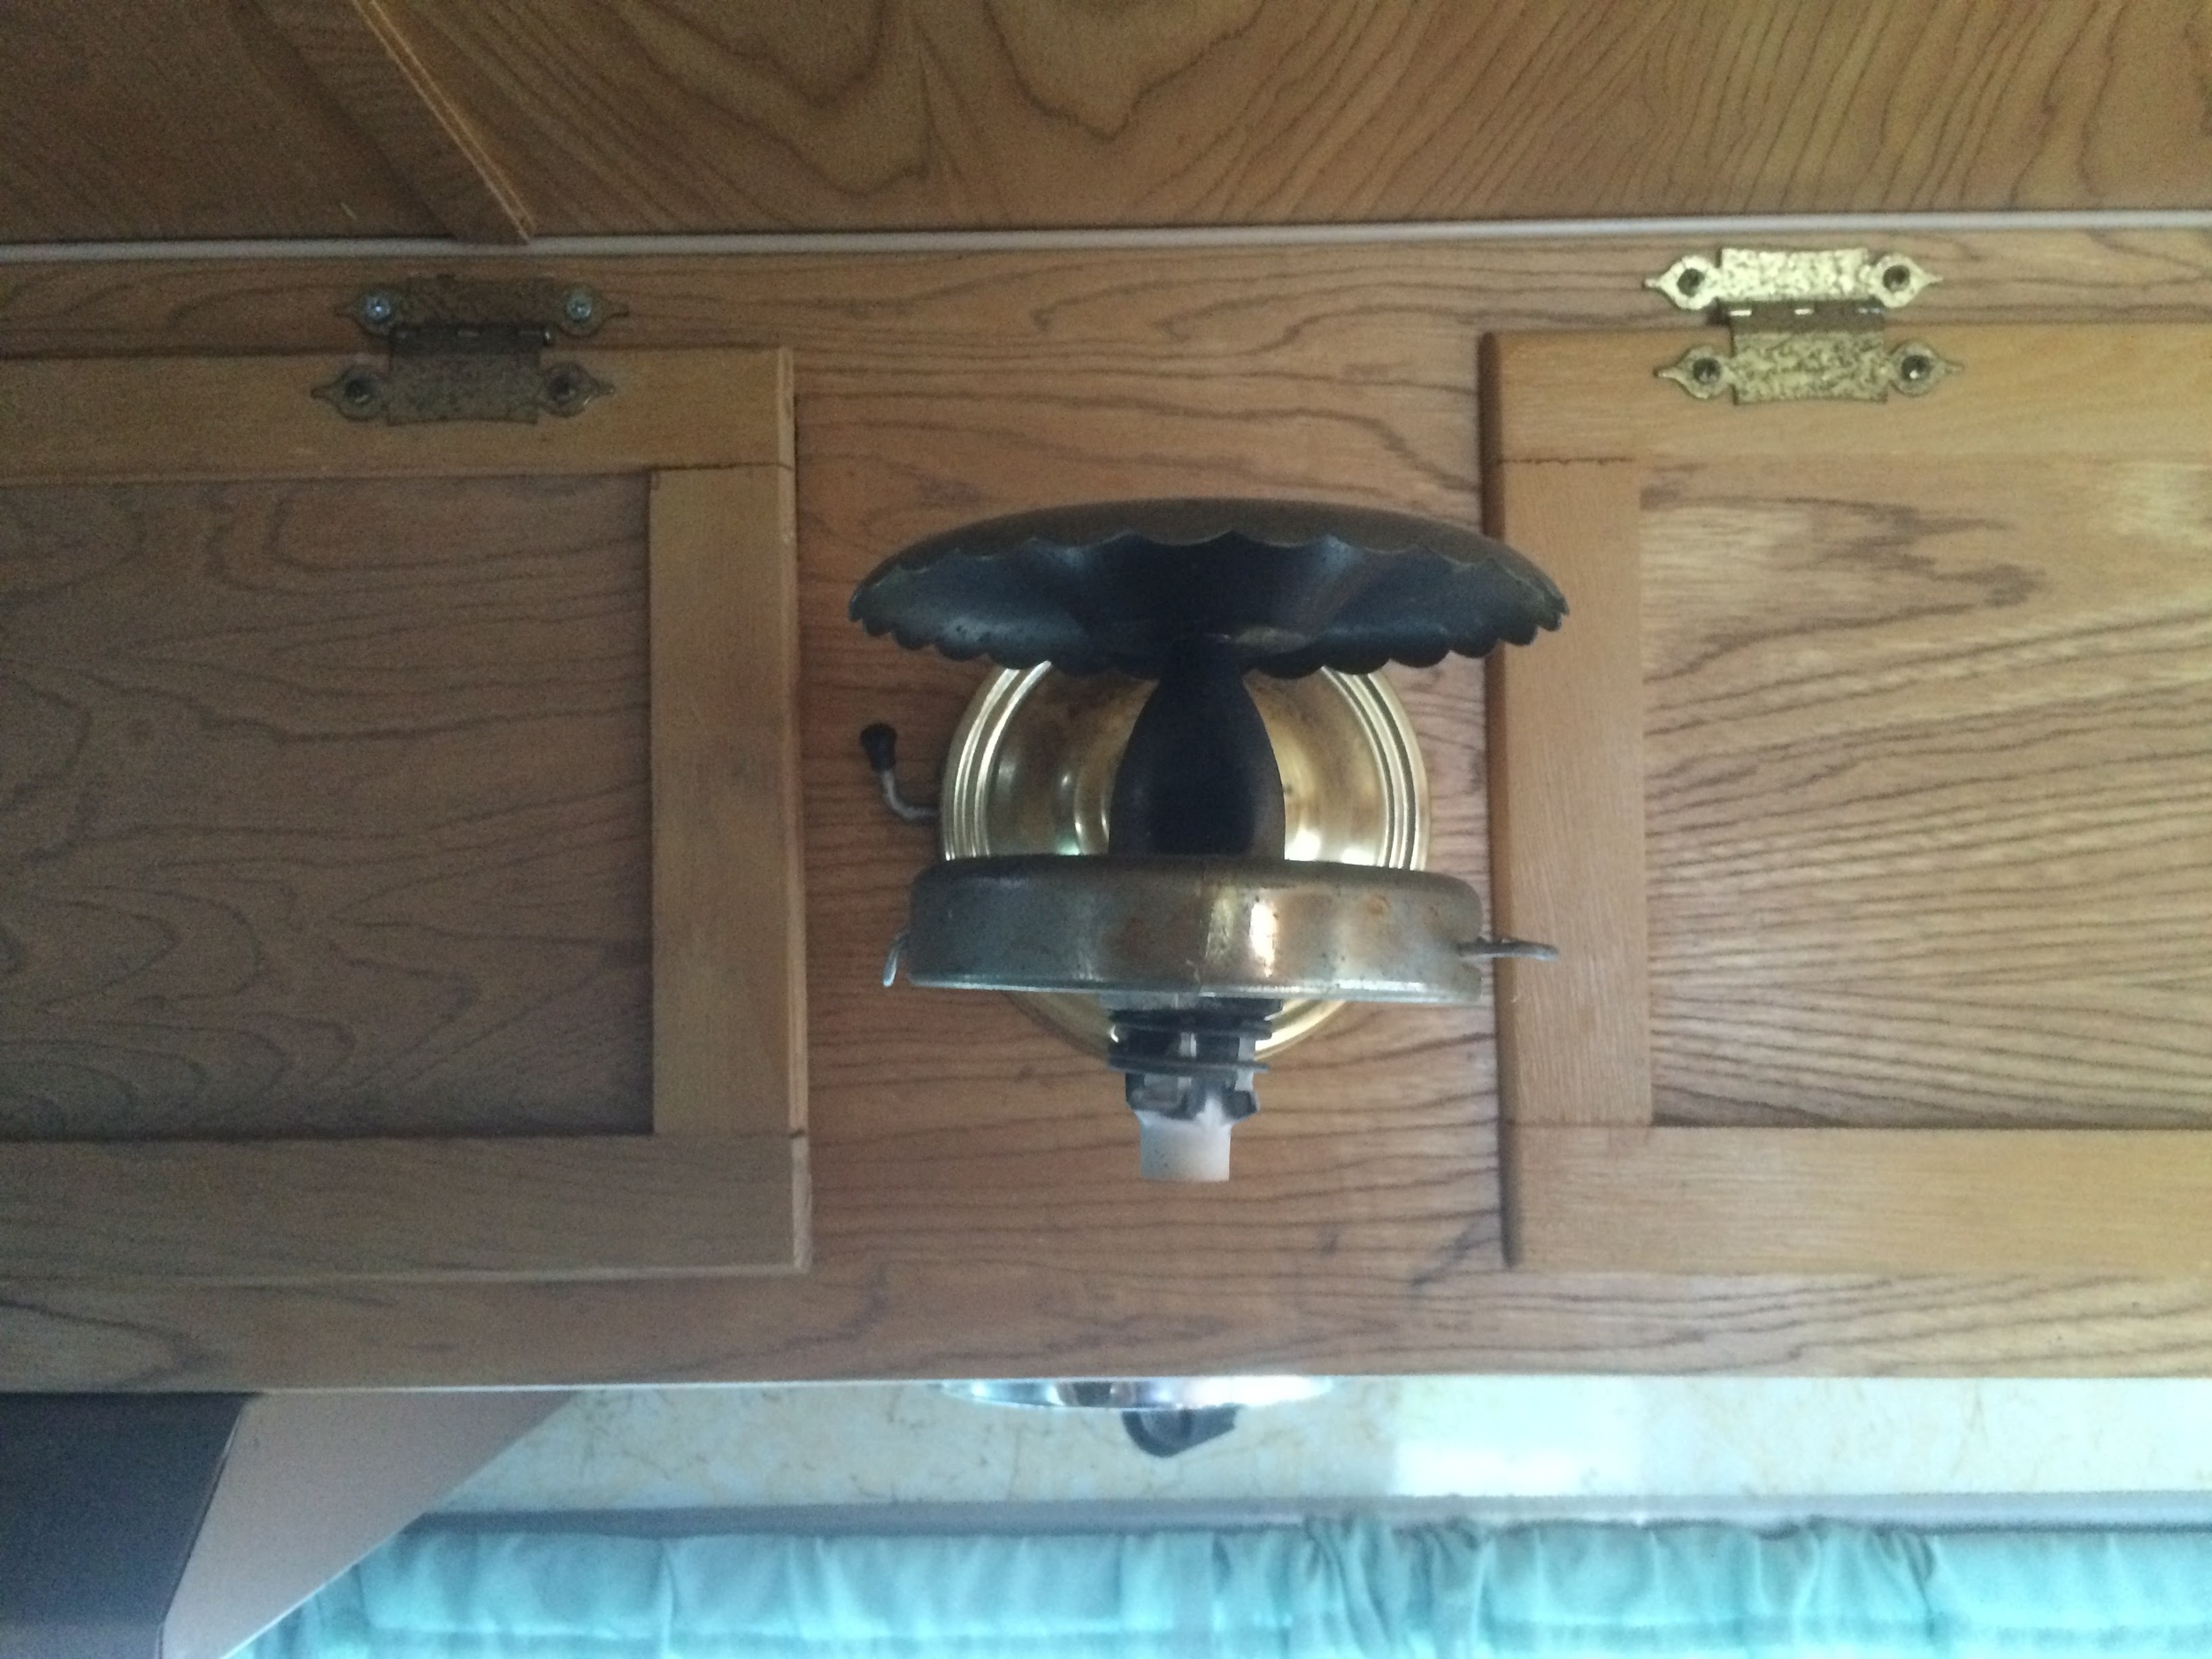
Propane Lamps
Mr. Heater interestestingly enough still sells and updated version of these, though the basic function hasn't changed much. They are basically Coleman camp lanterns that are permanently mounted. I found these glass covers at Home Depot. We'll keep these in for the vintage look and interest, but I don't want to mess with open fire lamps inside our camper at this point.
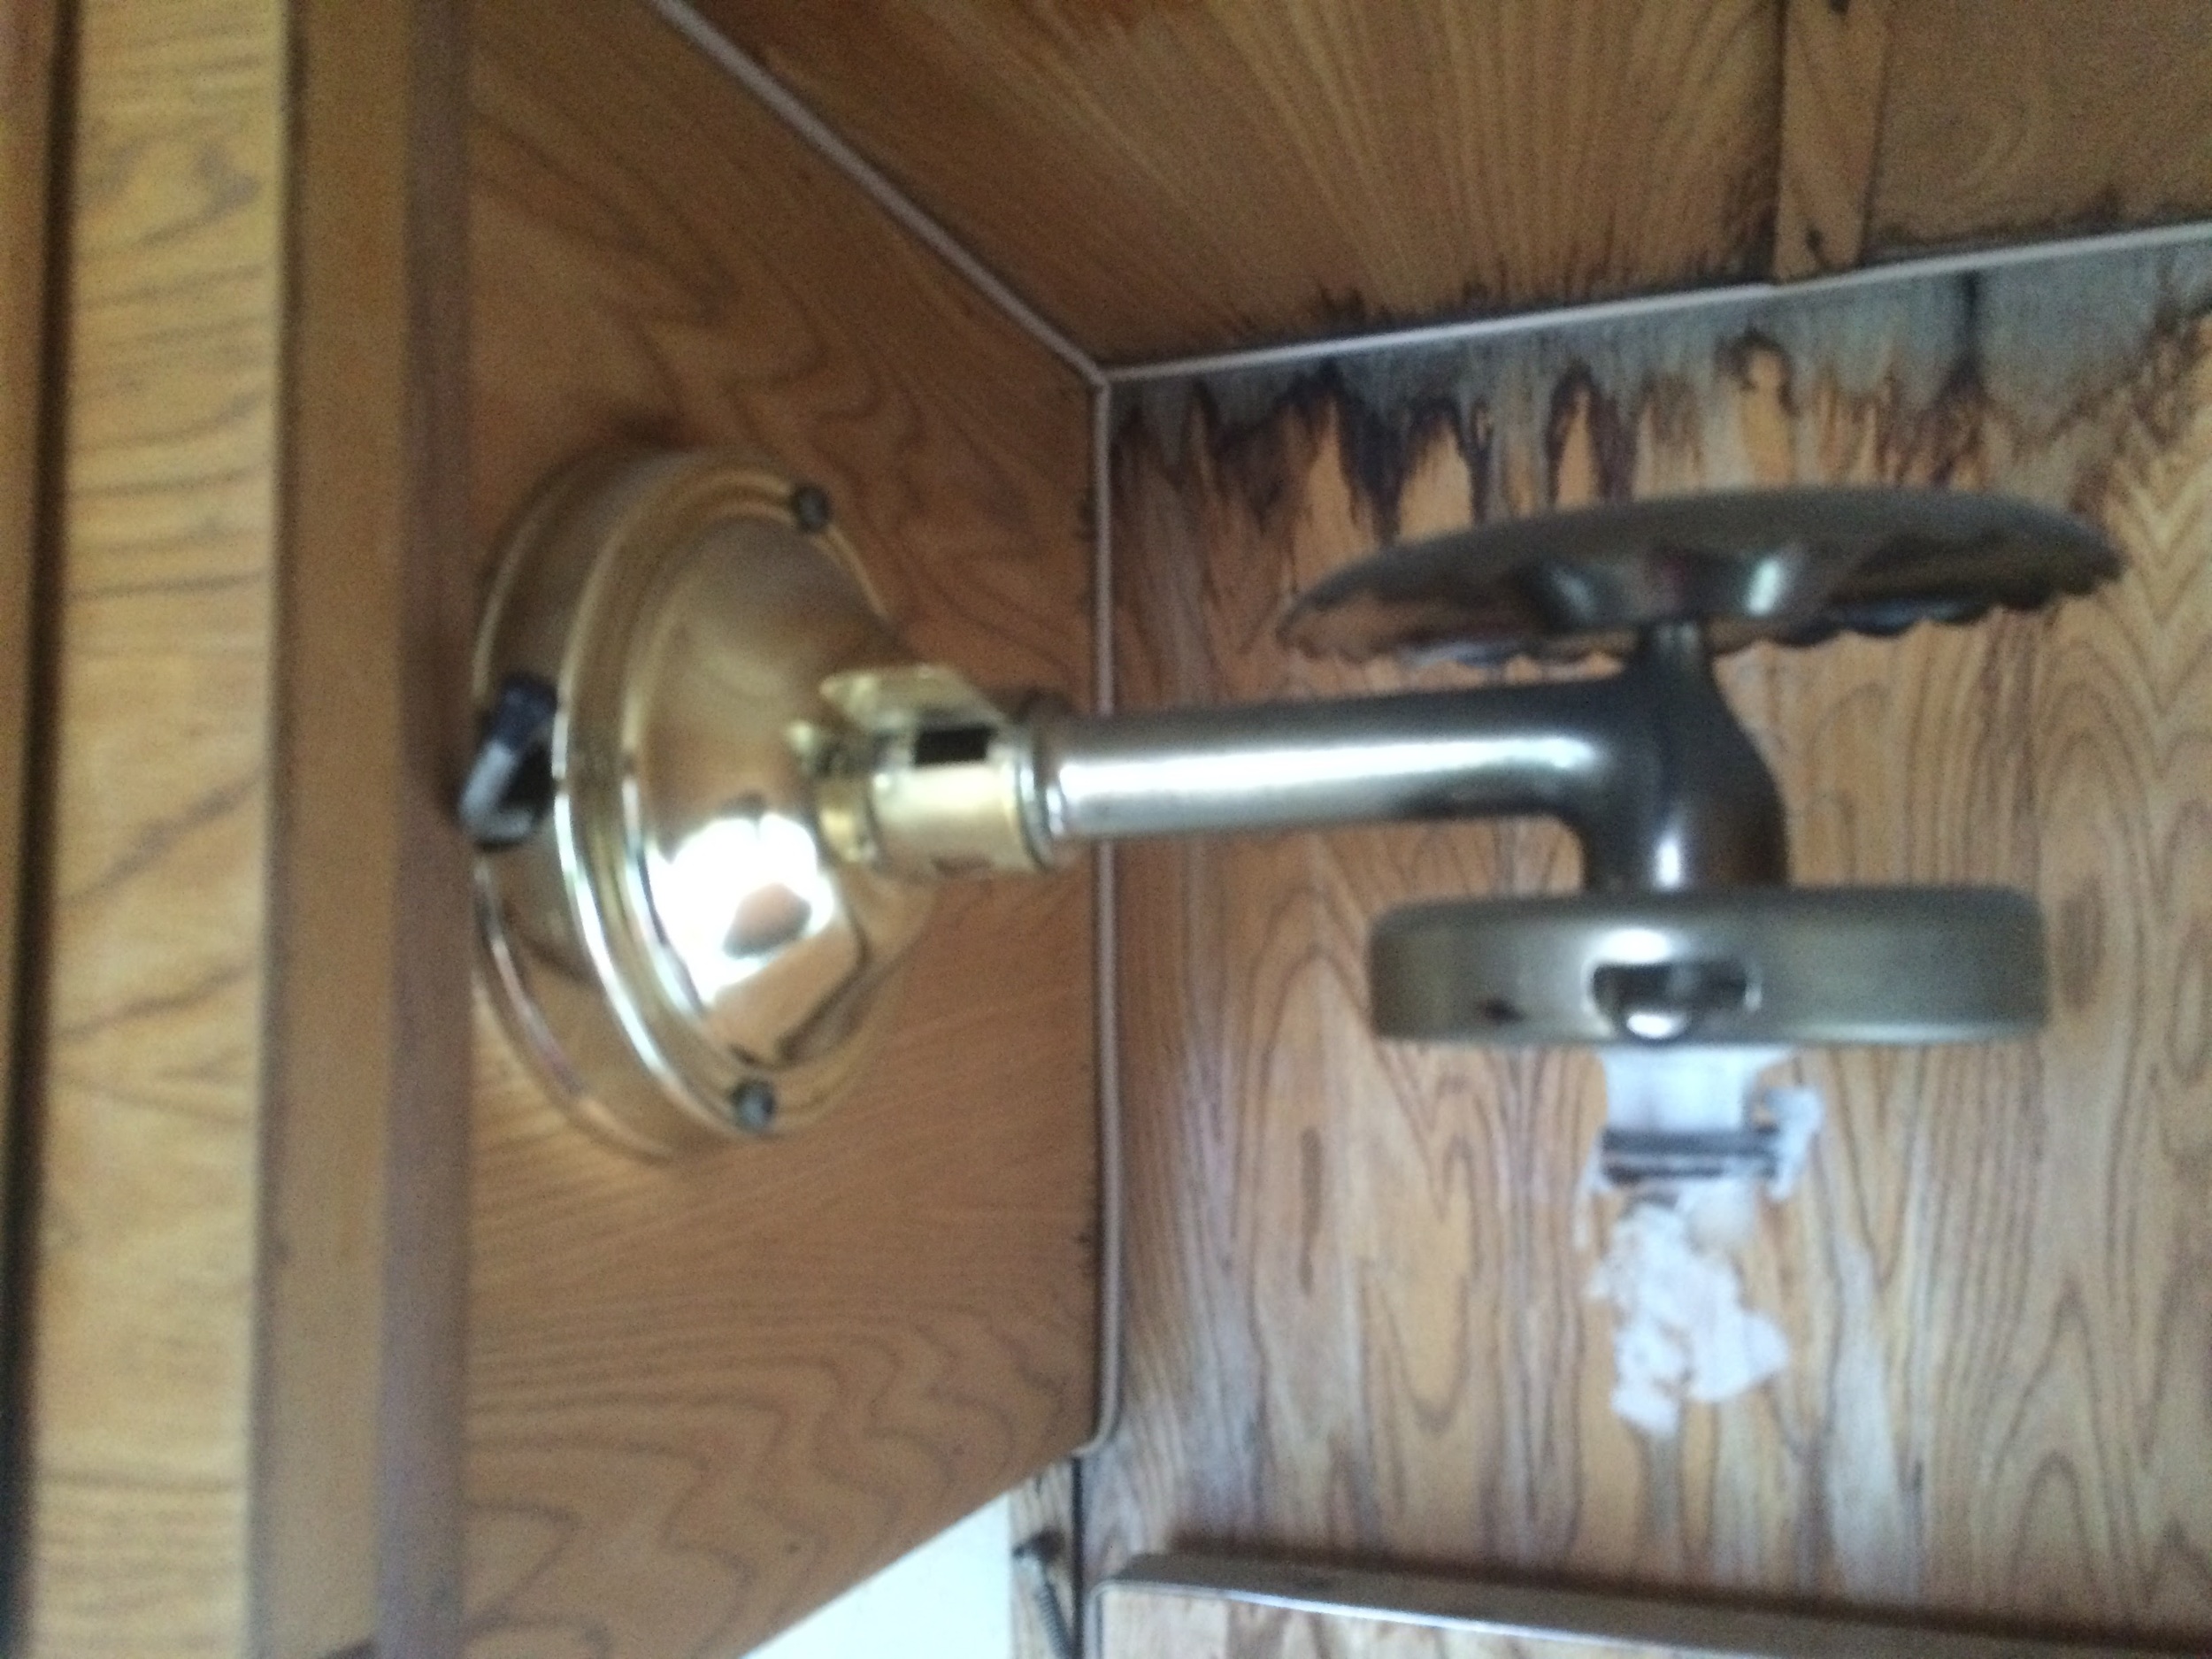
110 Electrical Lights
I found these glass covers at Home Depot.
12V Lights Conversion with IKEA Dioder
Most of the time we'll be camping we won't be plugged in, but will be running off of battery, and since I don't want to use the old propane lamps I am going to use 12V IKEA Dioder lights that will run off the trailer's battery. To keep the battery charged... trickle charge (solar, or plugged in?), volt meter, switches, etc.
Solar Panels
I decided to convert all electrical needs to solar. My father-in-law gave me a new 55w three panel solar kit he never used (https://www.tractorsupply.com/tsc/product/coleman-55-watt-solar-back-up-kit) which provides plenty of power for our limited use. It will power three interior cabin lights (LED bulbs) (via the existing 110 electrical system through a 200W inverter), two-speed fan, 2 USB ports, 12v socket, voltometer. If we ever park at a KOA or RV park we can still plug into 110 electrical and easily unplug the wiring to the the inverter.
Electrical & Solar
Here's what I finally decided to do:
For anyone else interested, this is what I did for my electrical and solar set up so I could use both 12V solar and the existing 110V set up if I want. Jeffrey Cramer asked about it and maybe others might find it helpful. I'm not pro, but it works pretty well. I made a Google Photo album and added descriptions for most of the pictures (just hover over the bottom of the pick and they will show). Hope this helps some. Let me know if you have any questions, though I can't guarantee I'll know the answer.

Our RoadRunner Pinterest Boards
My board: More for the RoadRunner specifically and technical ideas.
Kara's board: More for camper ideas in general.

Memorial Day weekend, 2016, in the Rocky Mountains. This was Donna's maiden voyage, whose name we voted on as a family from a list of the top 10 baby names from 1965.
Other RoadRunners Online
I have moved this section to my RoadRunnerRevival.com site here:
